Basic Kydex Knife Sheath How-To
Posted by Dutch on Oct 10th 2023
Share:In this tutorial article we are going to show you how to make your own Kydex knife sheath.
Project Overview
| Skill Level | Estimated Time | Estimated Cost |
| Beginner | 30-45 Minutes | $ |
Materials and Tools
| Materials Needed: | Tools Needed: |
| Kydex | Oven or heat source |
| Eyelets | Heavy duty snips or scissors |
| Hand Setter Kit | |
| Kydex Press (Check this video for more details) | |
| Gloves | |
| Sander or sand paper | |
| Sharp knife or utility blade | |
| Ruler or tape measure | |
| Drill and drill bit |
For a ready to go kit check out our MYG shop.
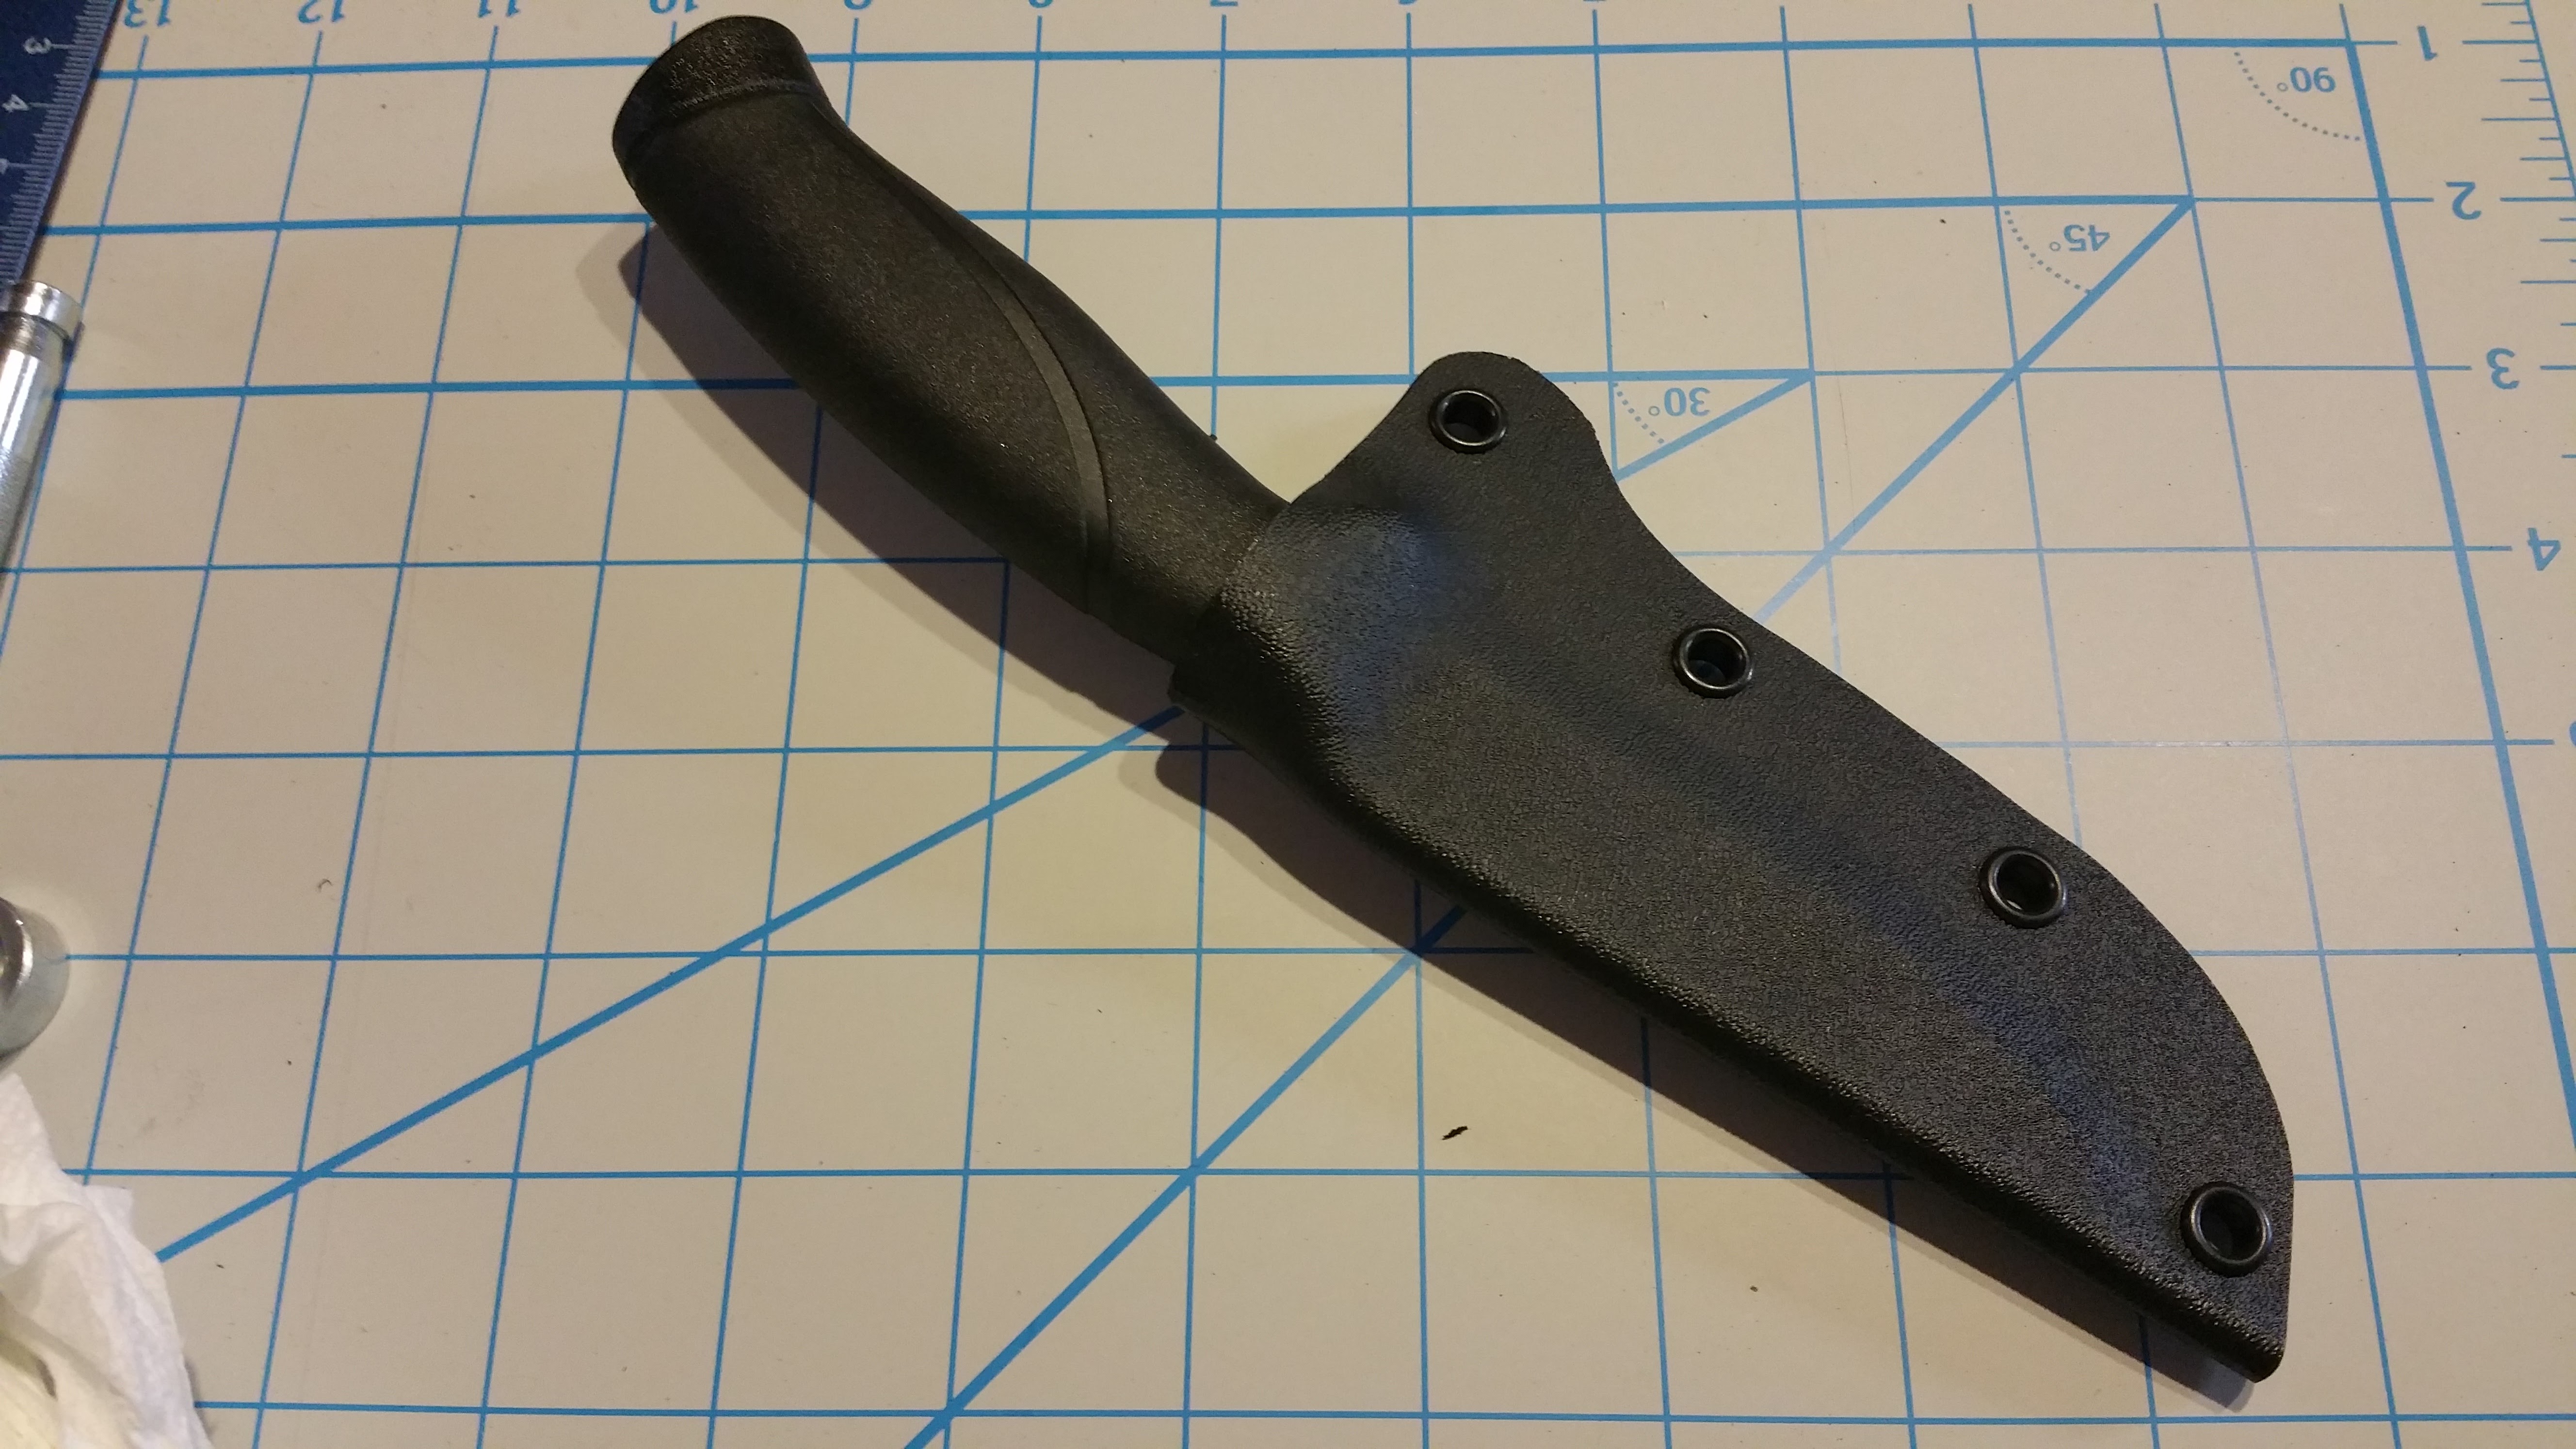
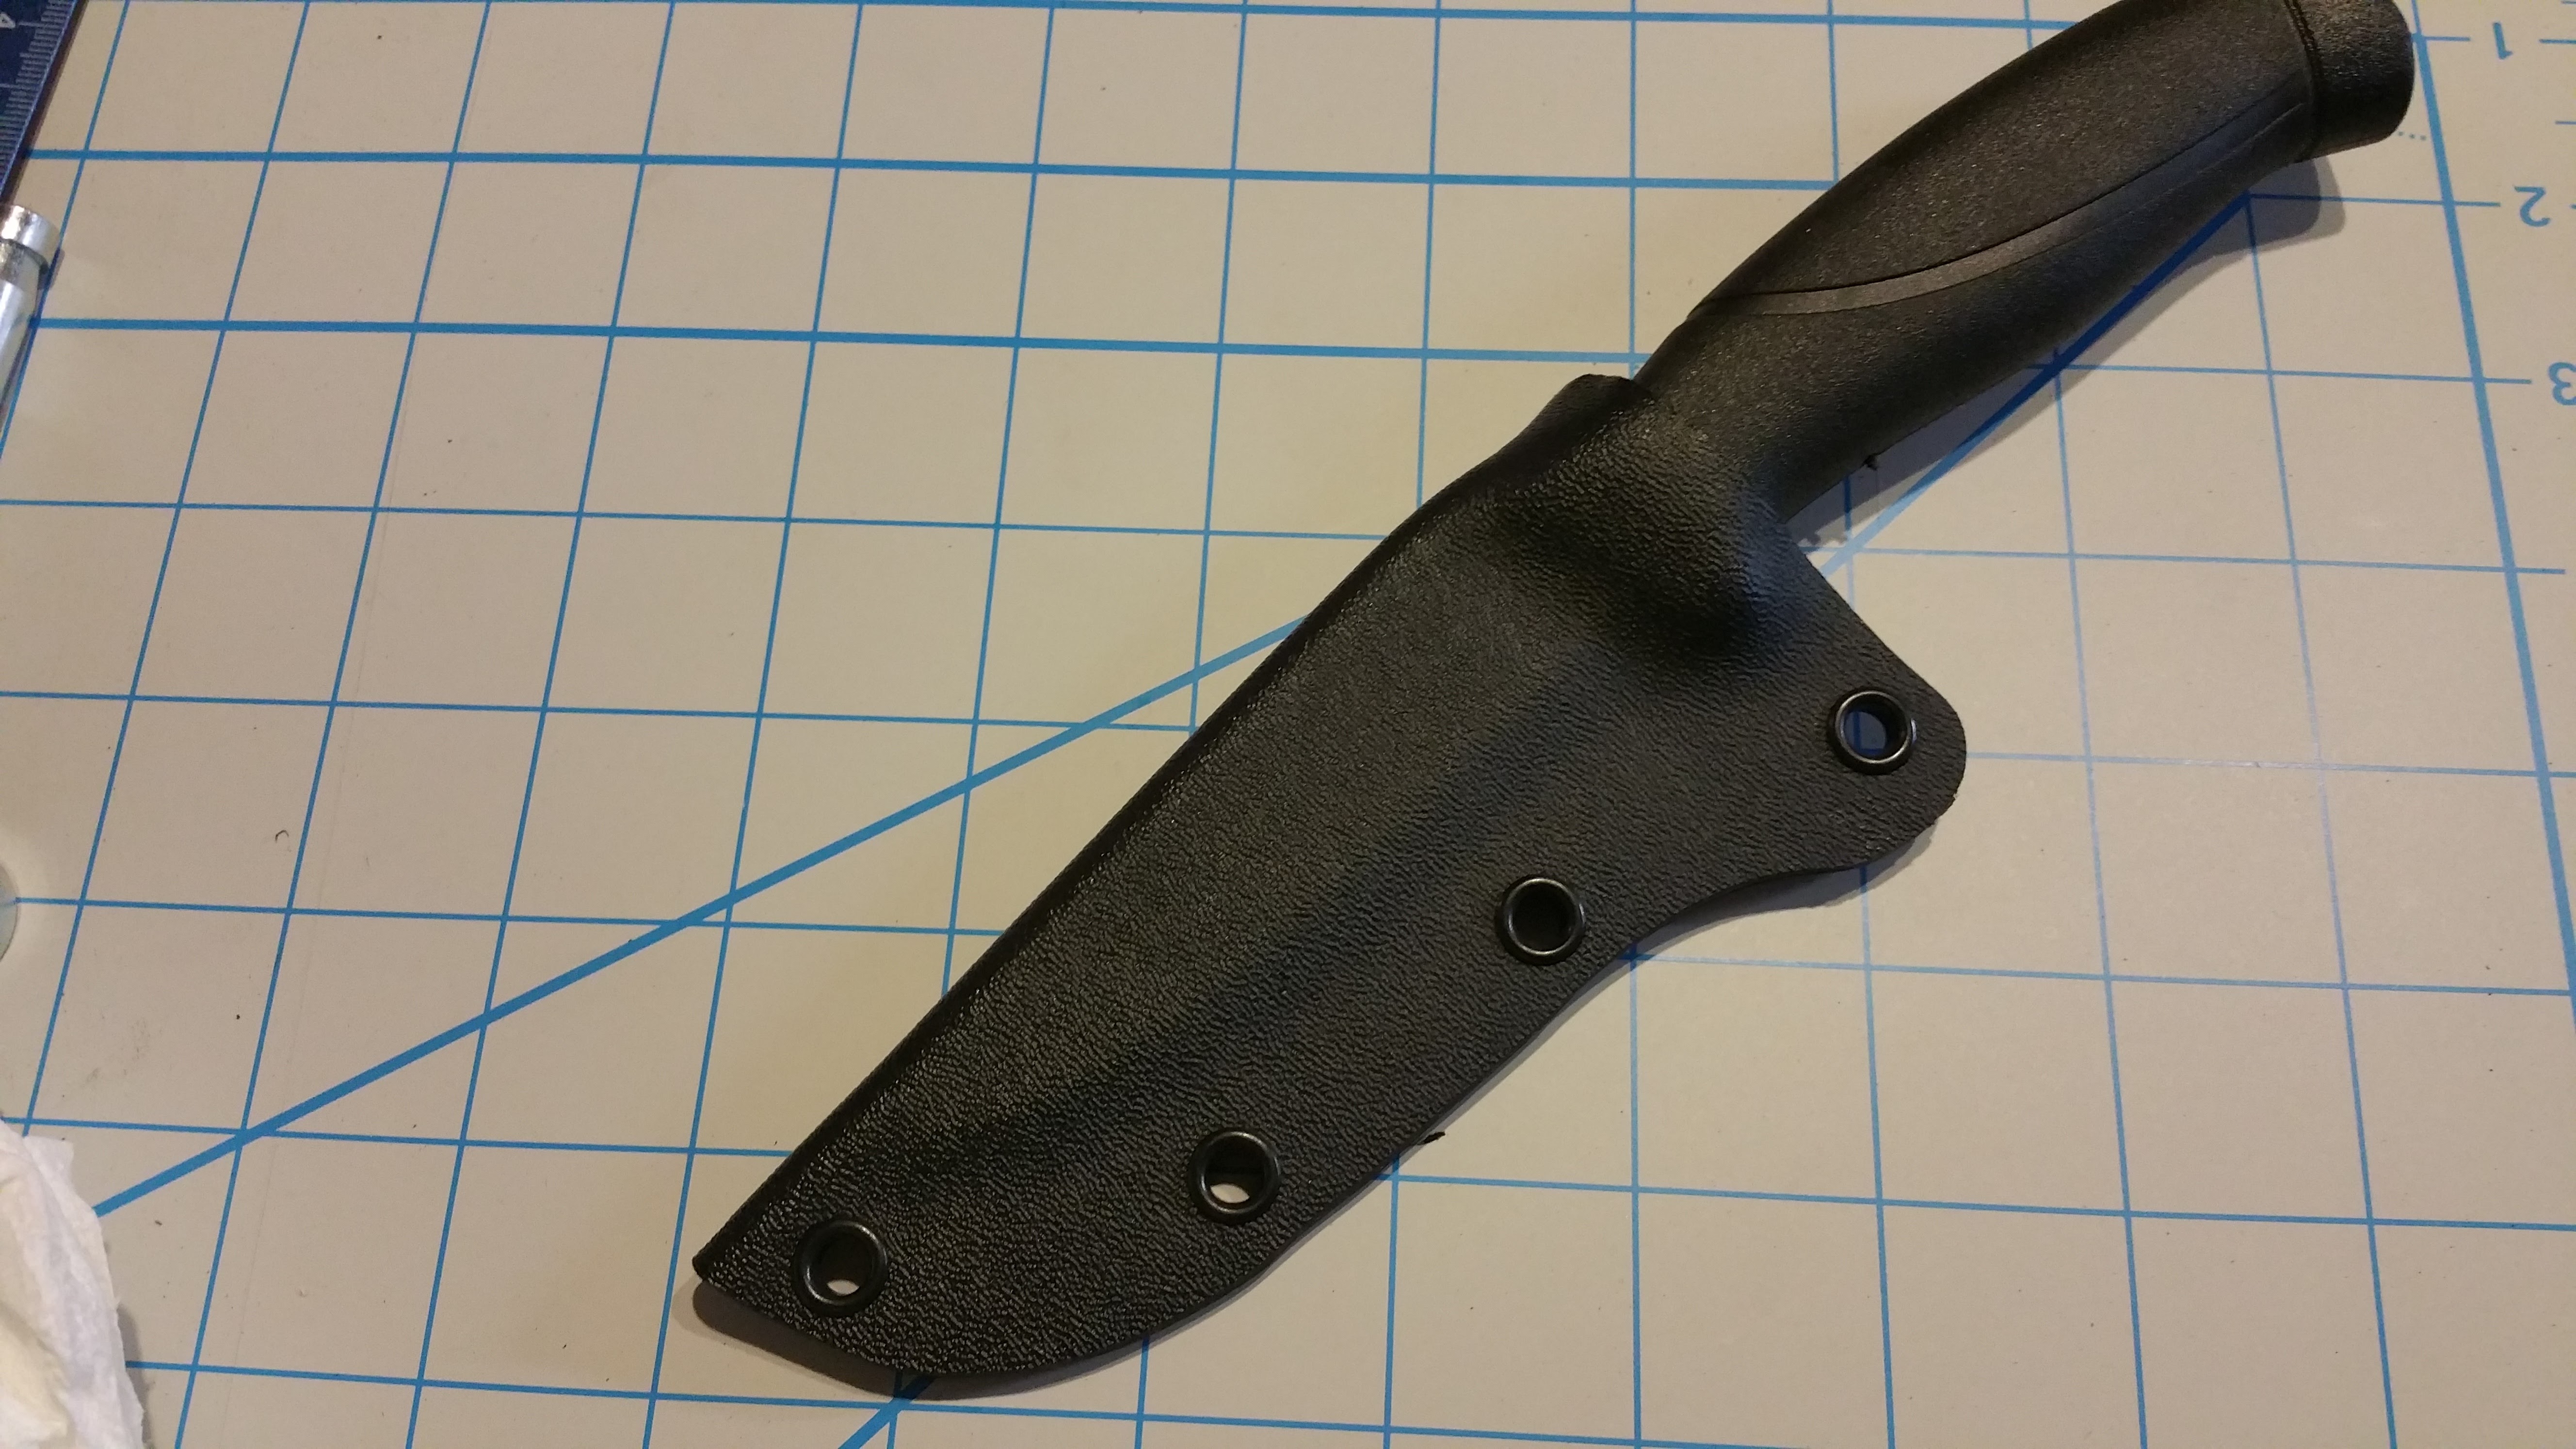
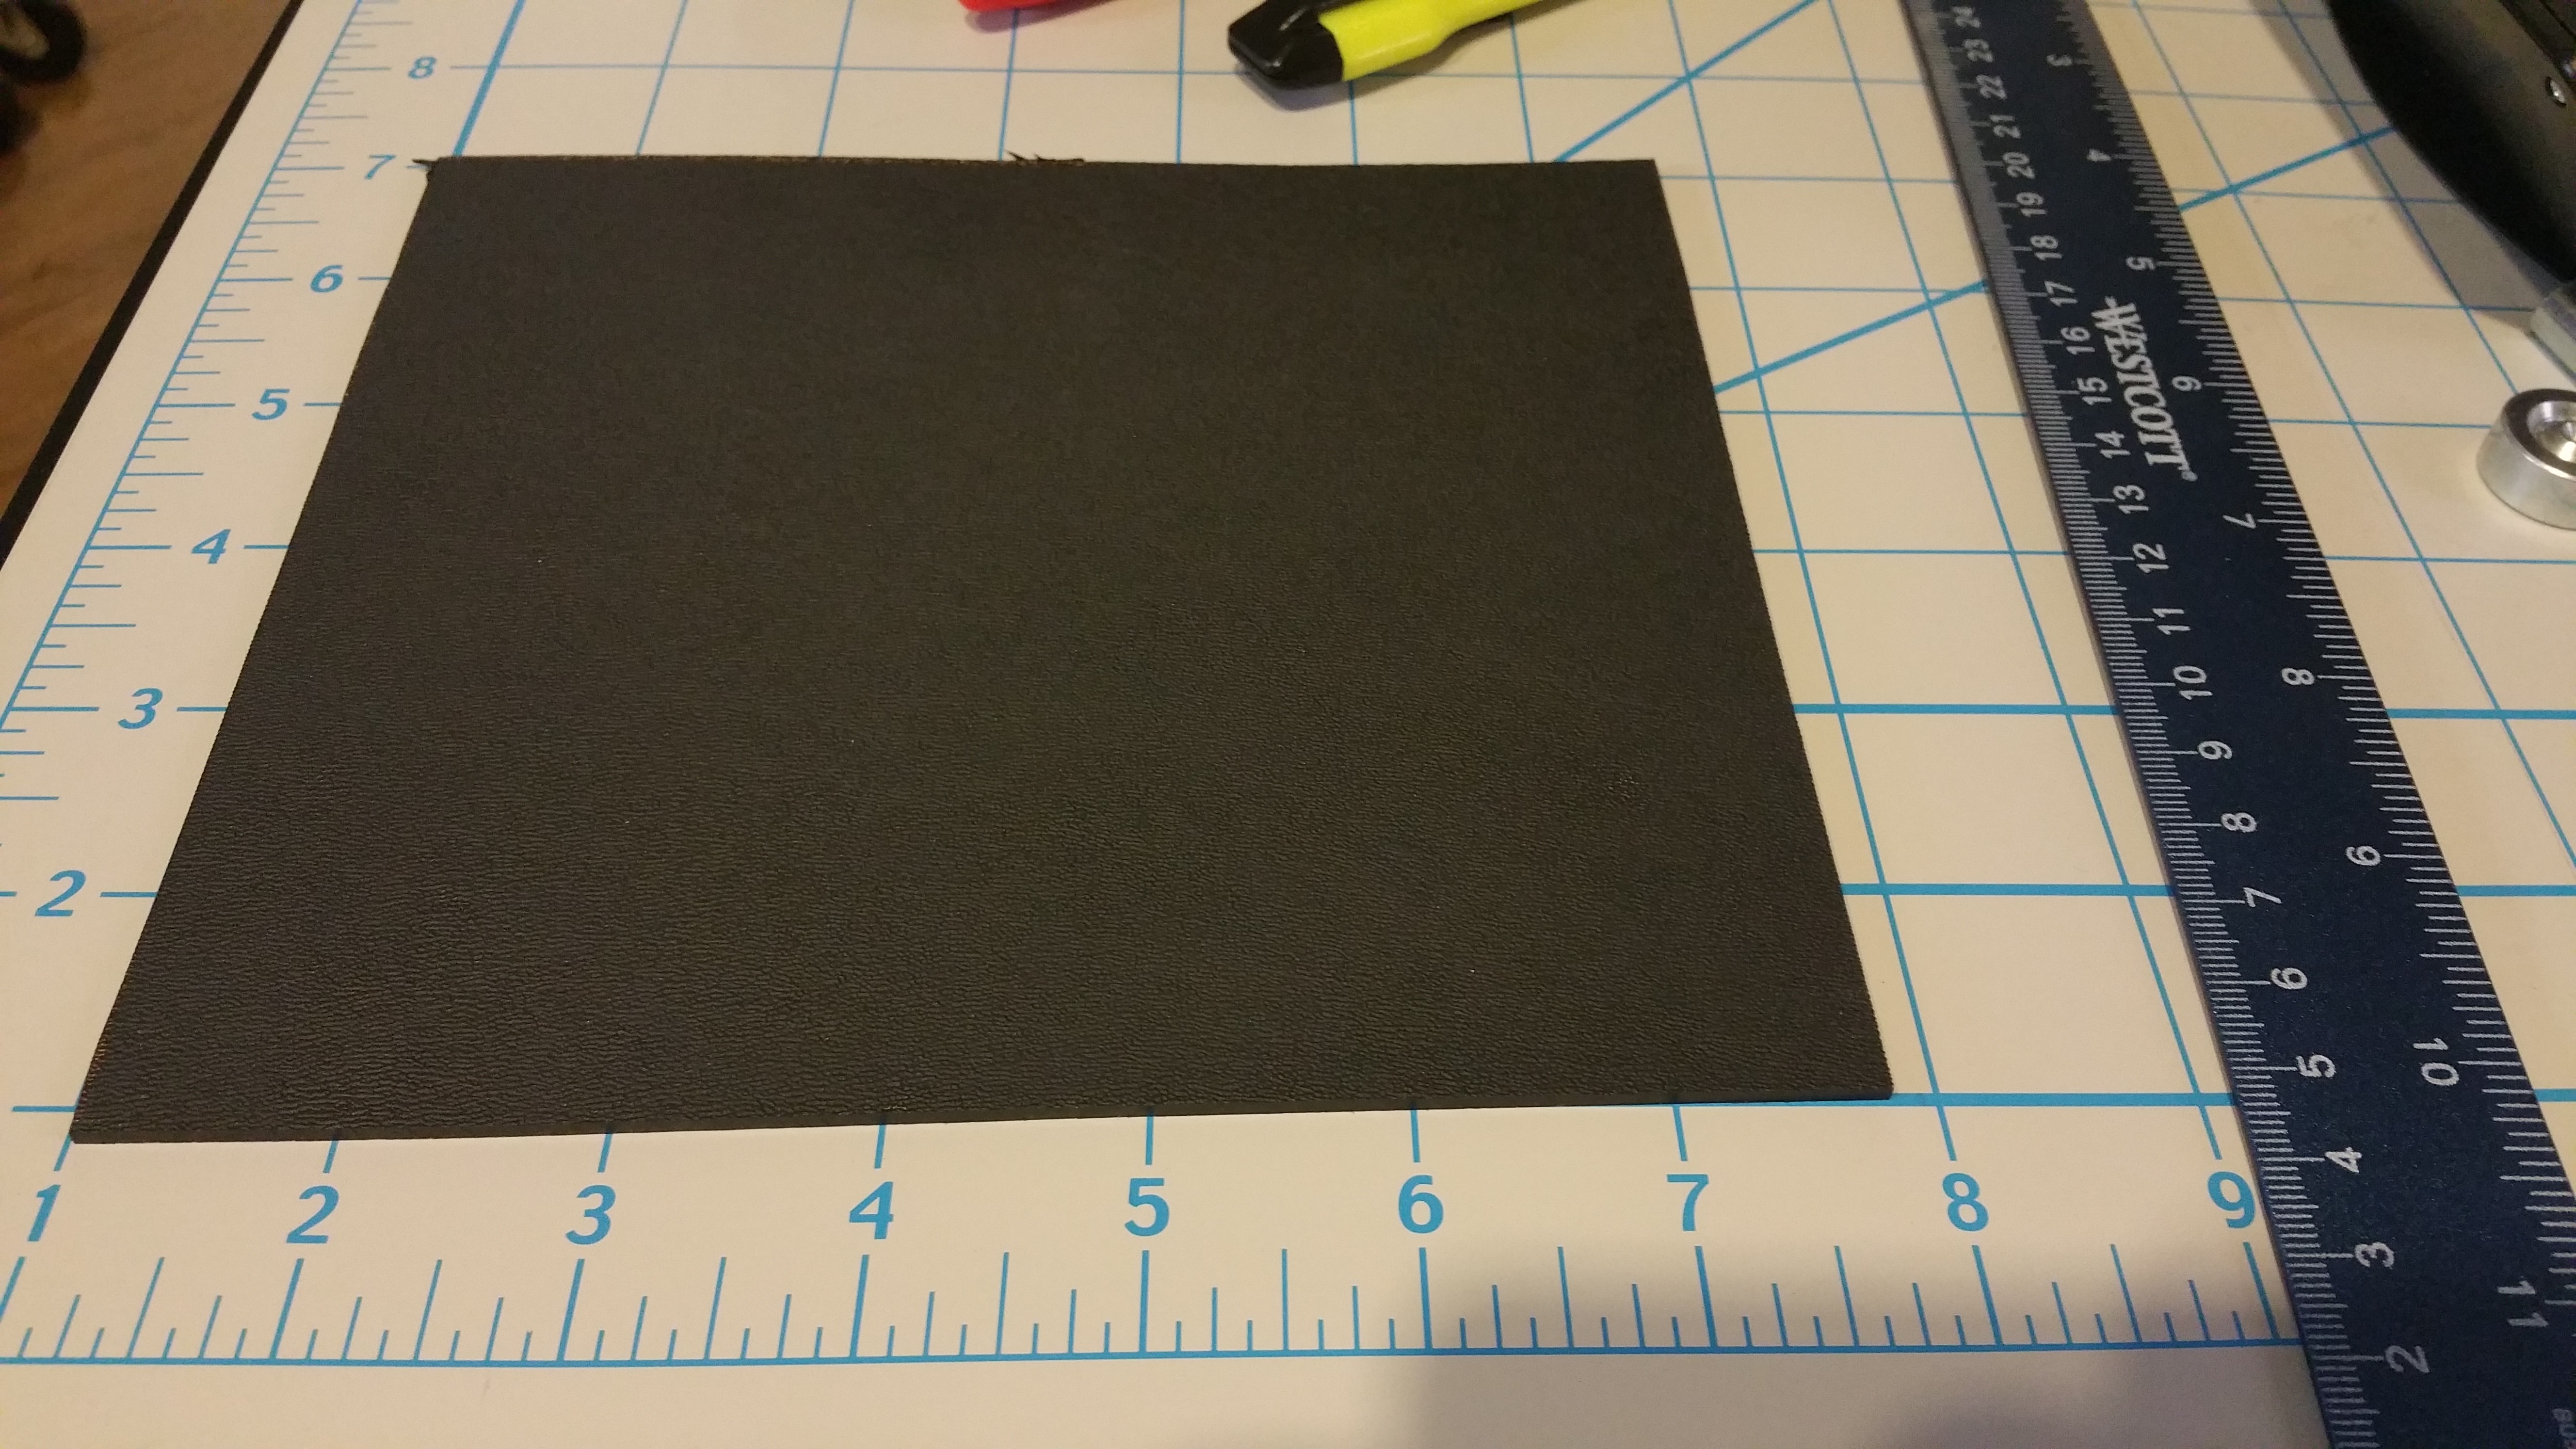
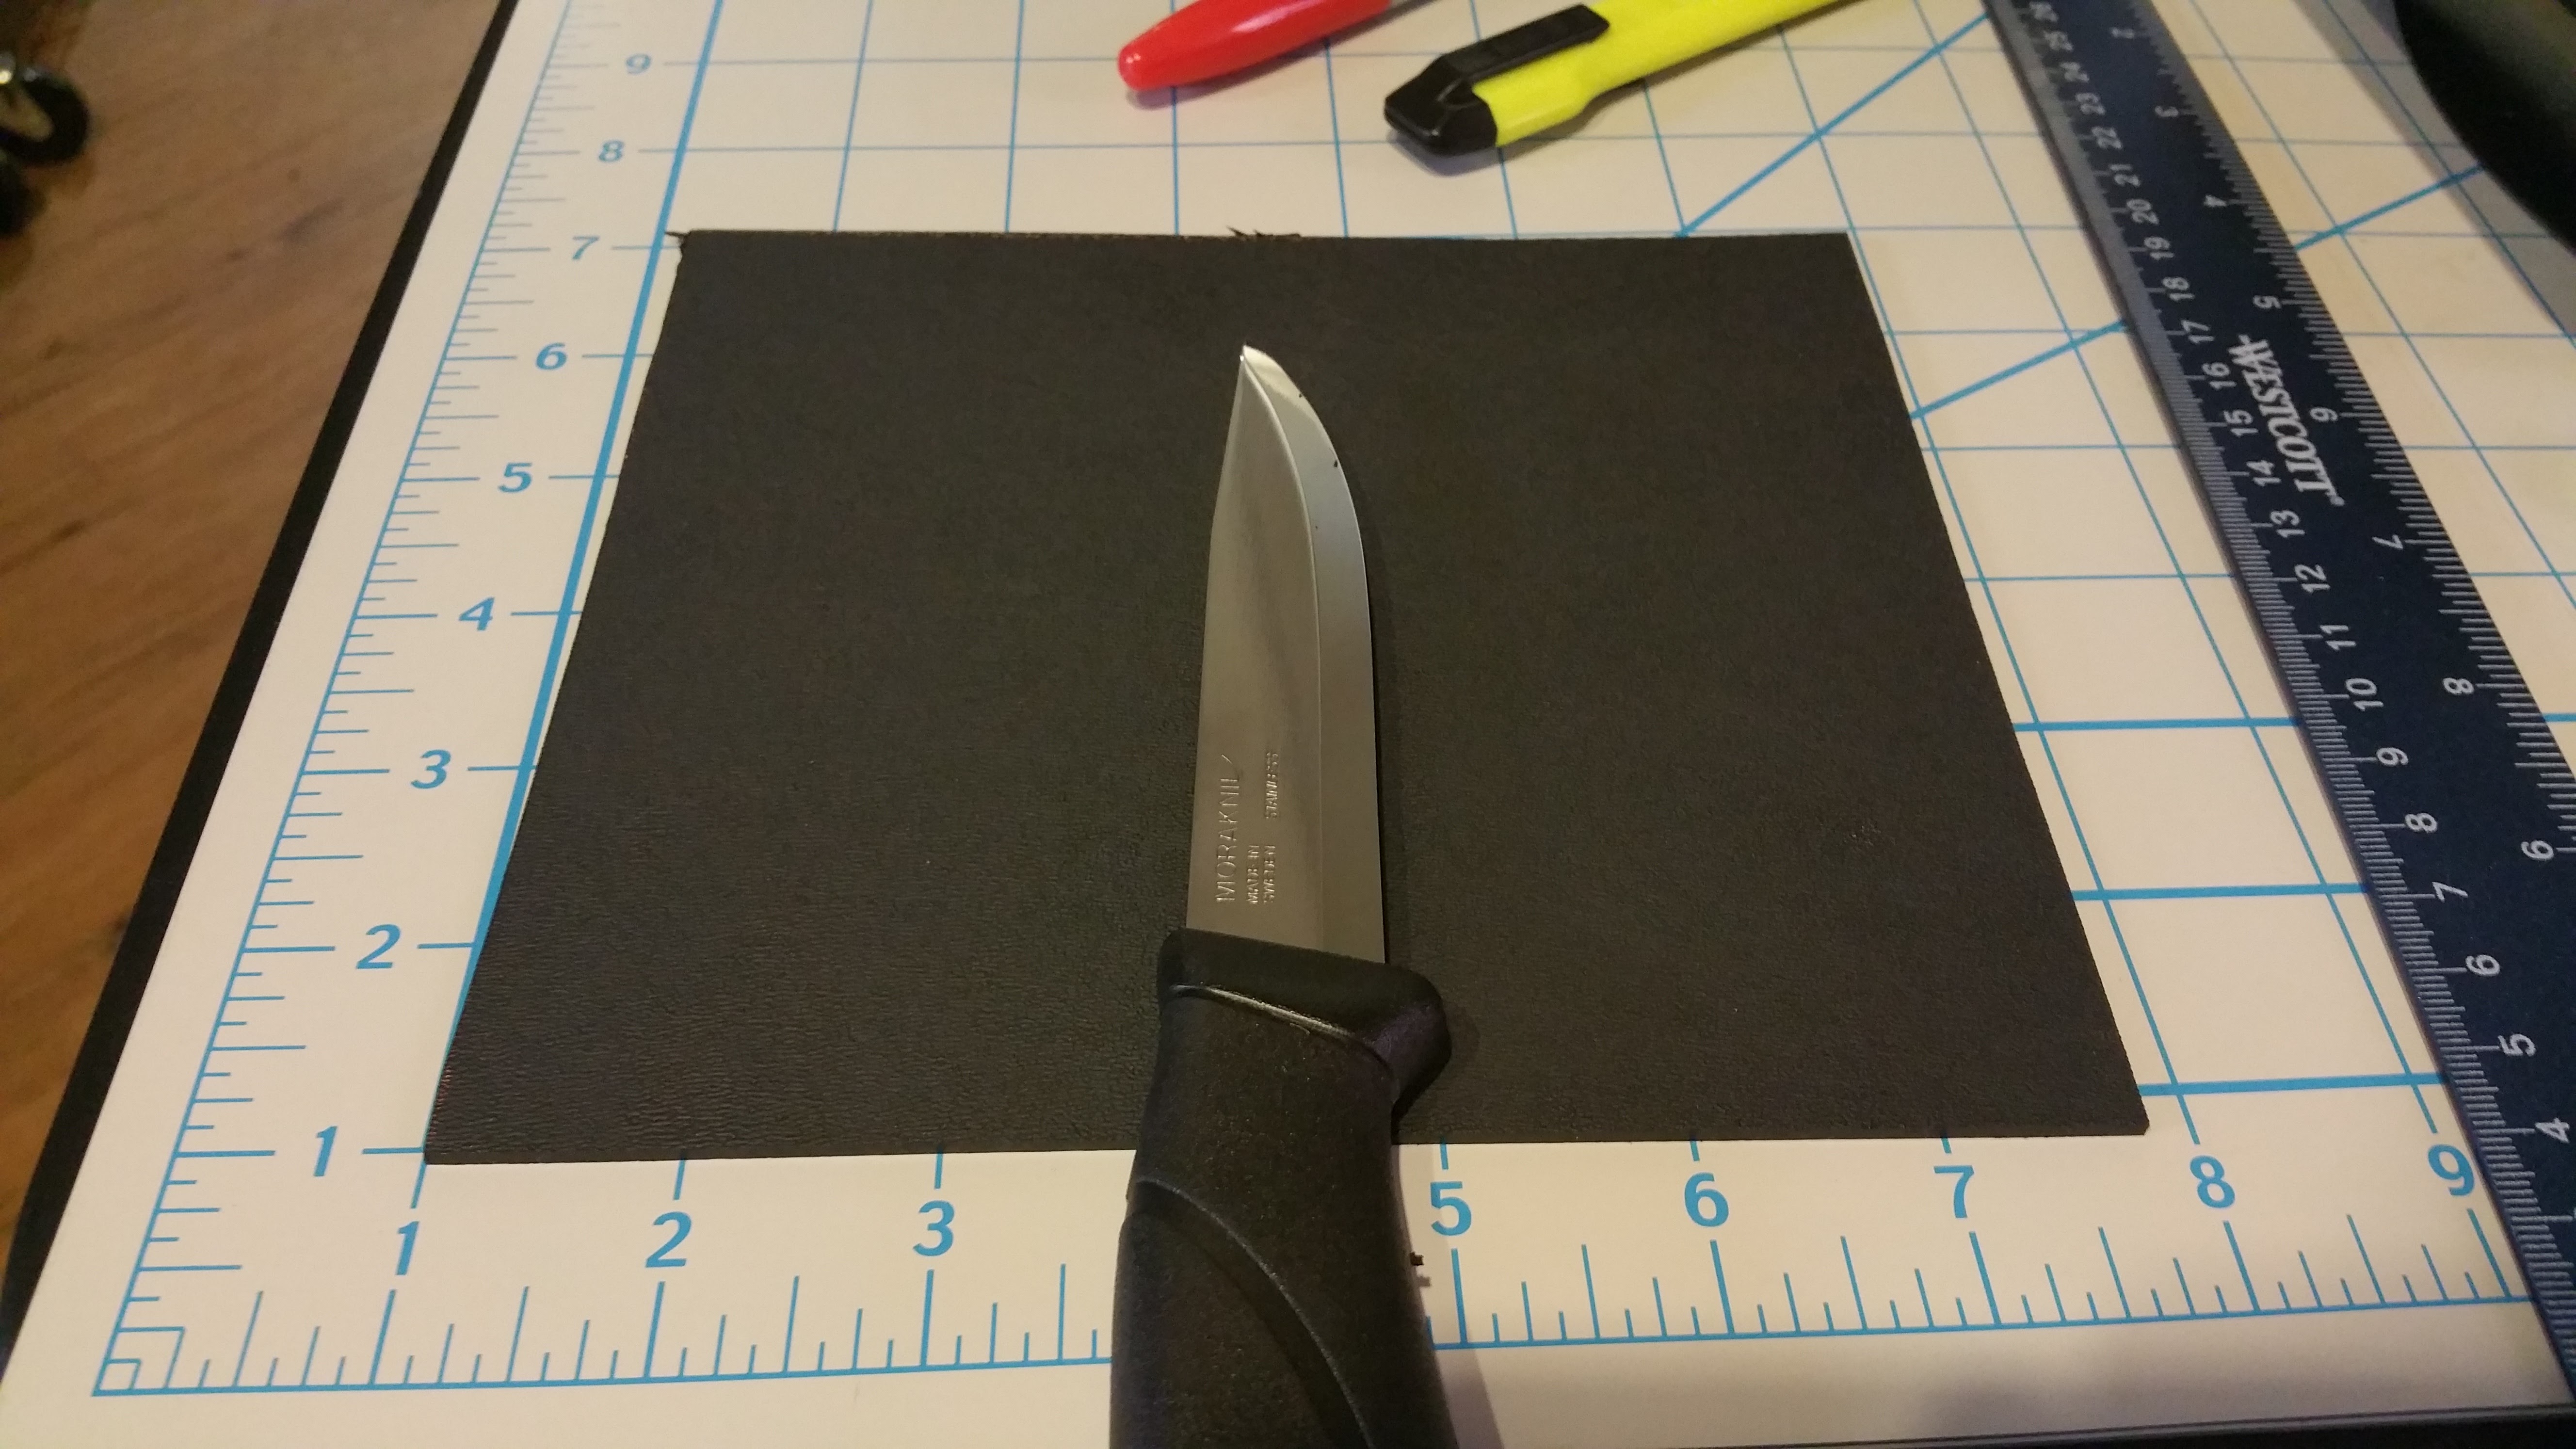
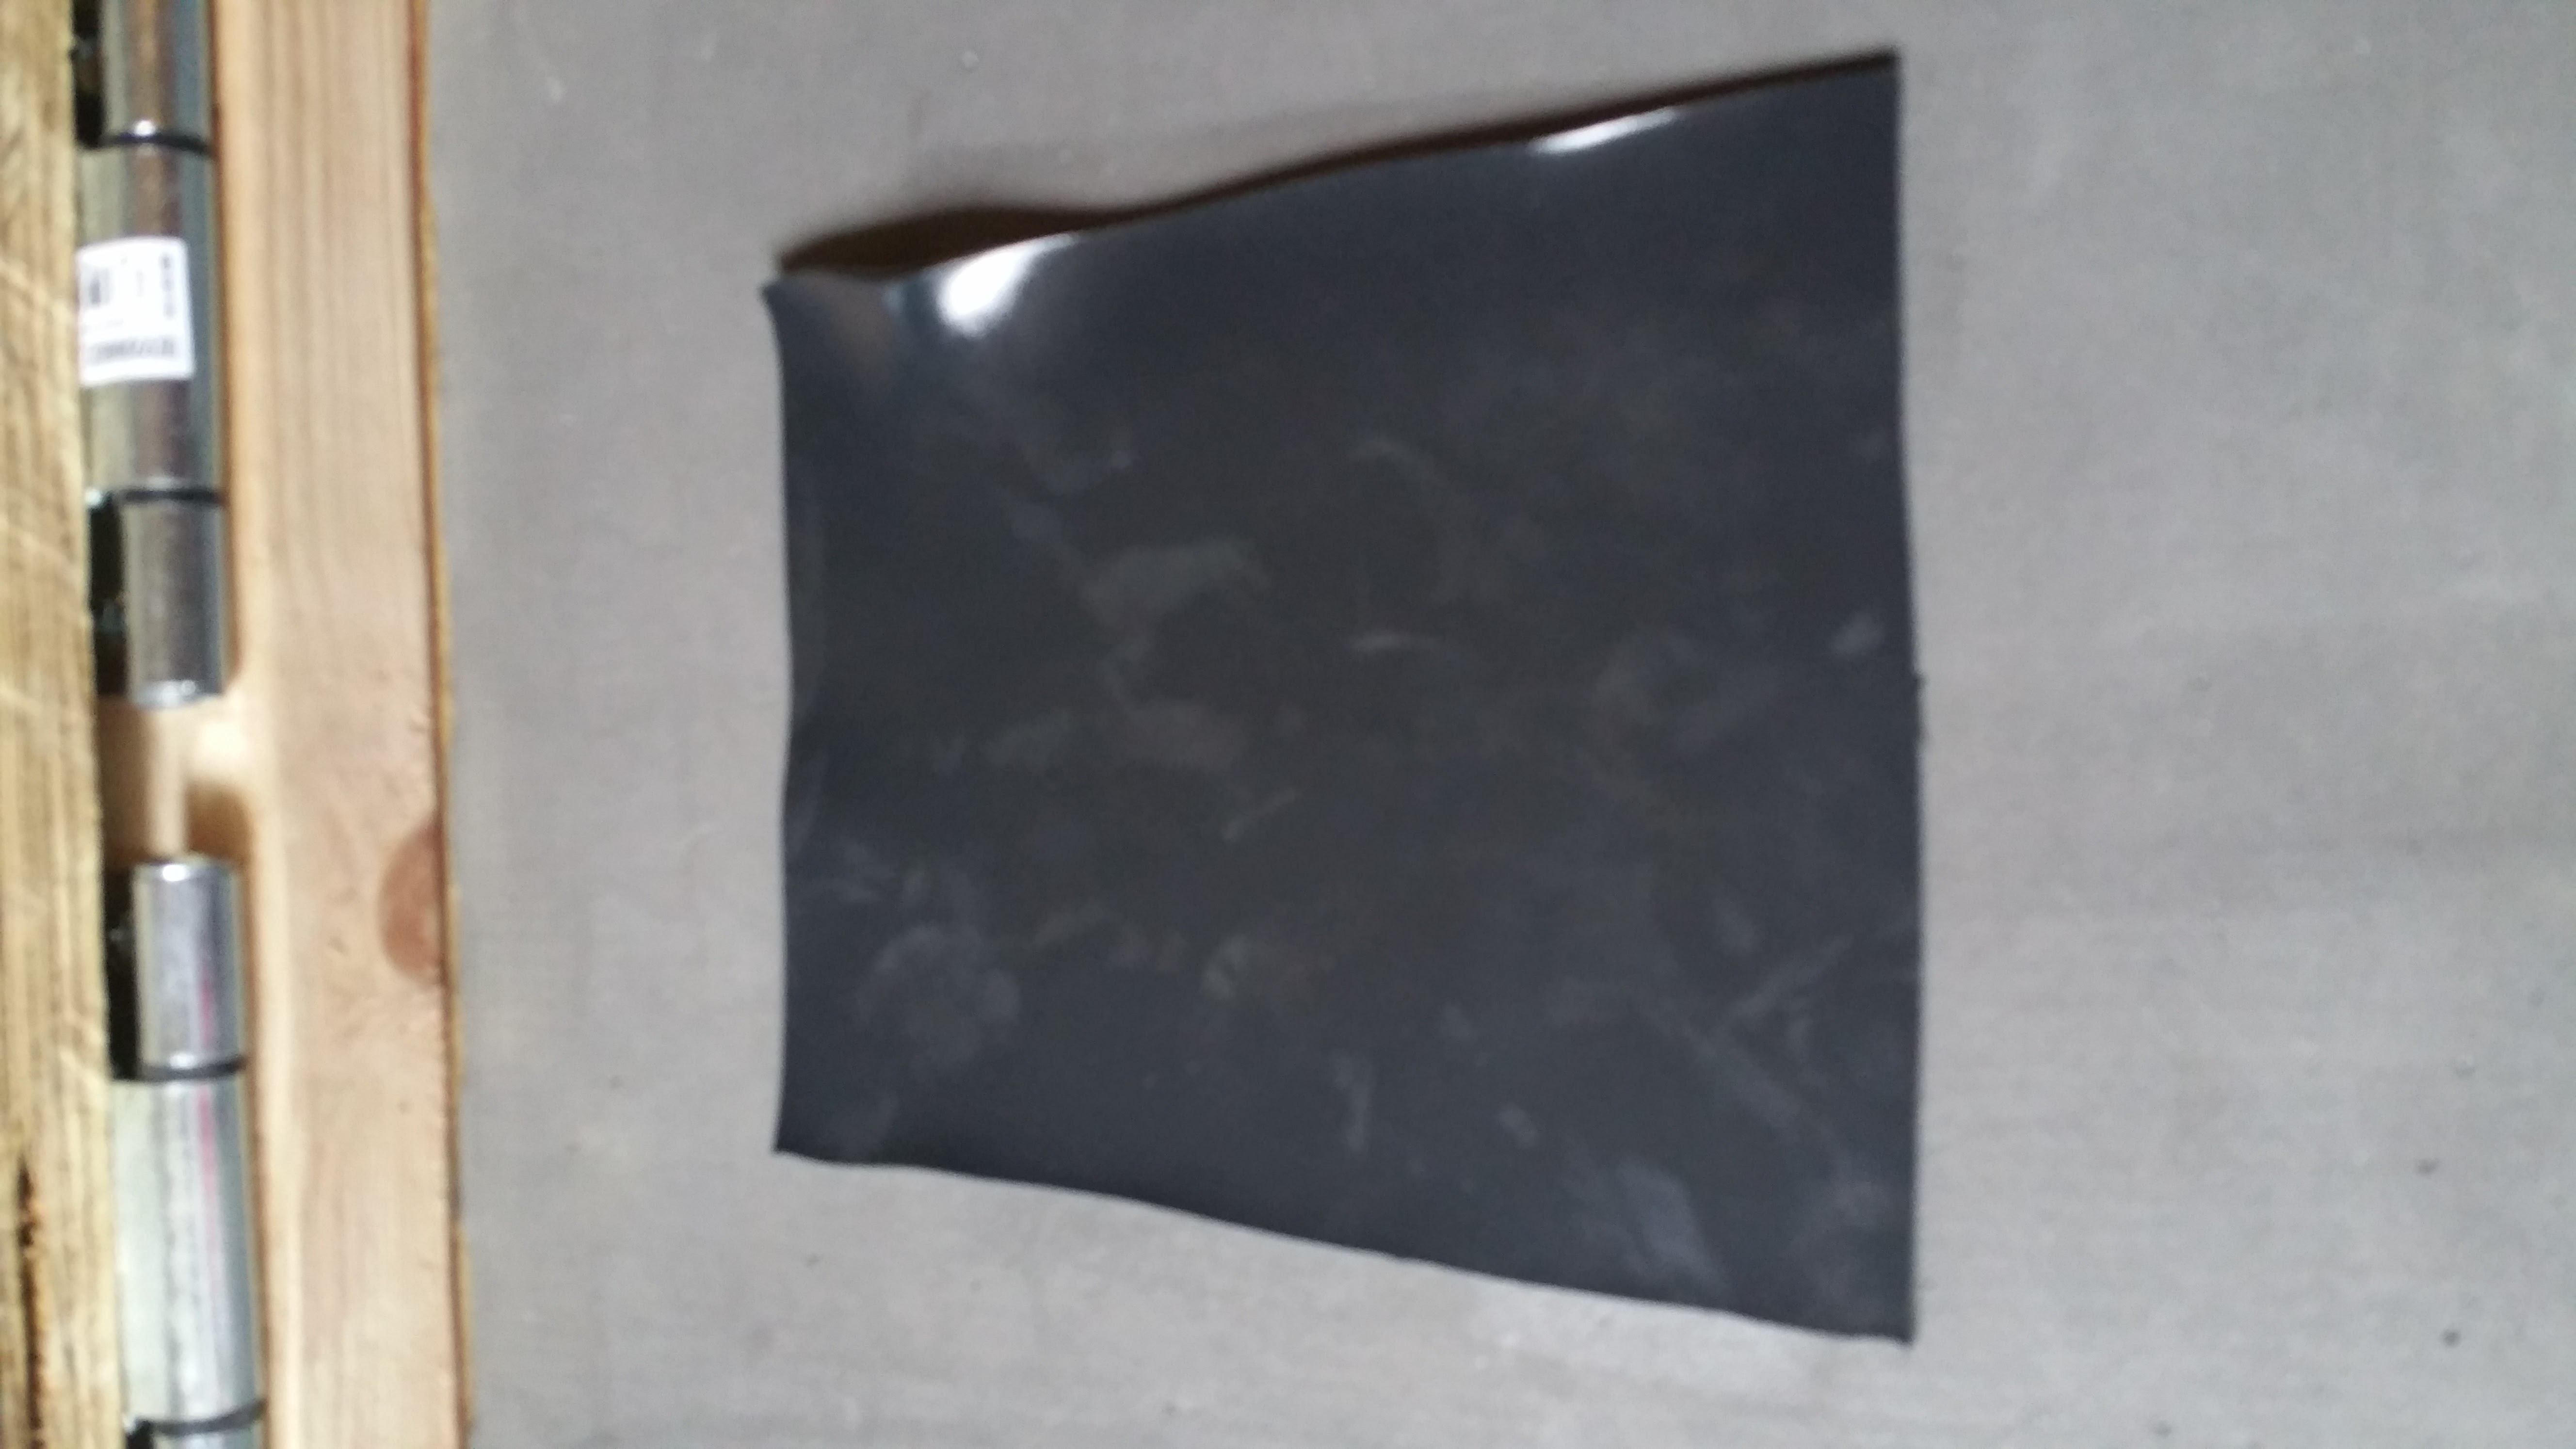
STEP 1: Layout Kydex sheet and figure out the size piece you need for your knife. Add a little extra just in case. You can always cut the excess off but you can't add extra to it if you make it to small. The pictures below show the Kydex already cut to size.

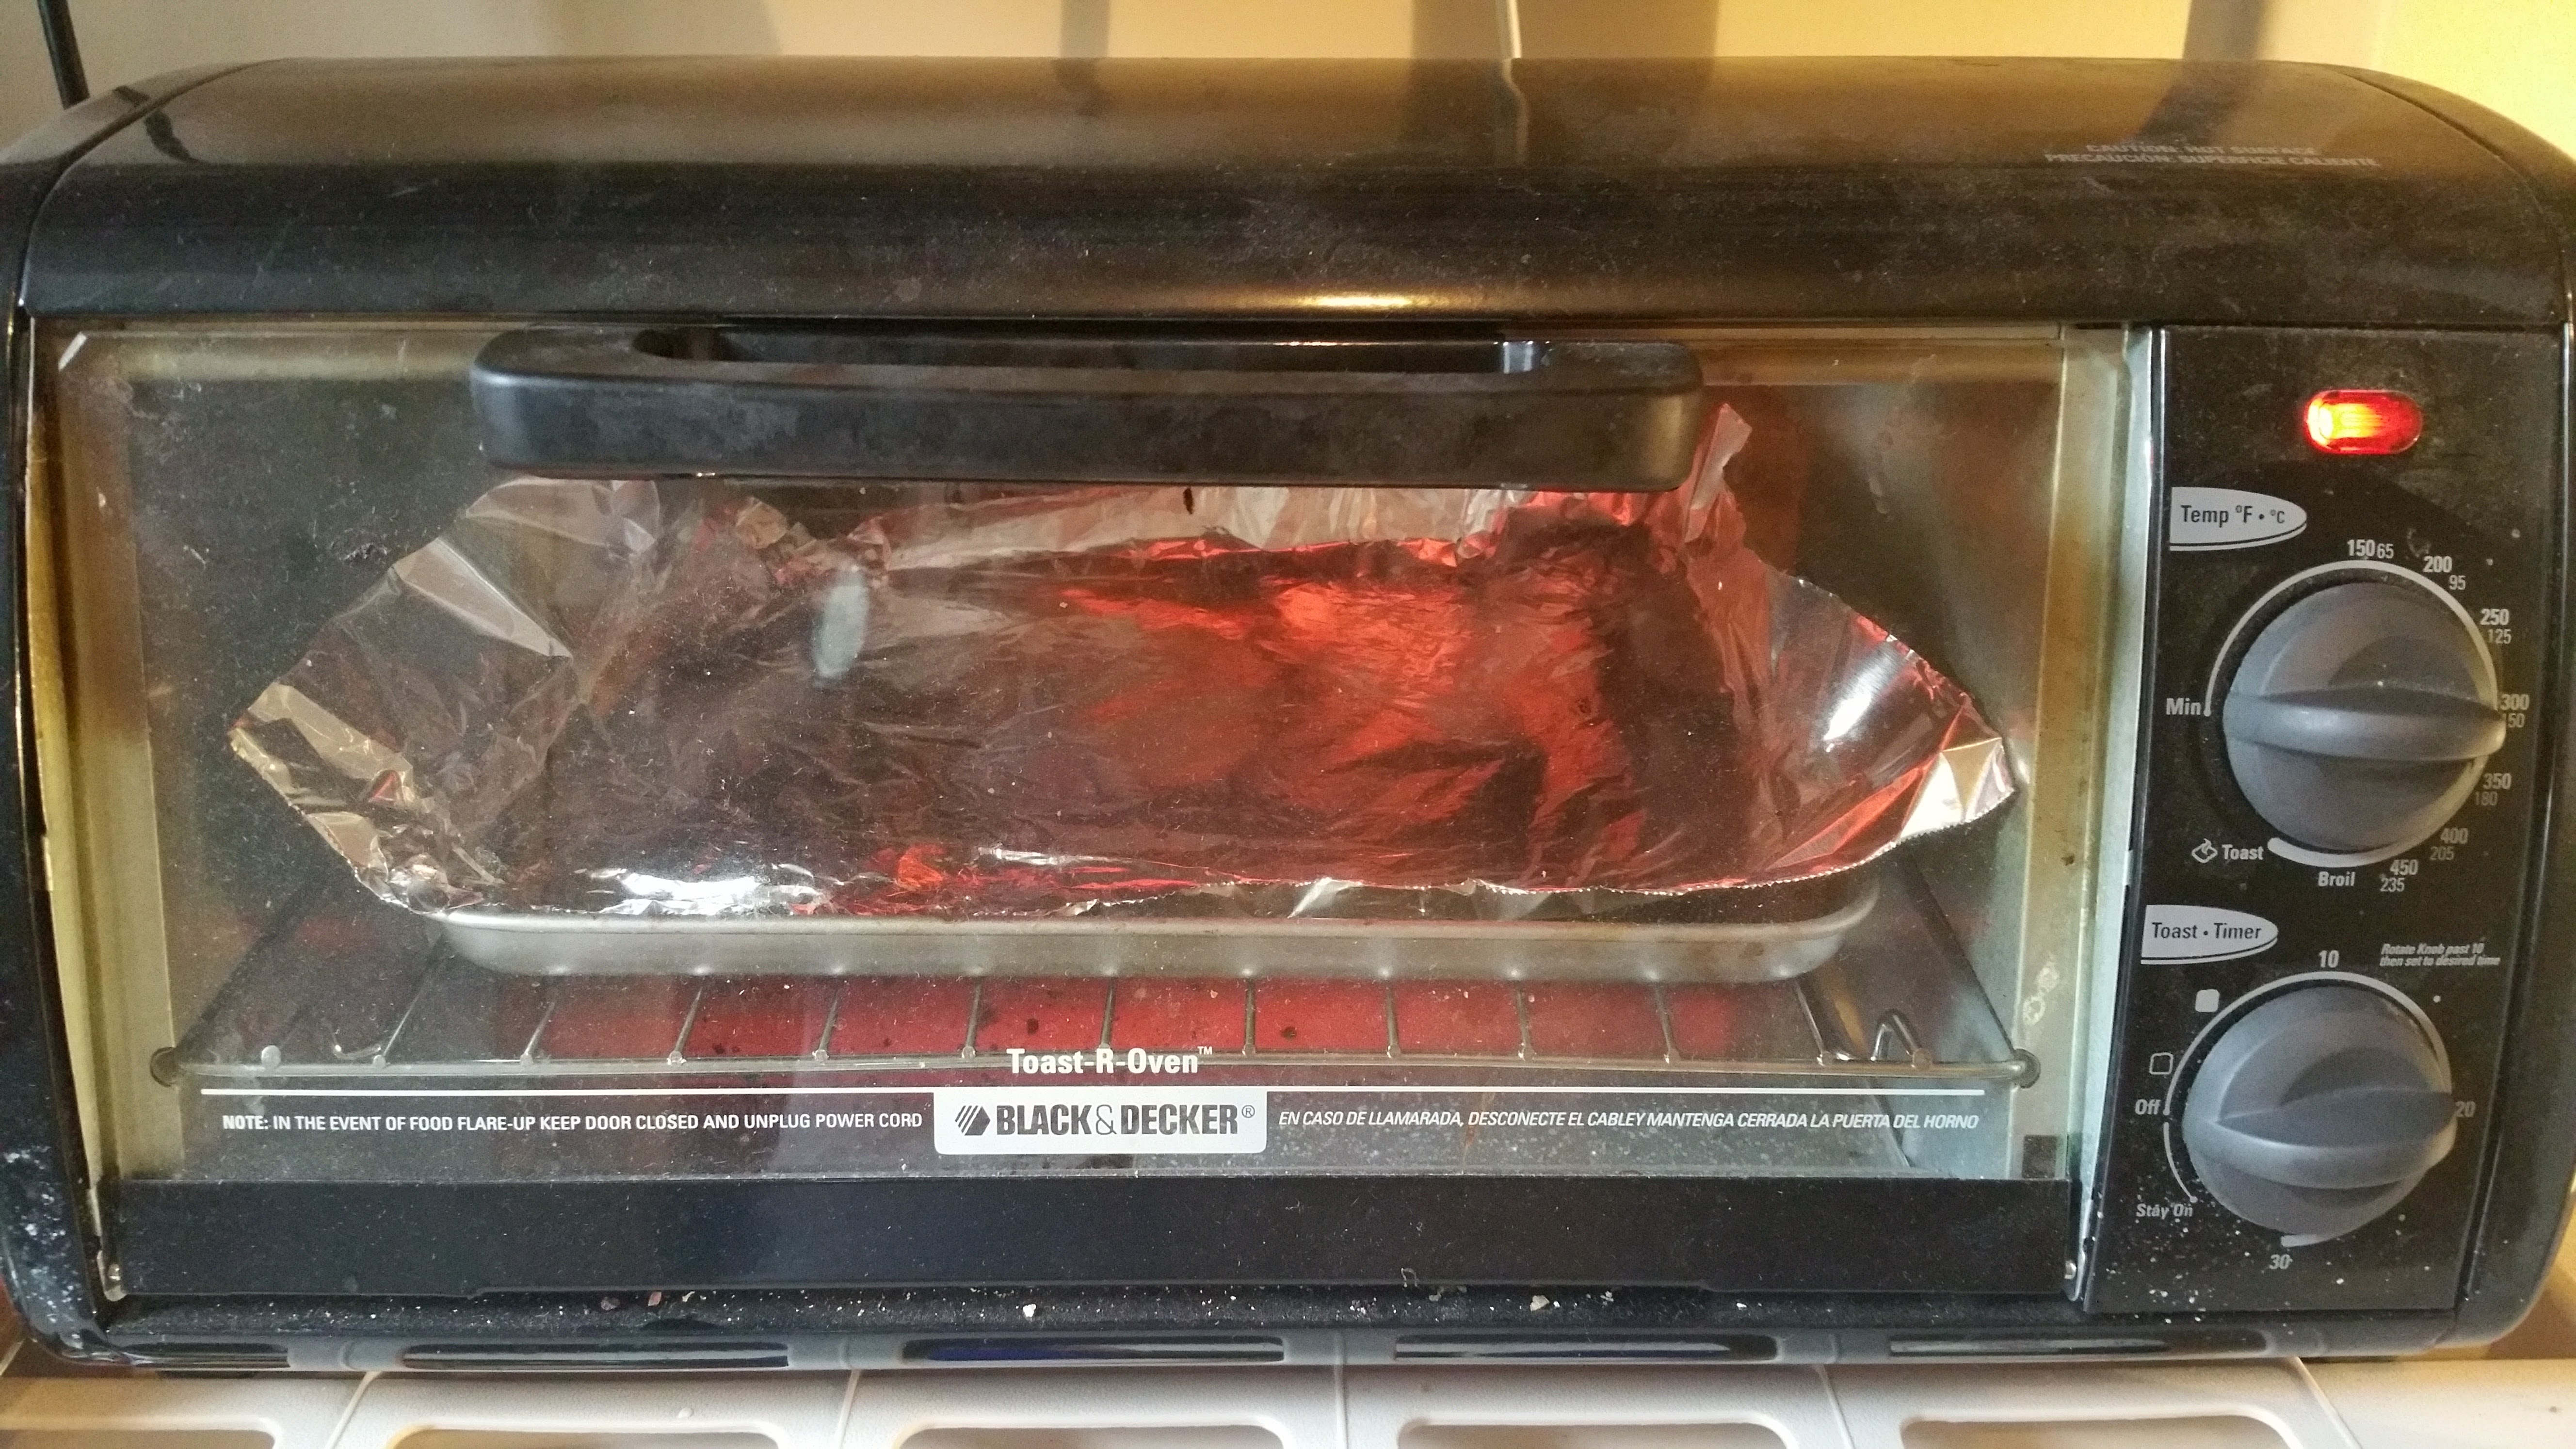
STEP 2: Set oven to 300-350 degrees. While your oven is preheating be sure to get your press and everything setup and ready to go. Once your oven is ready place your sheet of Kydex in the oven on a pan or aluminum foil and let it heat up for a few minutes. Time will depend on oven and size of Kydex. Your Kydex will be ready when it's pliable and feels like rubber. Be careful it will be very hot!
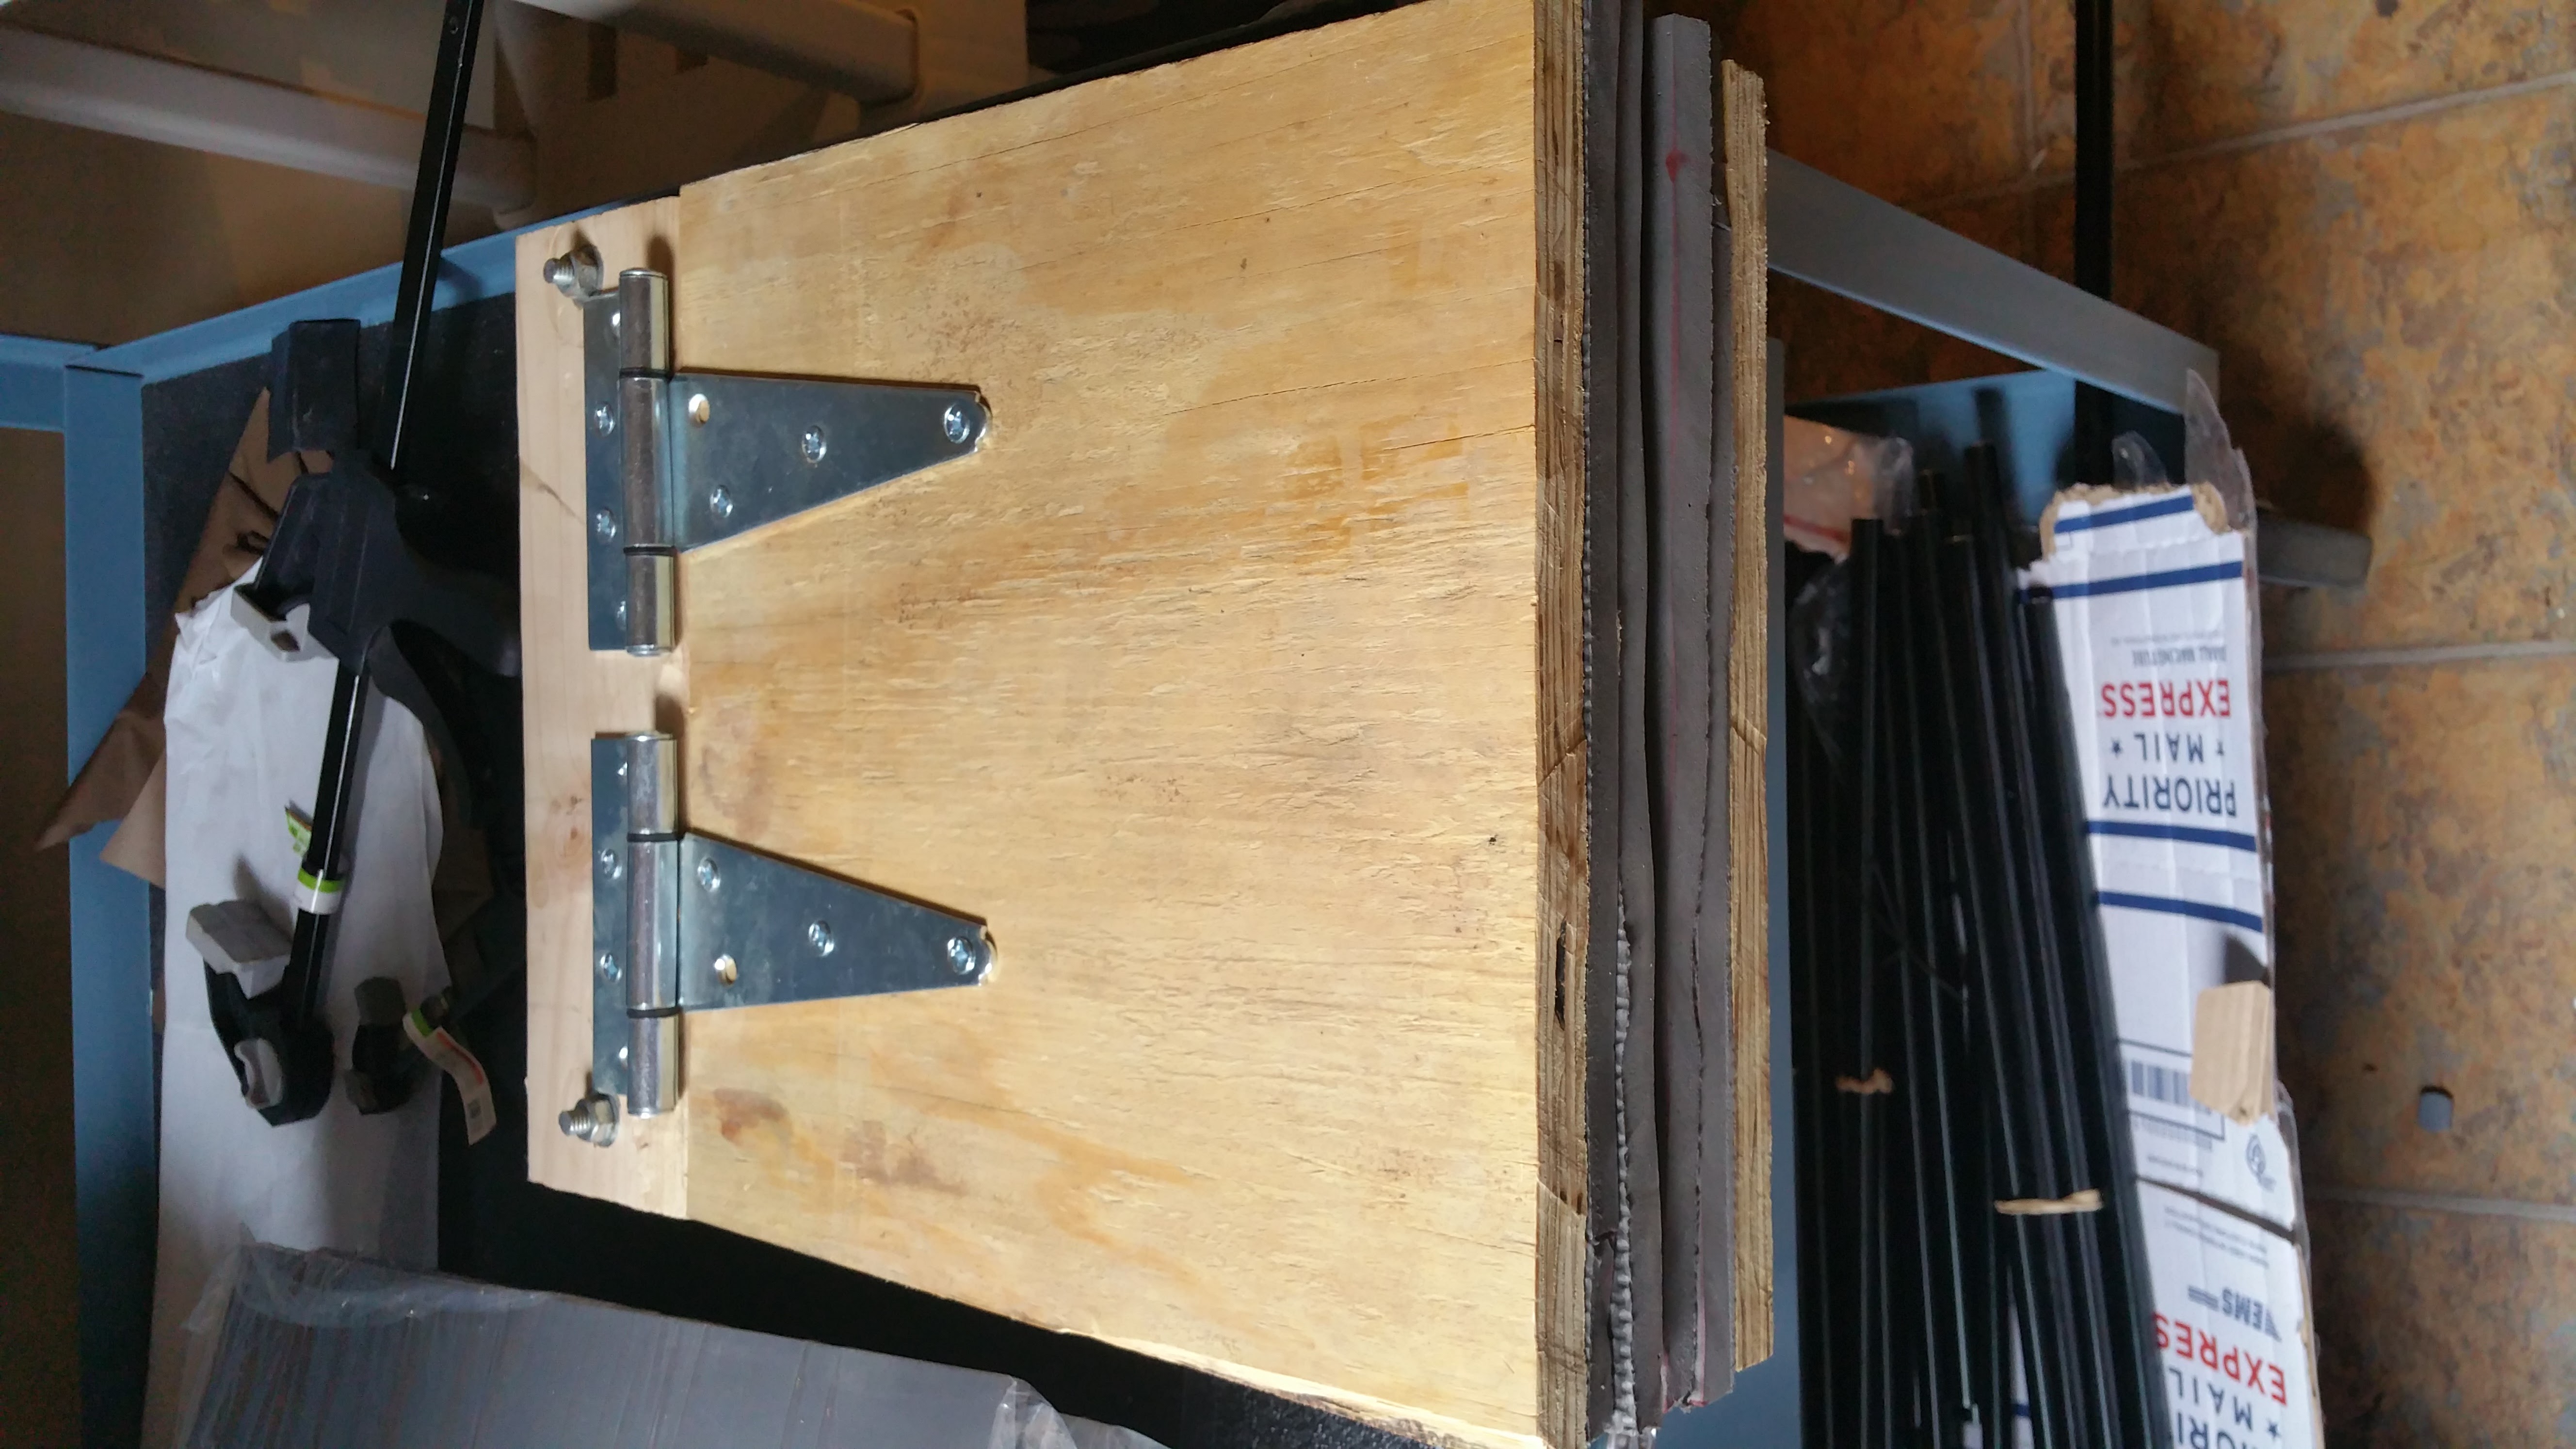
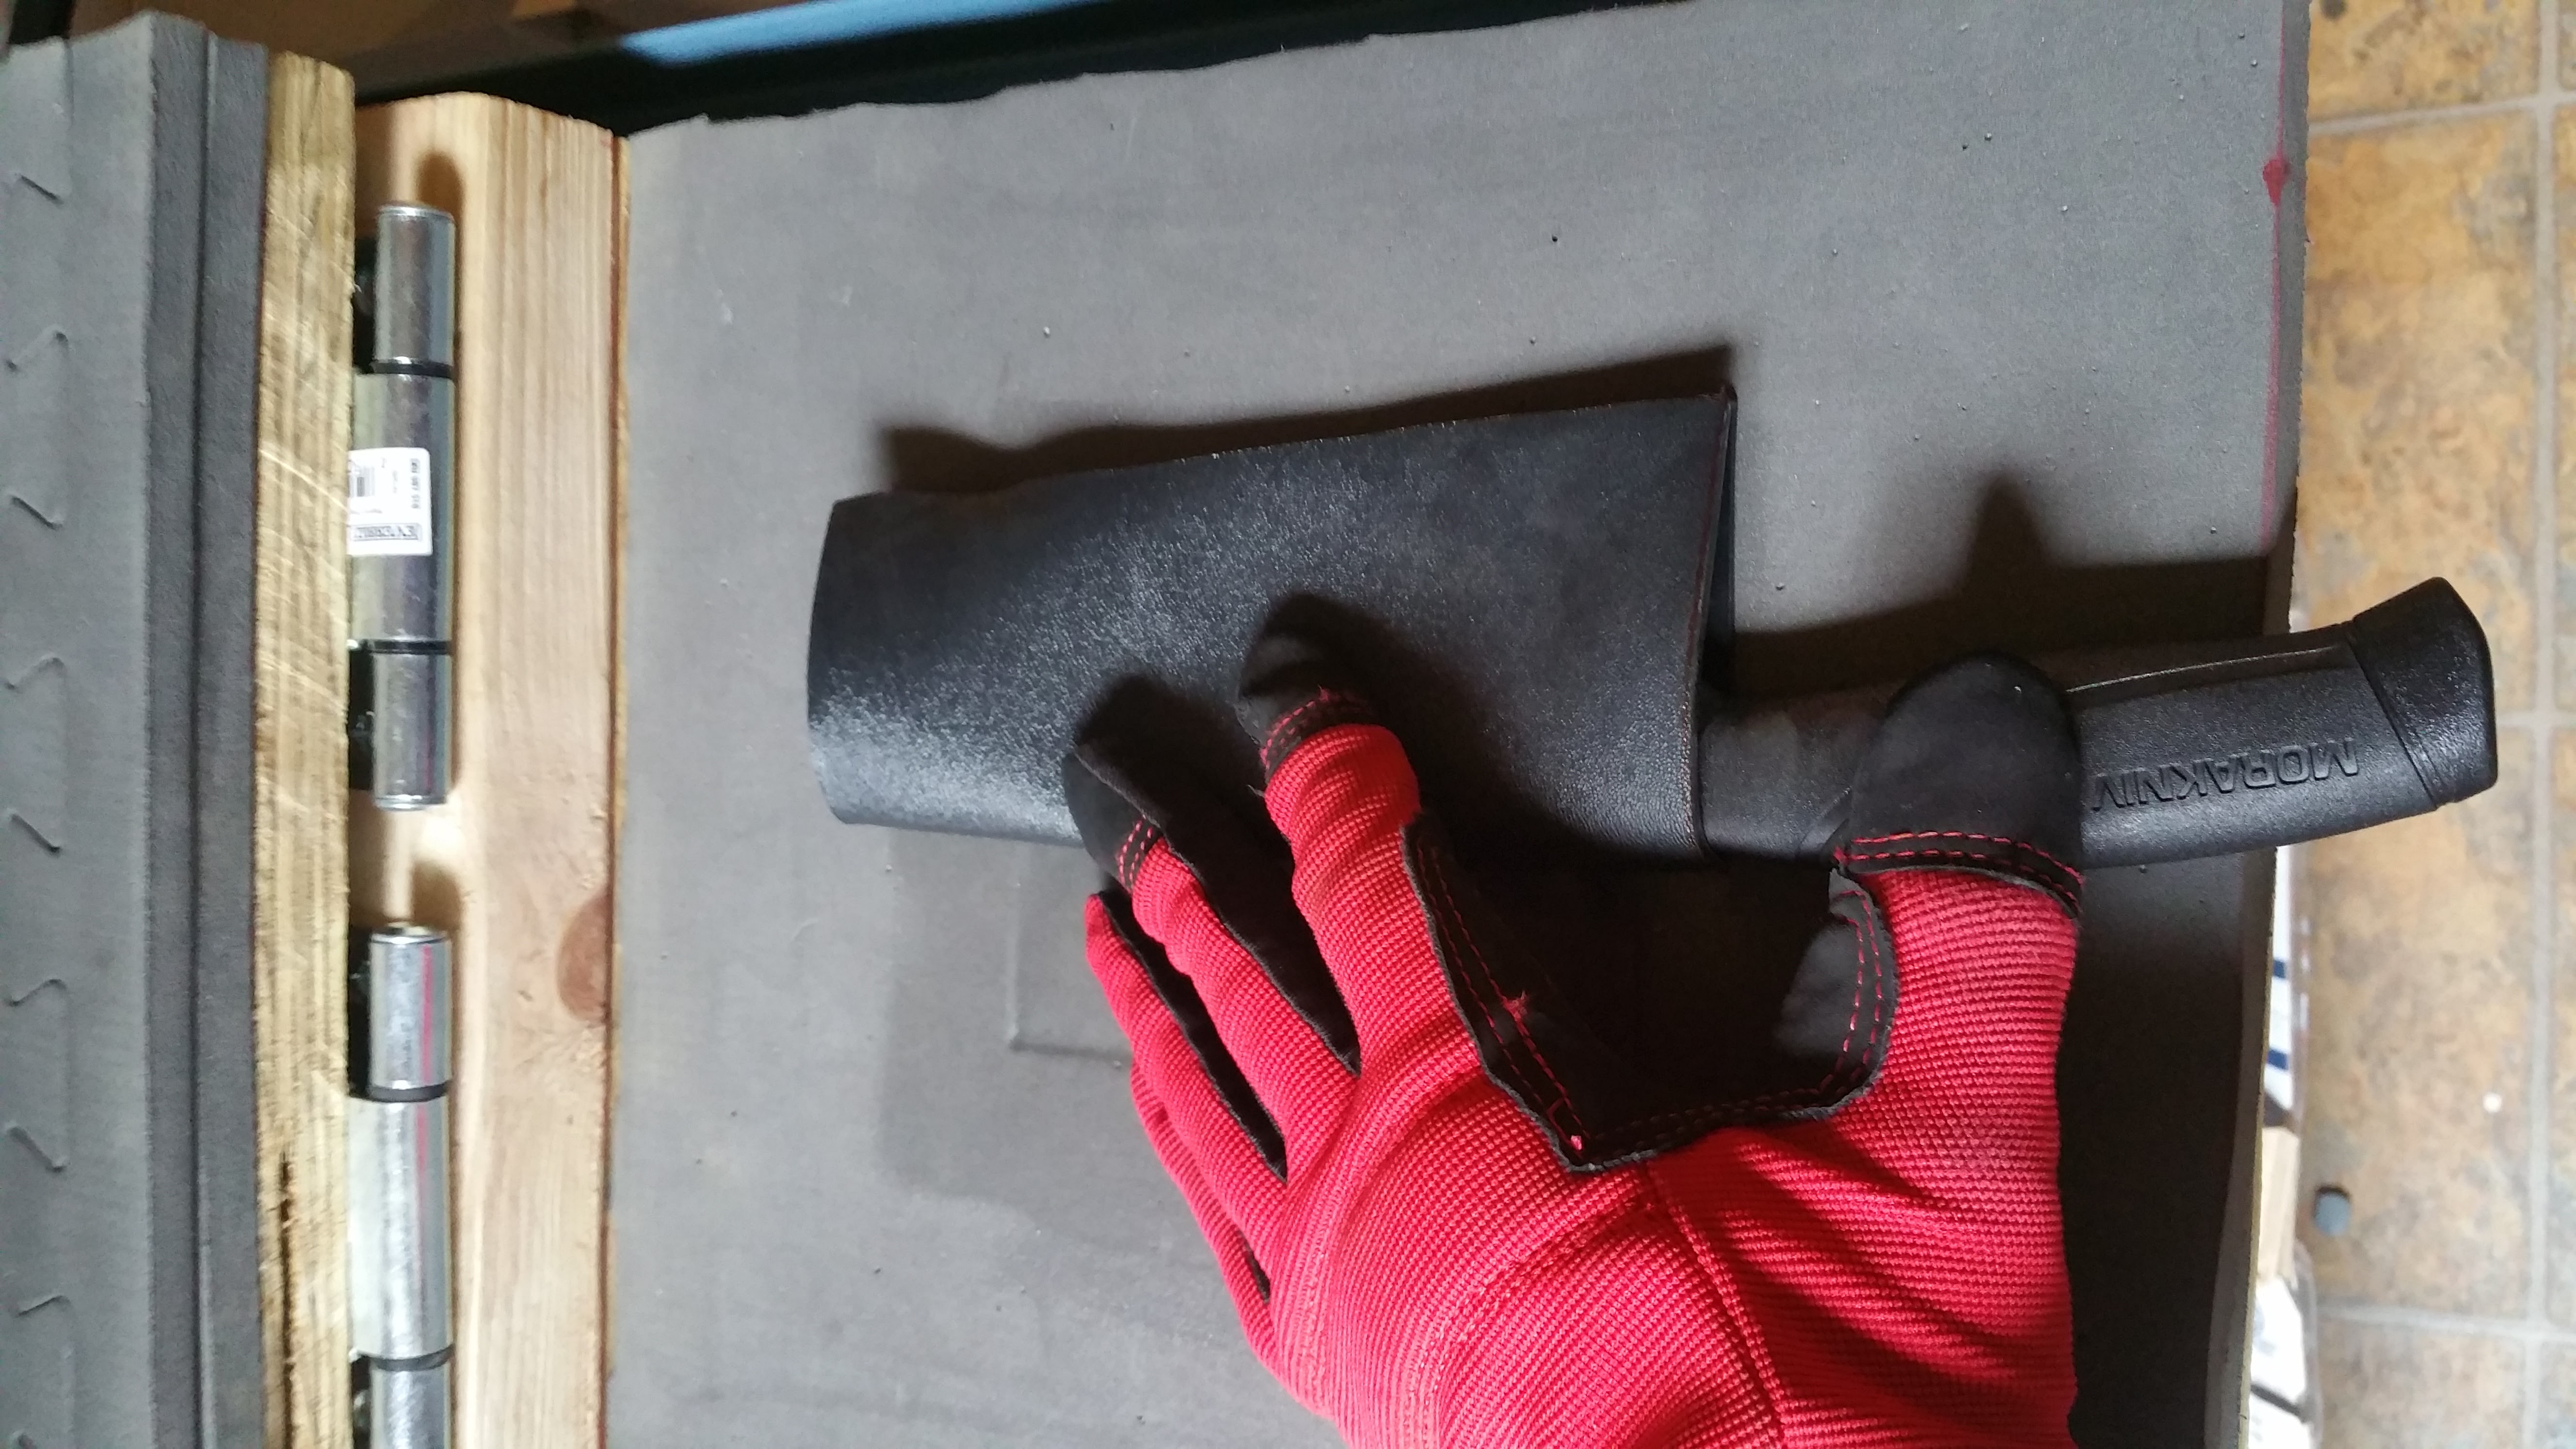
STEP 3: Once your Kydex is nice a pliable pull it out of the oven and place it on your press, lay your knife in the position you want, close your press and clamp it down tight. Use your gloves during this step since the kydex will be really hot.
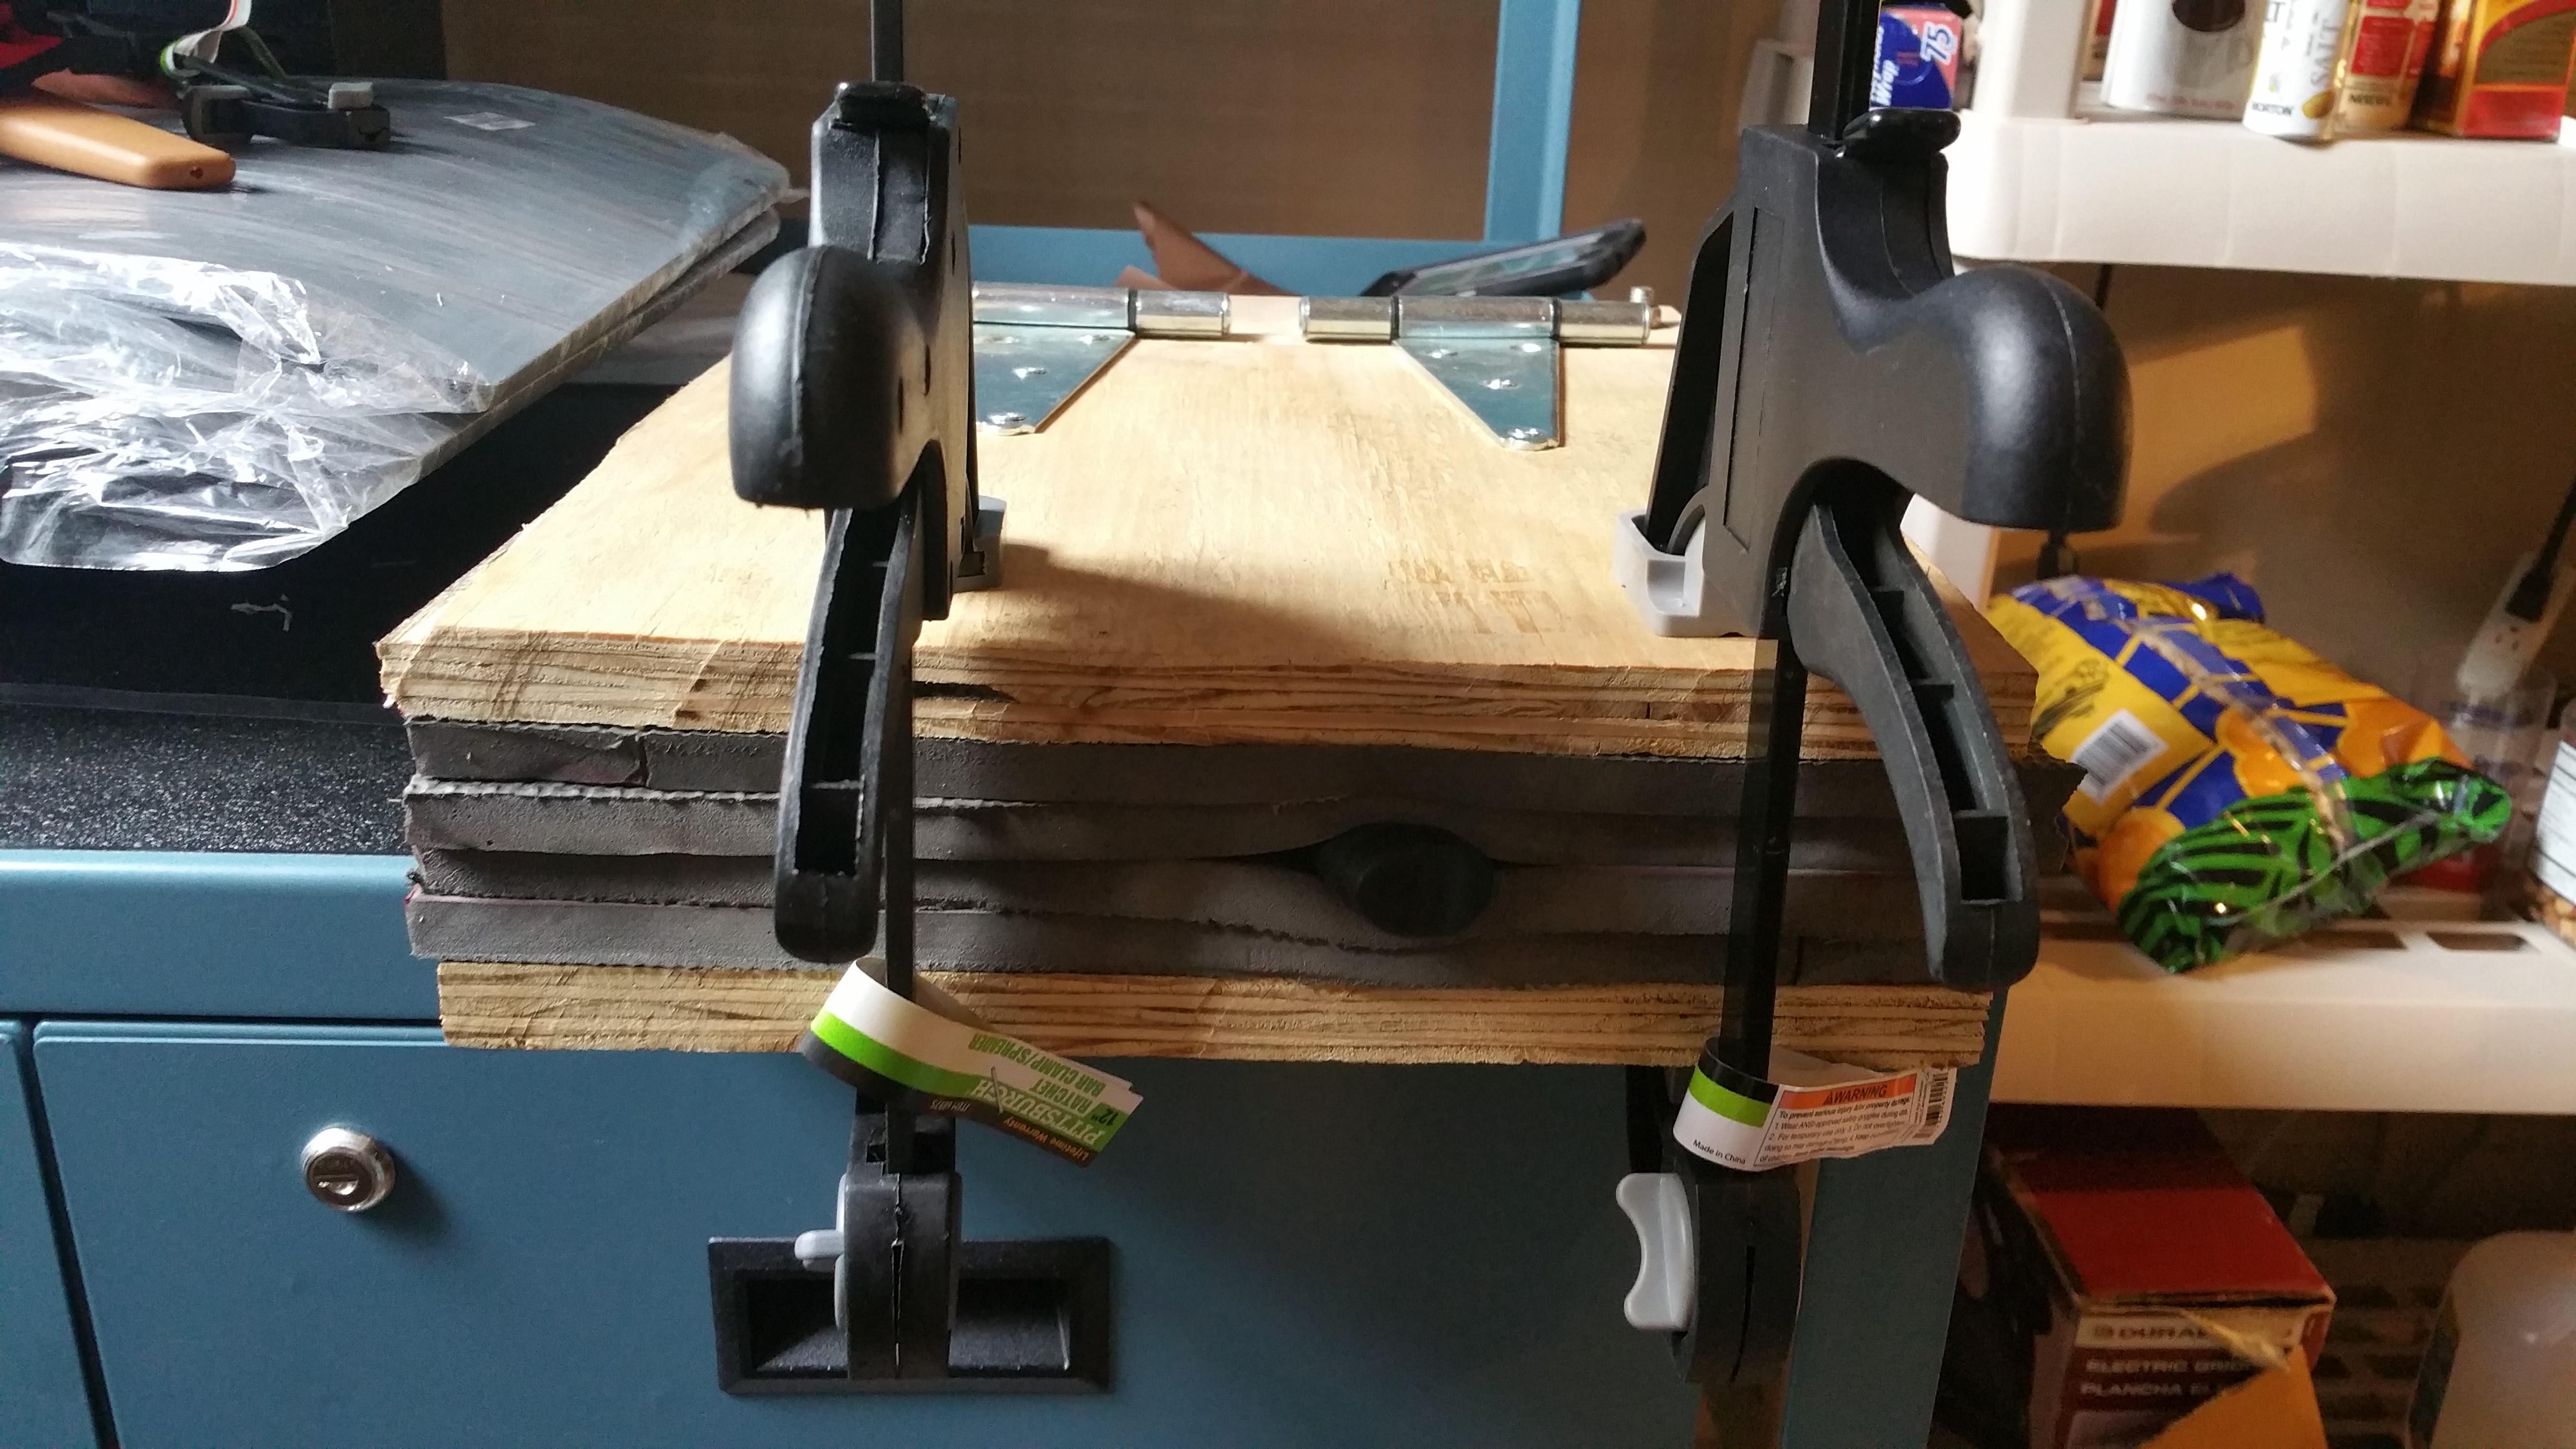
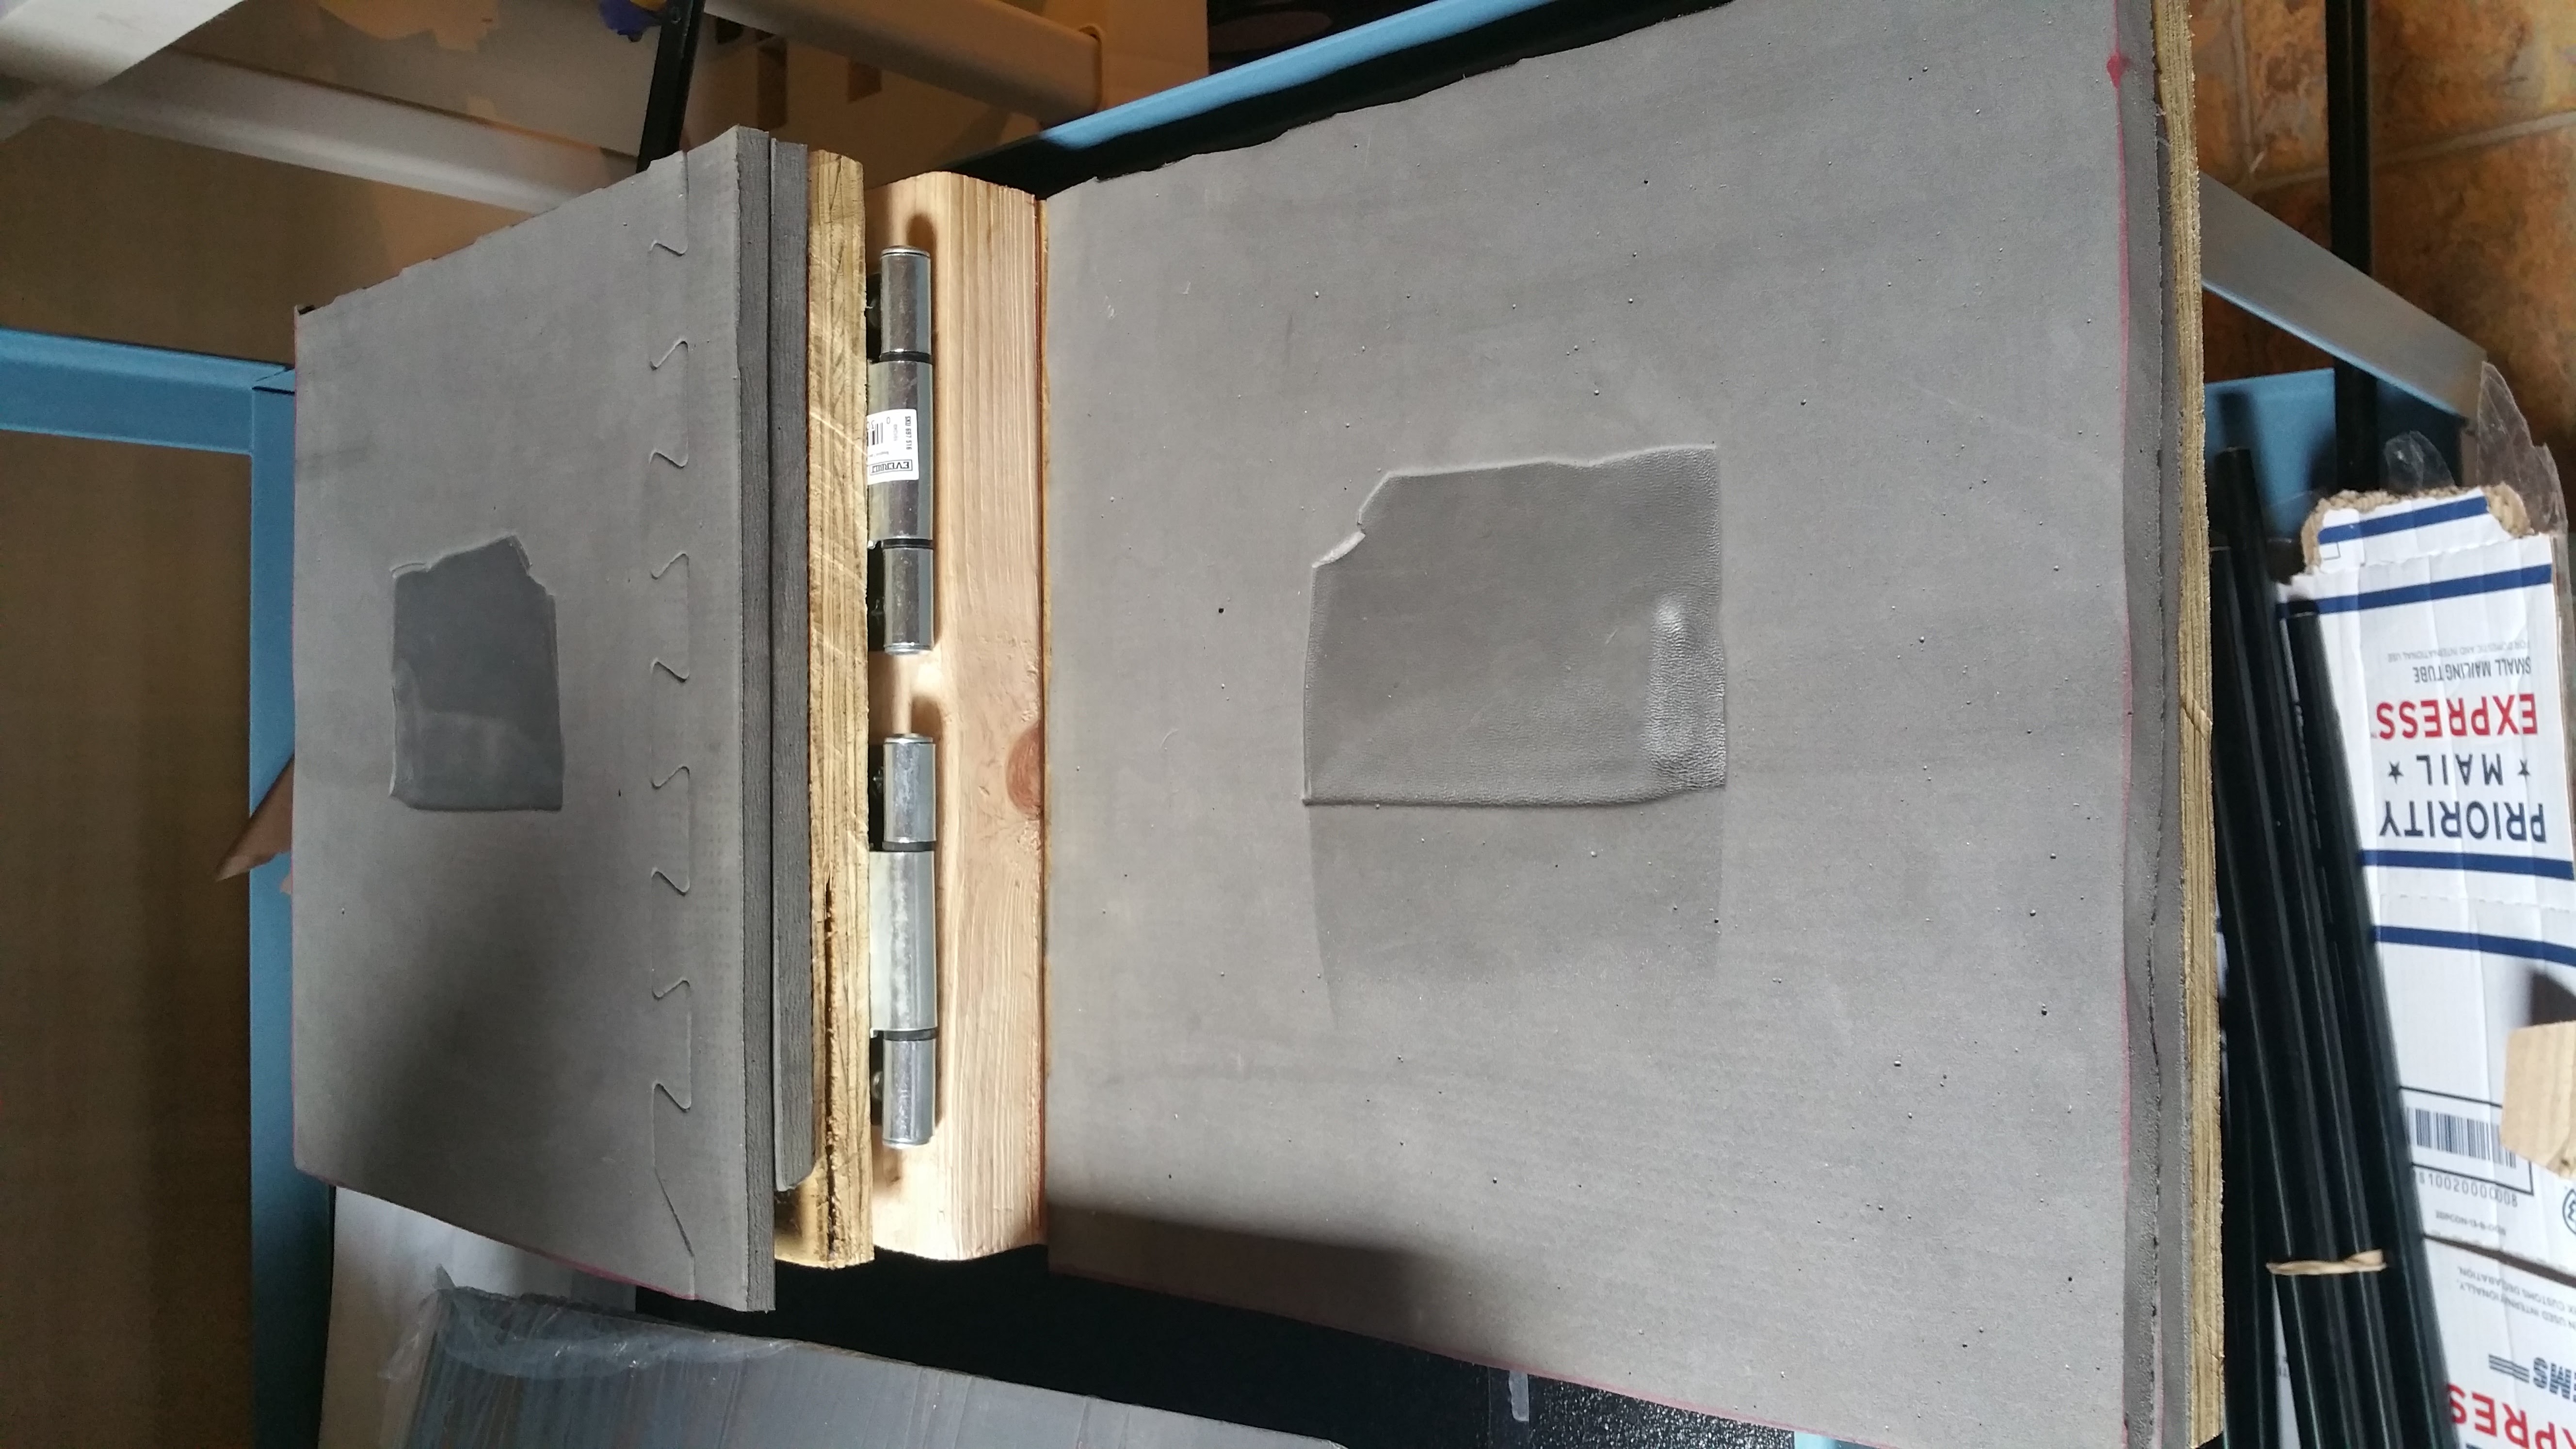
STEP 4: After letting your Kydex pressed for a few minutes go ahead and open it up to see how everything turned out. If you're happy with the way it formed around your knife you can move on to the next step. If something went wrong or got crooked you can reheat your Kydex and try it again. You can either put it back in the oven and start over or use a heat gun to do small adjustments.
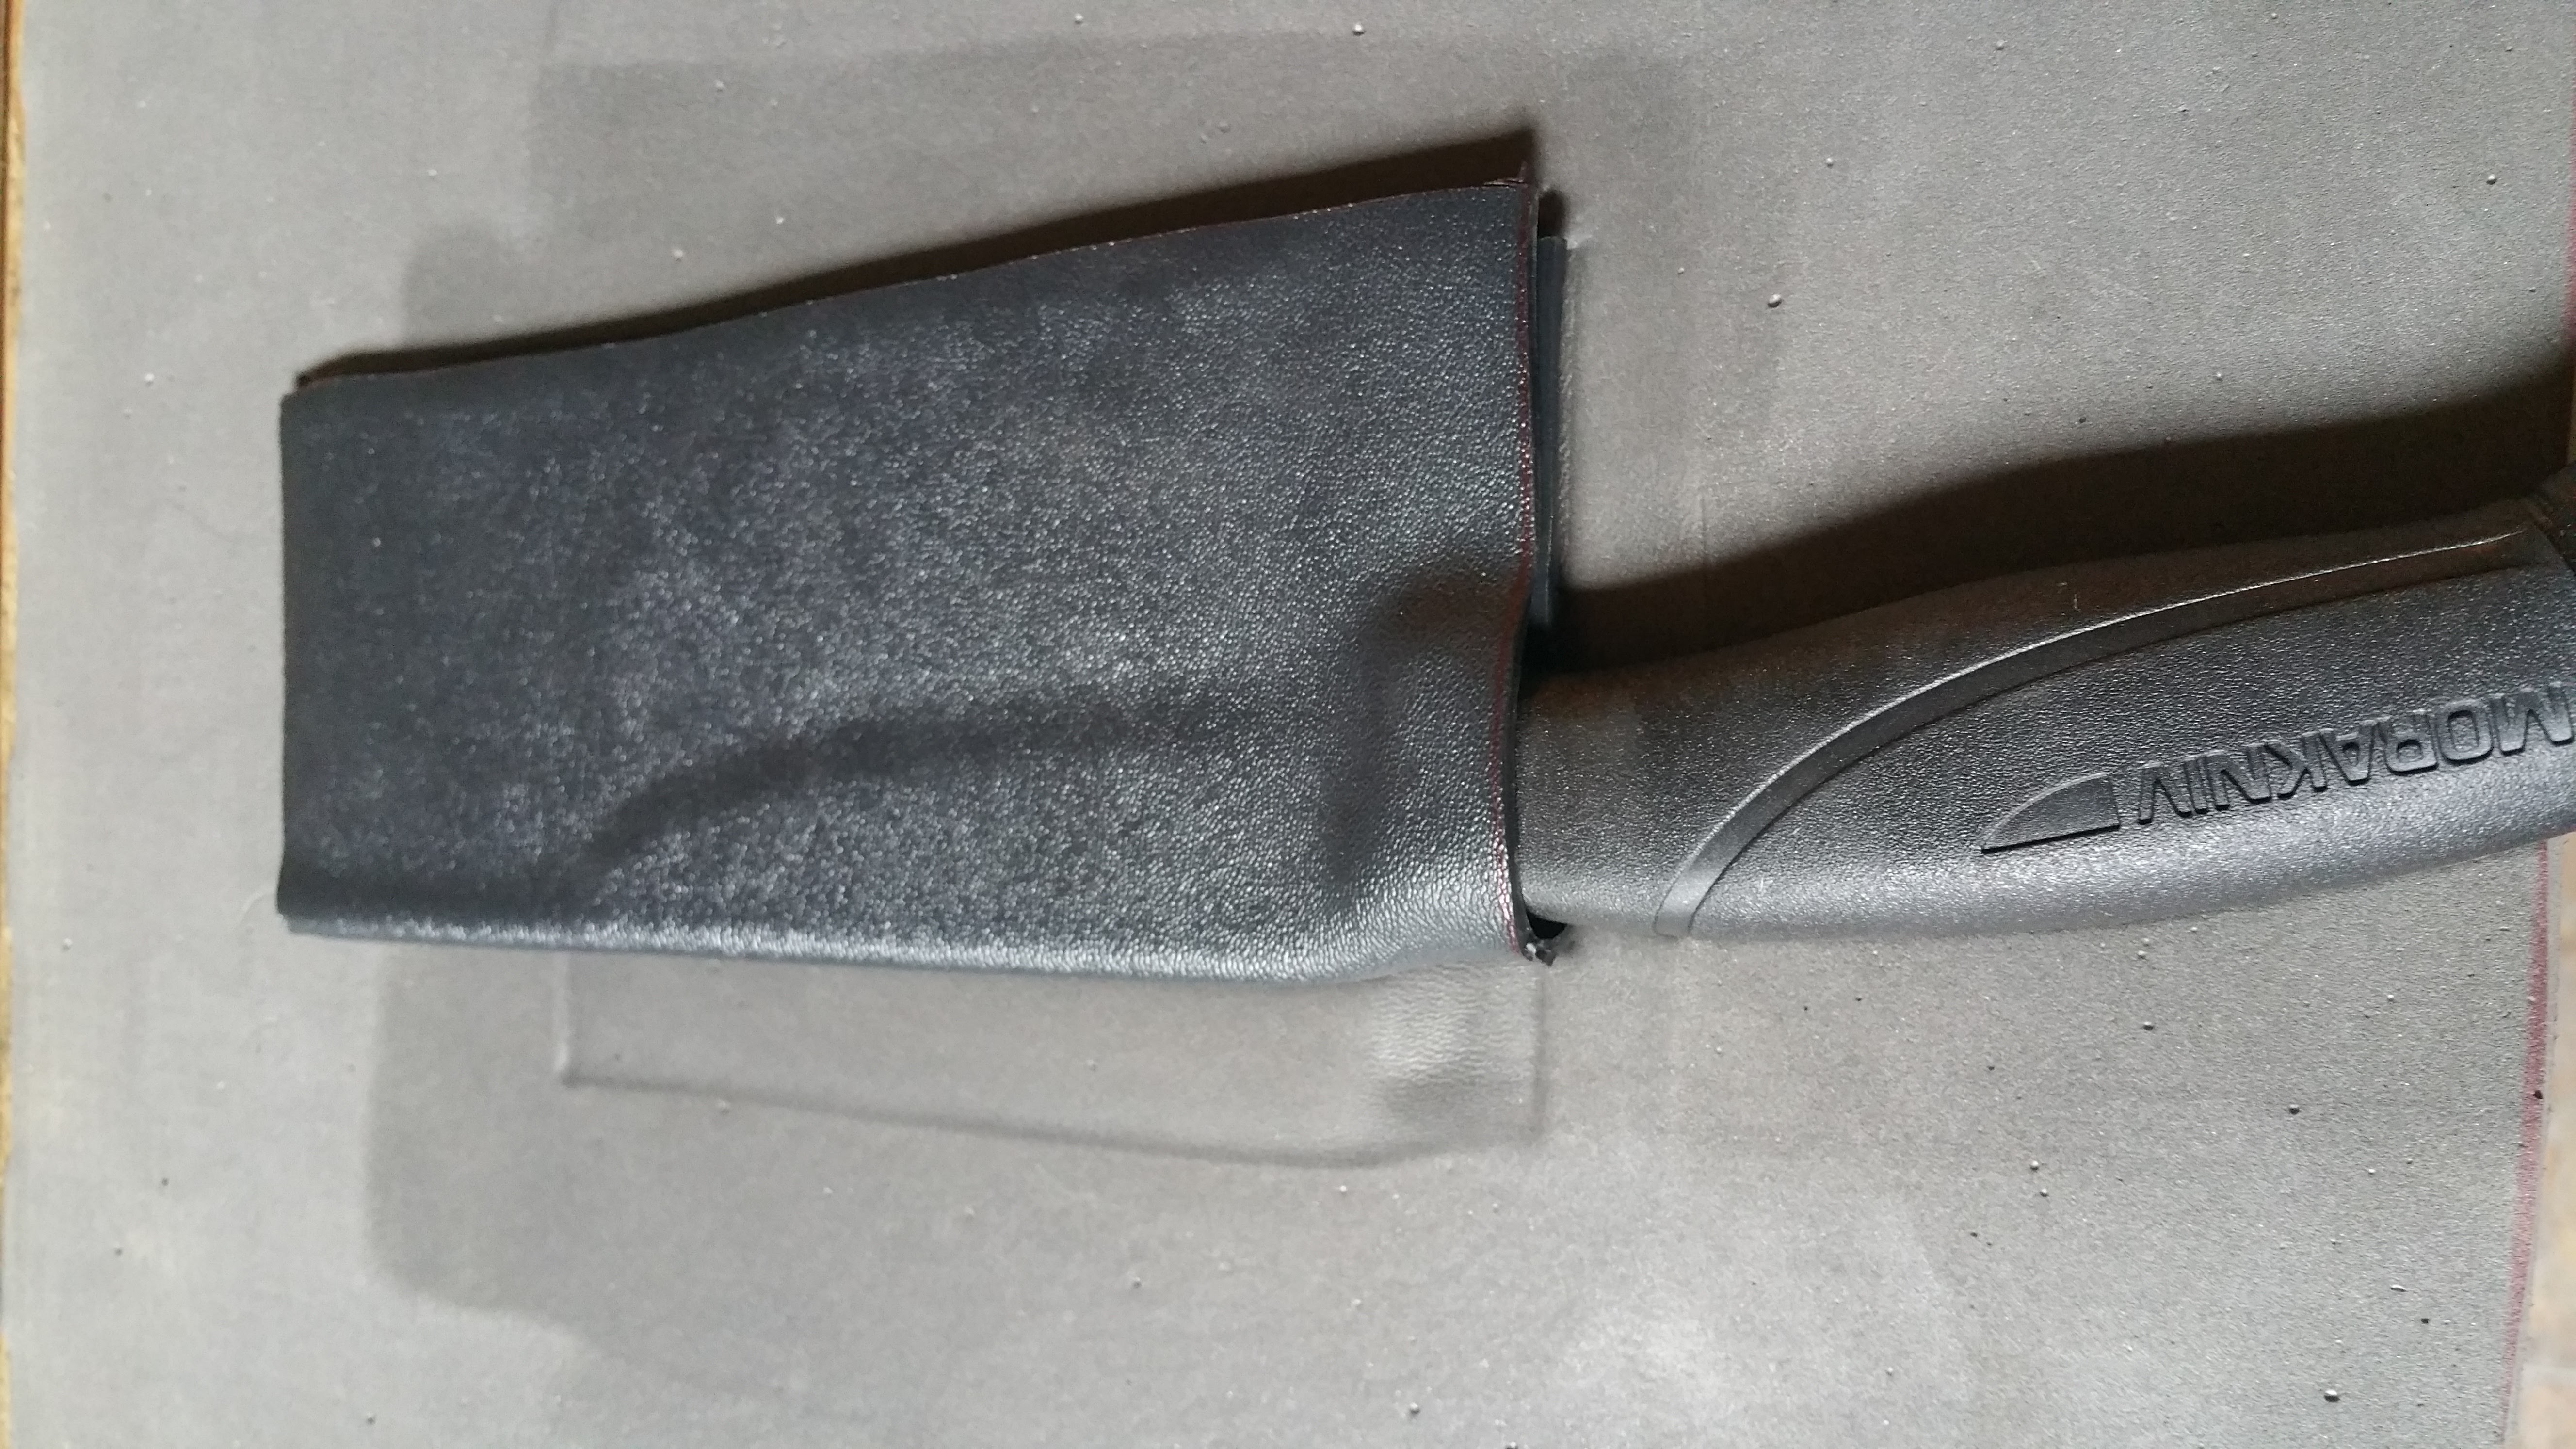
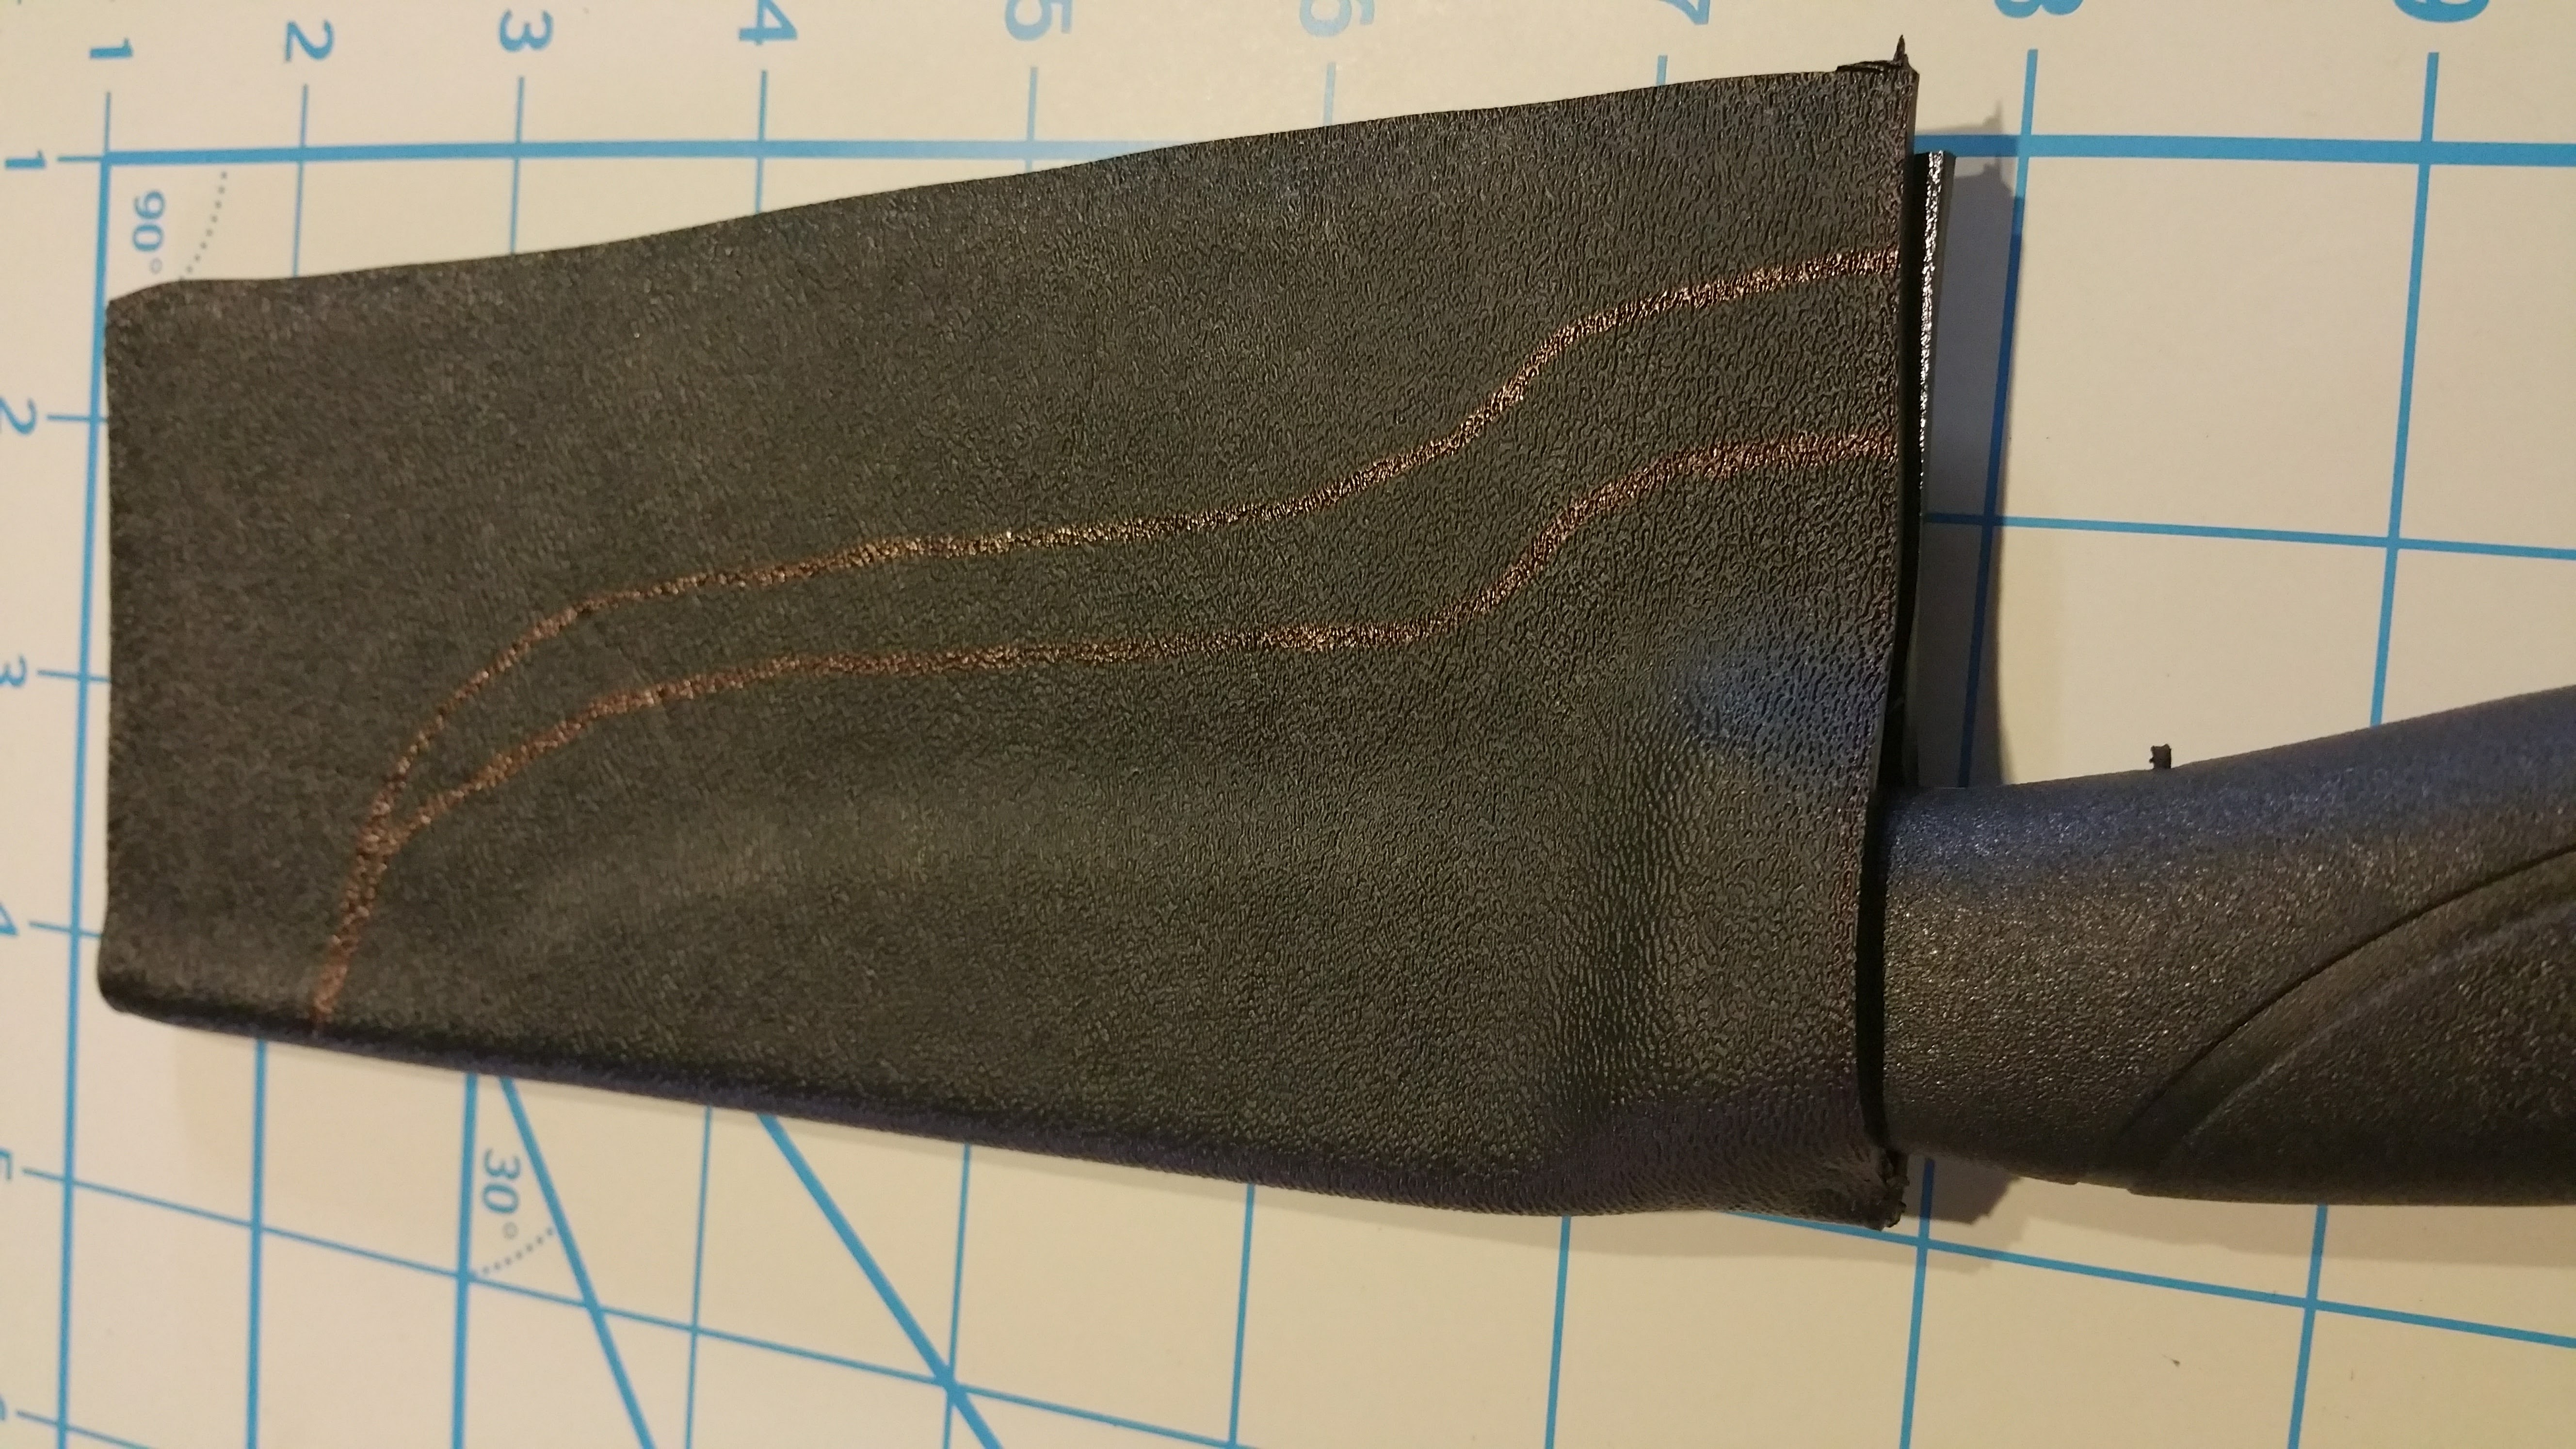
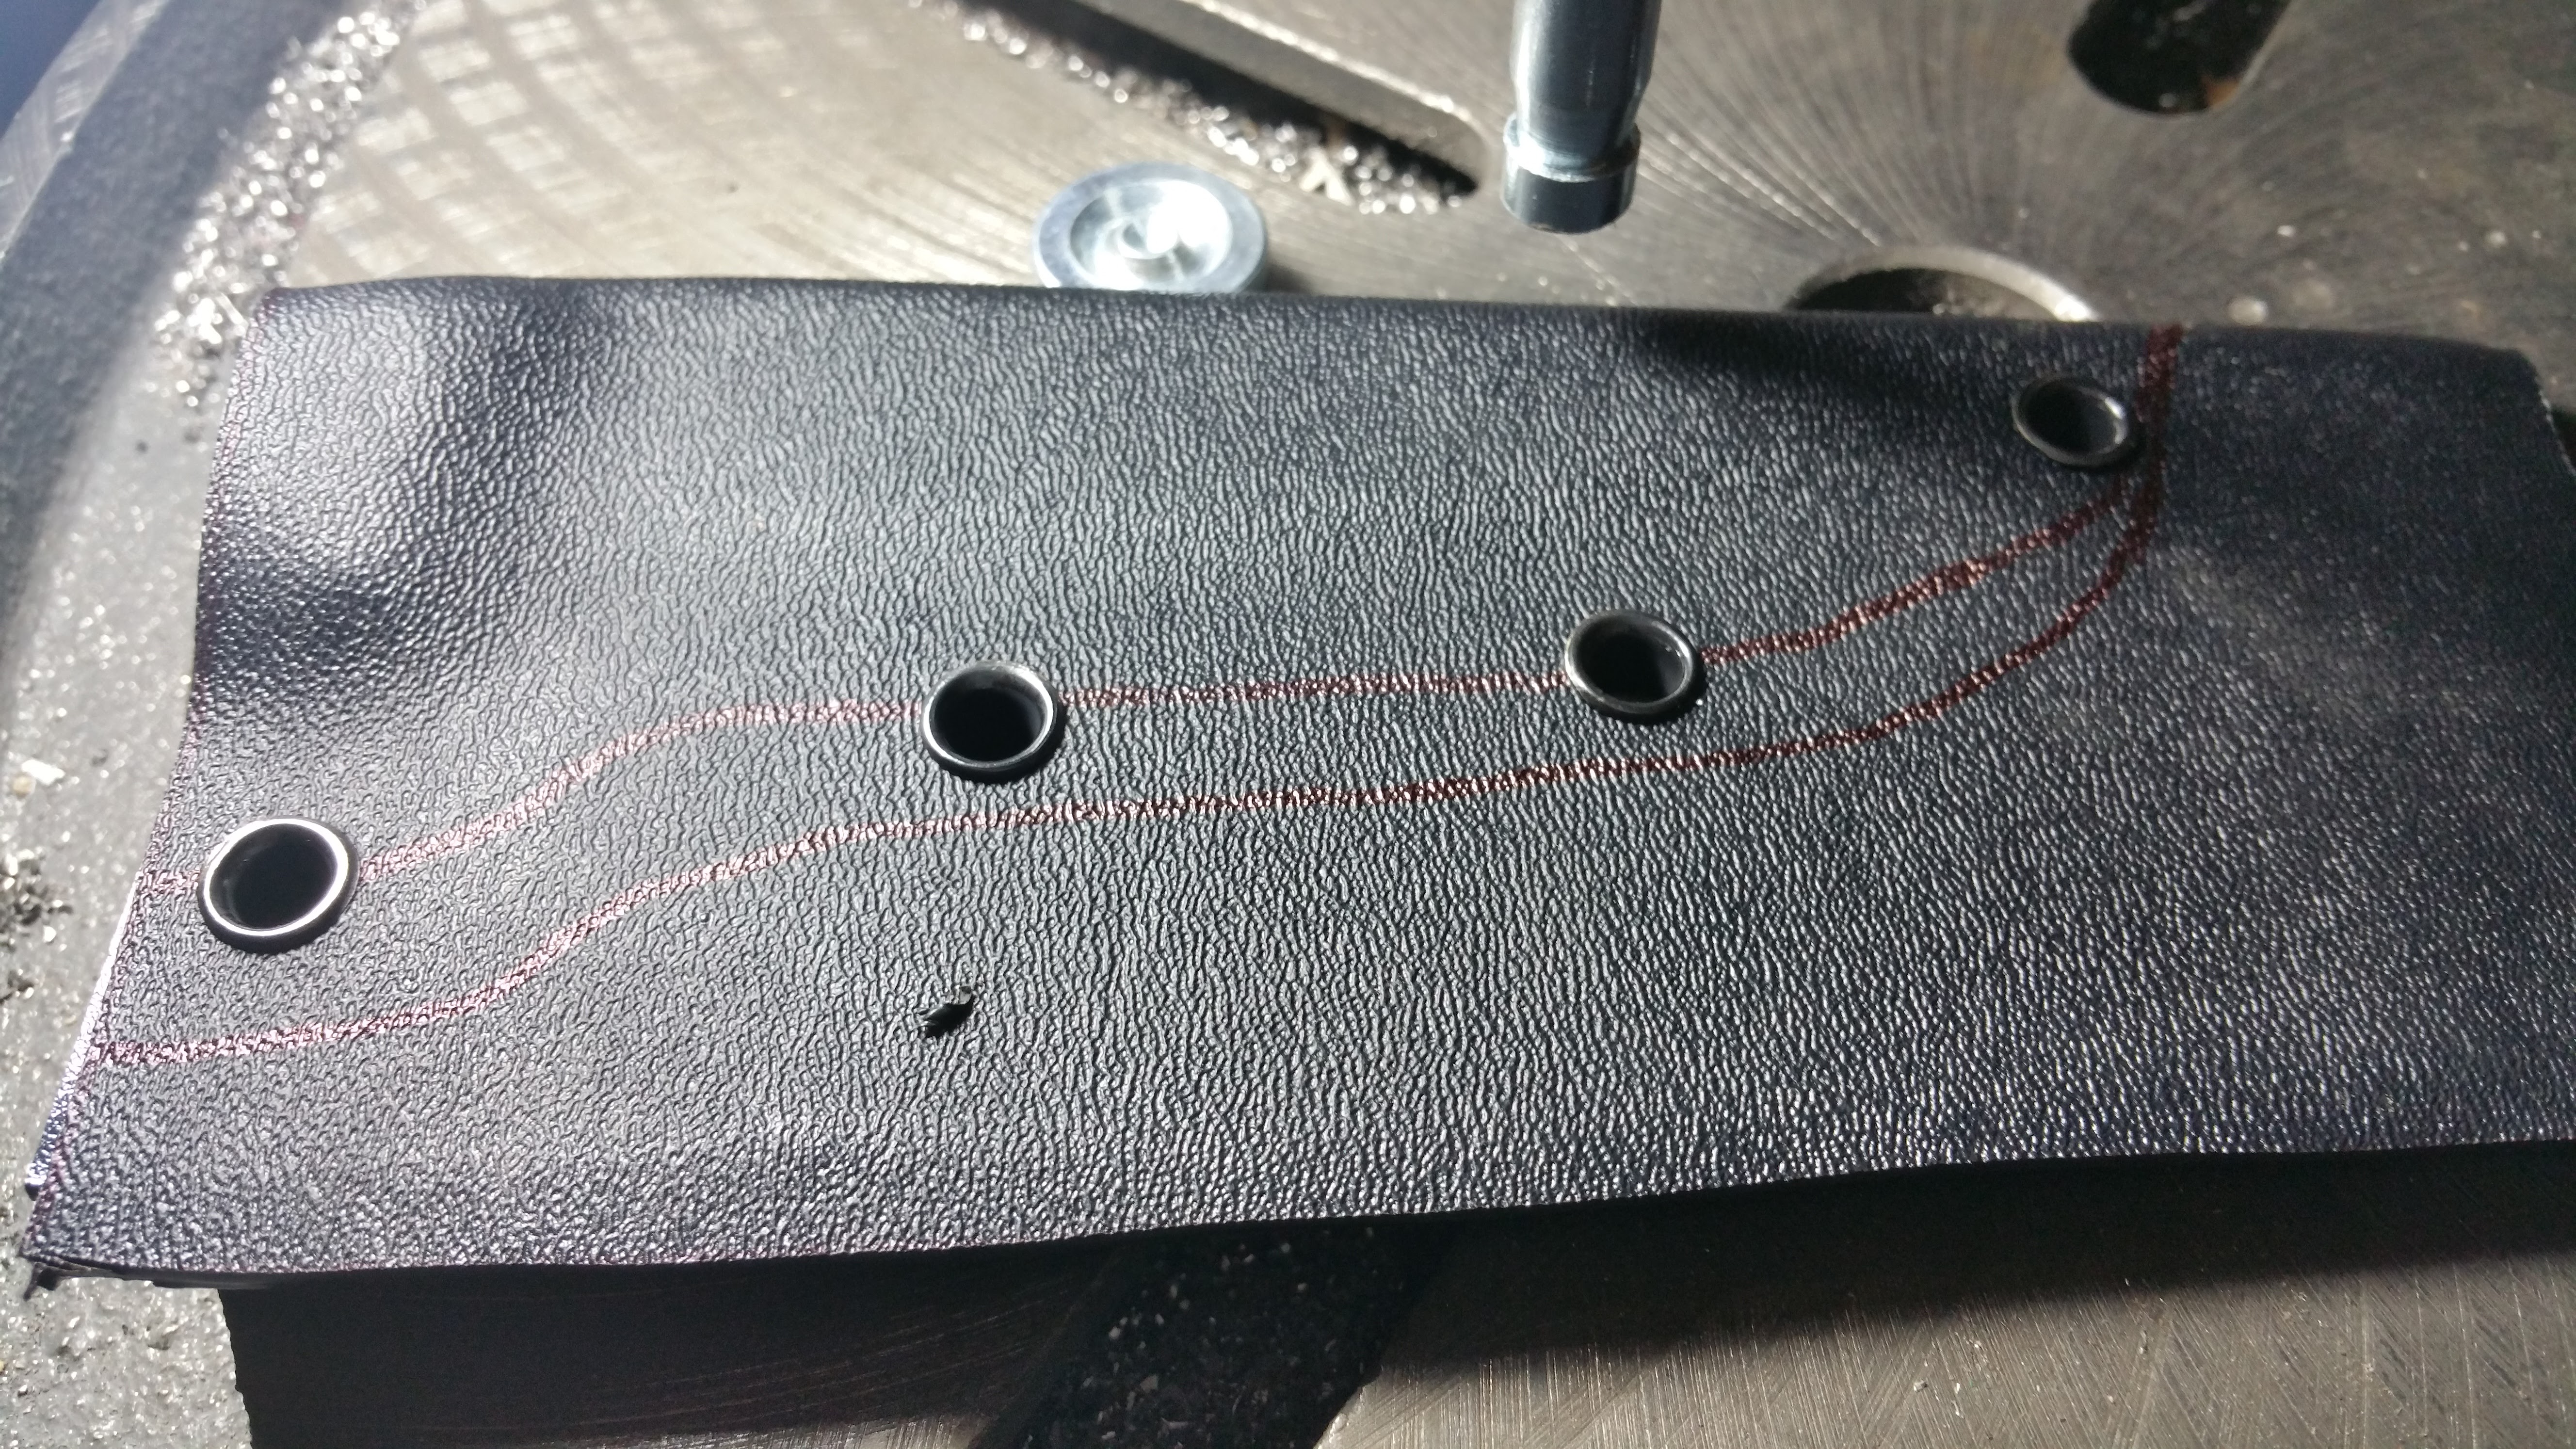
STEP 5: Now it's time to start designing the shape of your sheath. You can do this however you would like but as you can see in the pictures we did a basic design. However you do it be sure to leave room for your eyelets to fit in to secure the sheath together. You can lay the eyelets out on your sheath to see how much room they will take. Use a sharpie to draw your design and mark where your eyelets will go.
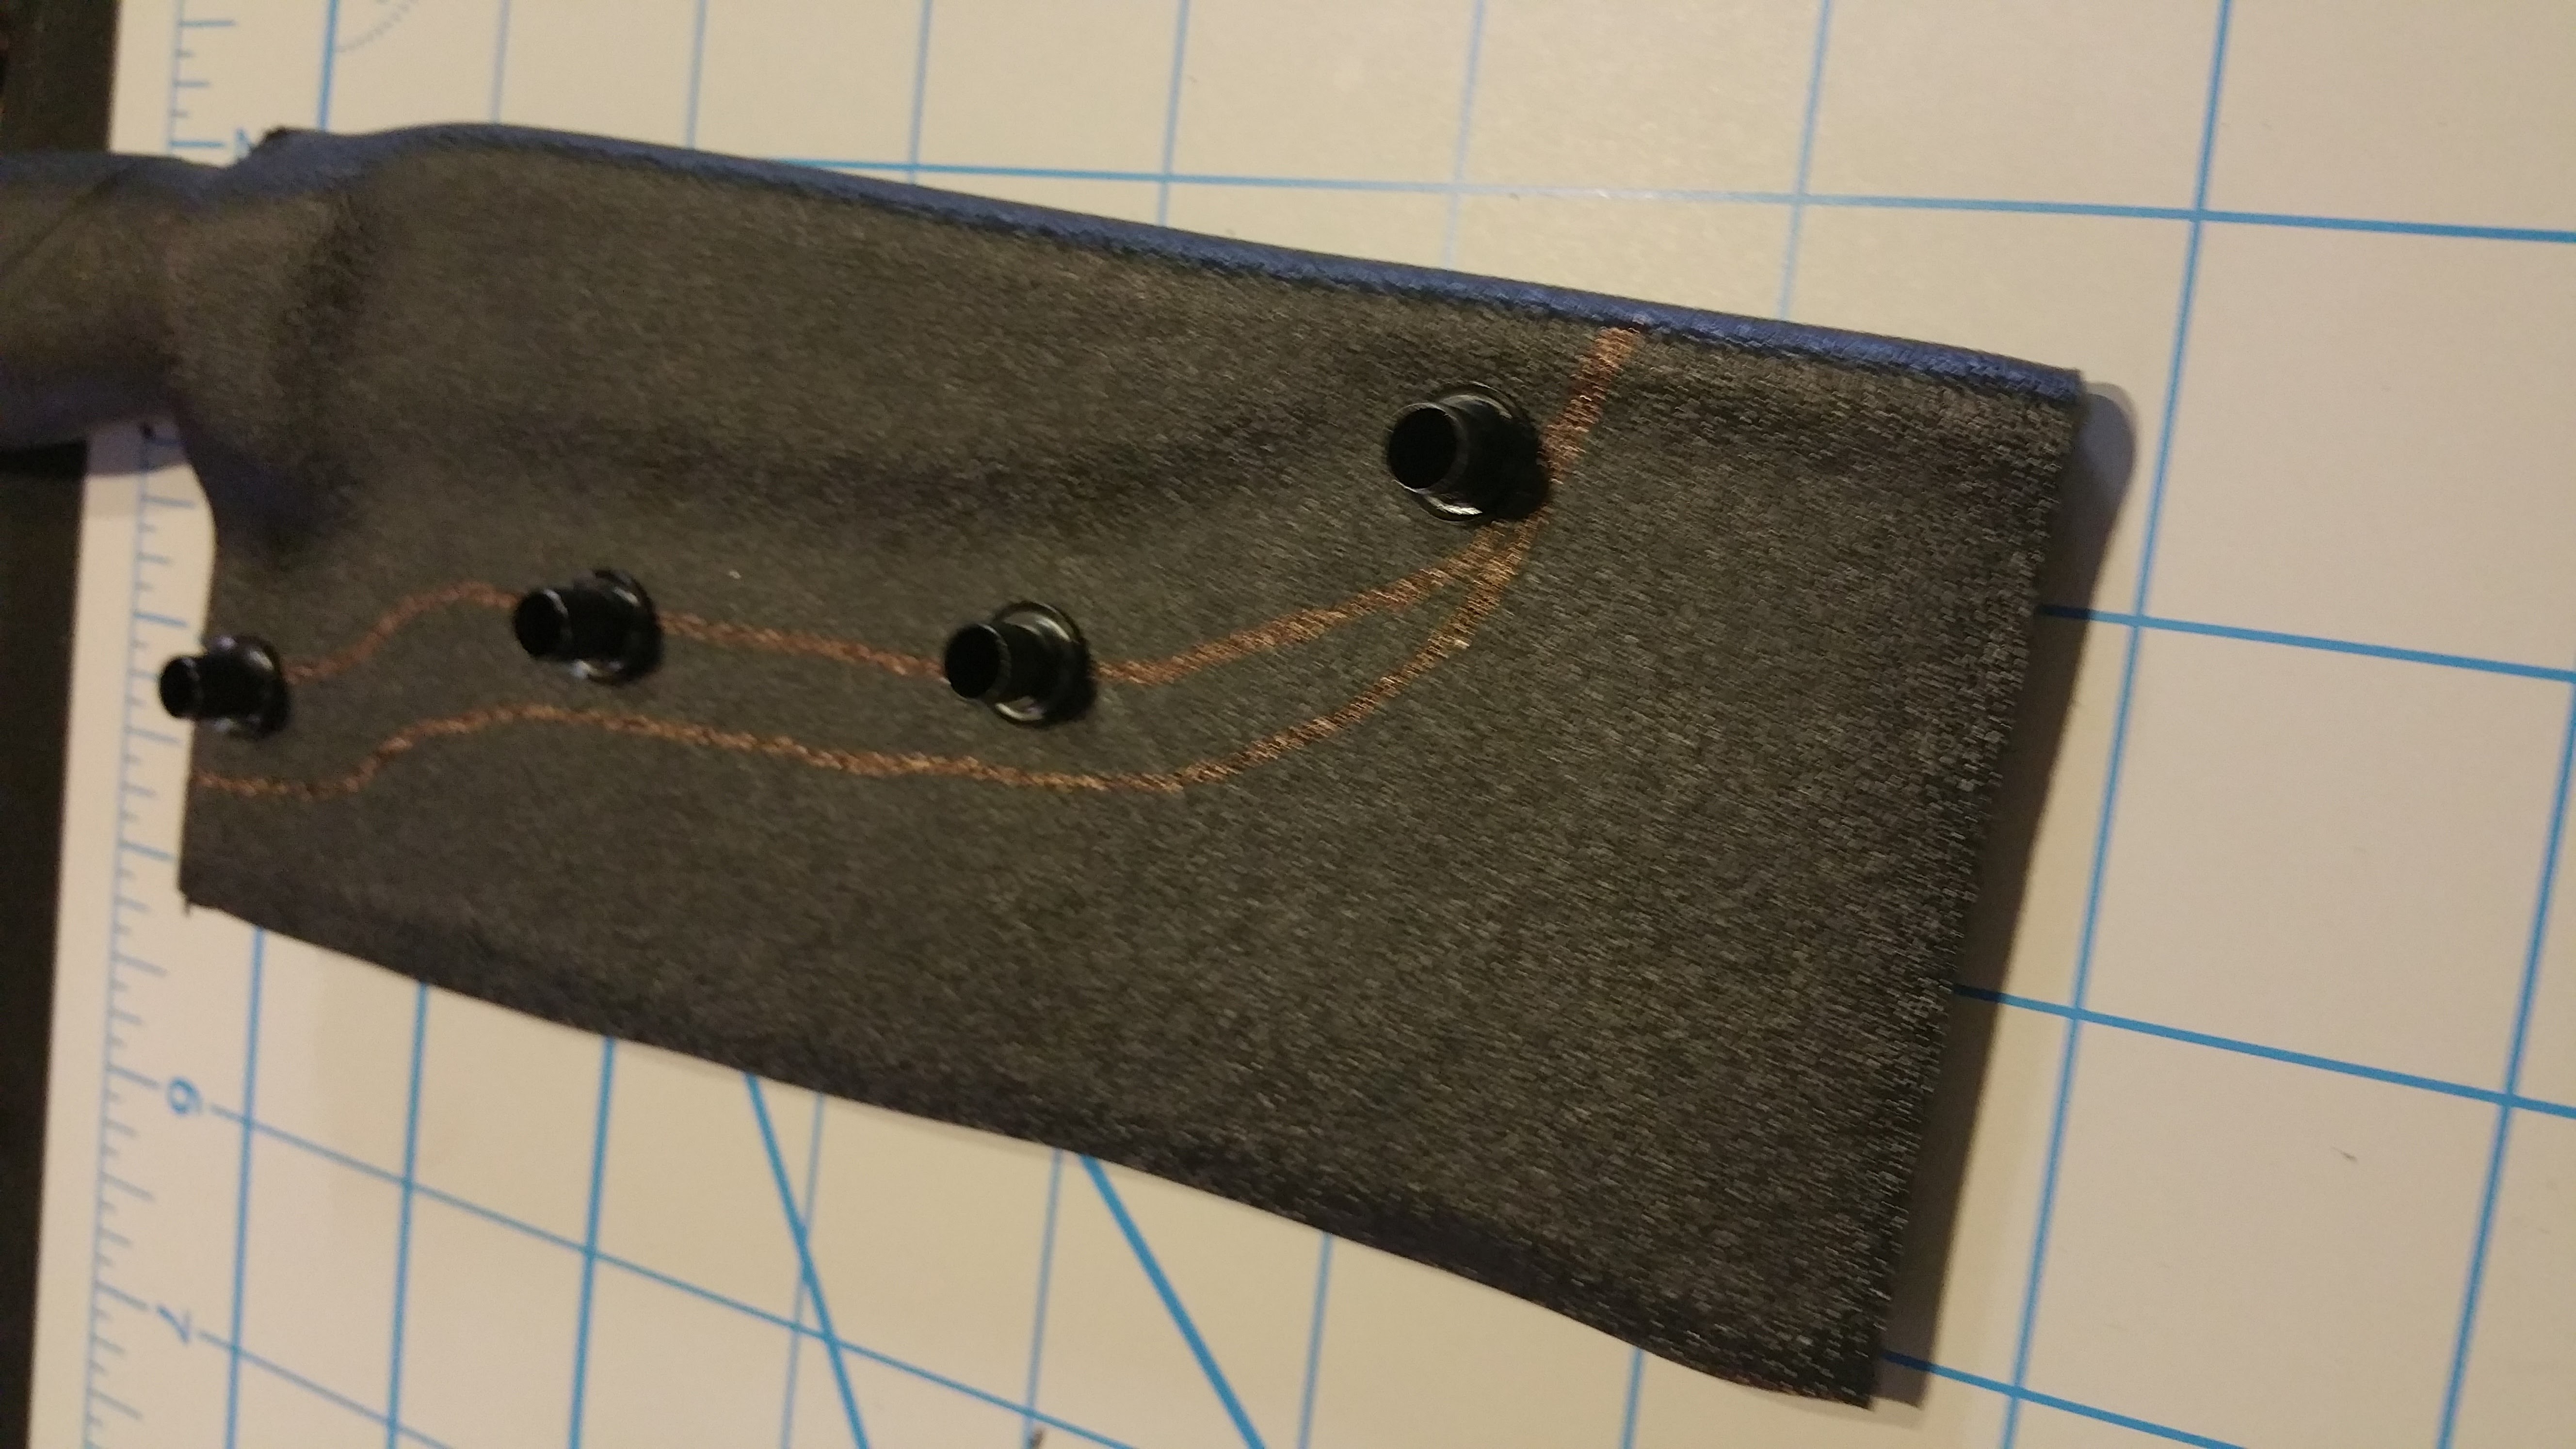
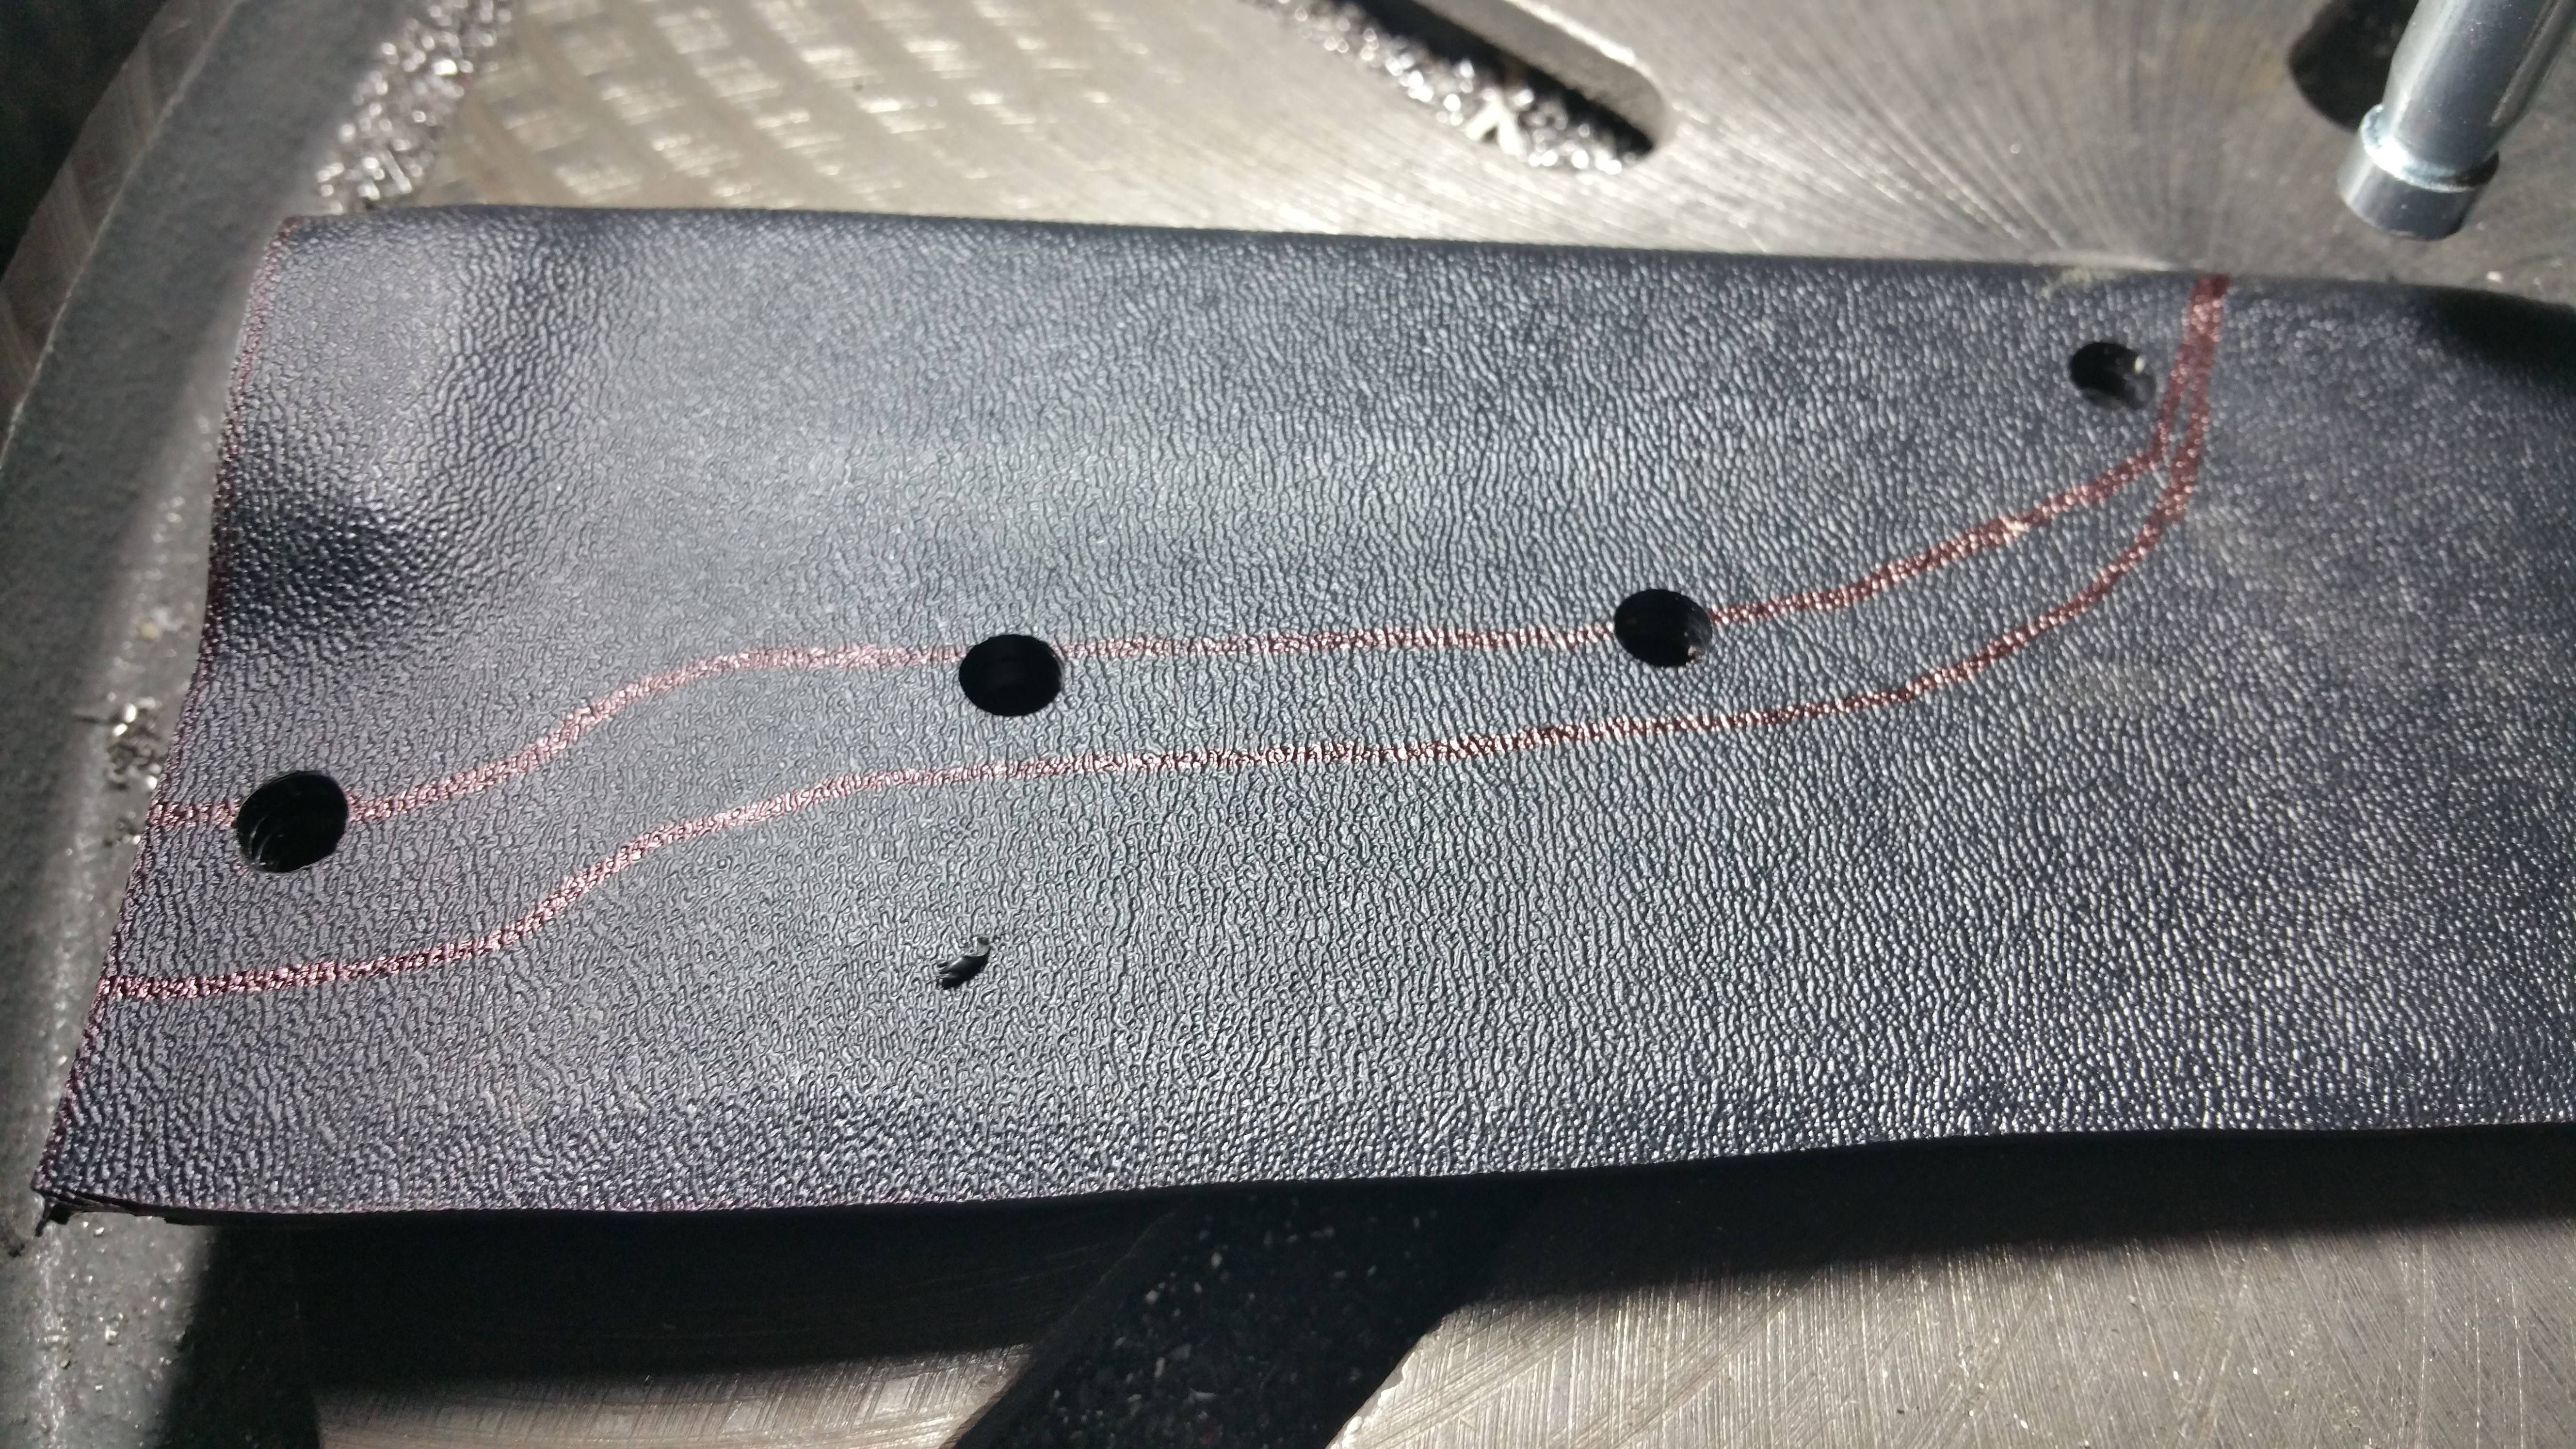
STEP 6: Before we cut the excess Kydex off lets drill the wholes and press our eyelets in. We used a drill press but you can use a regular drill and drill bit too. Remove the knife from the sheath so you don't accidentally drill into your knife.

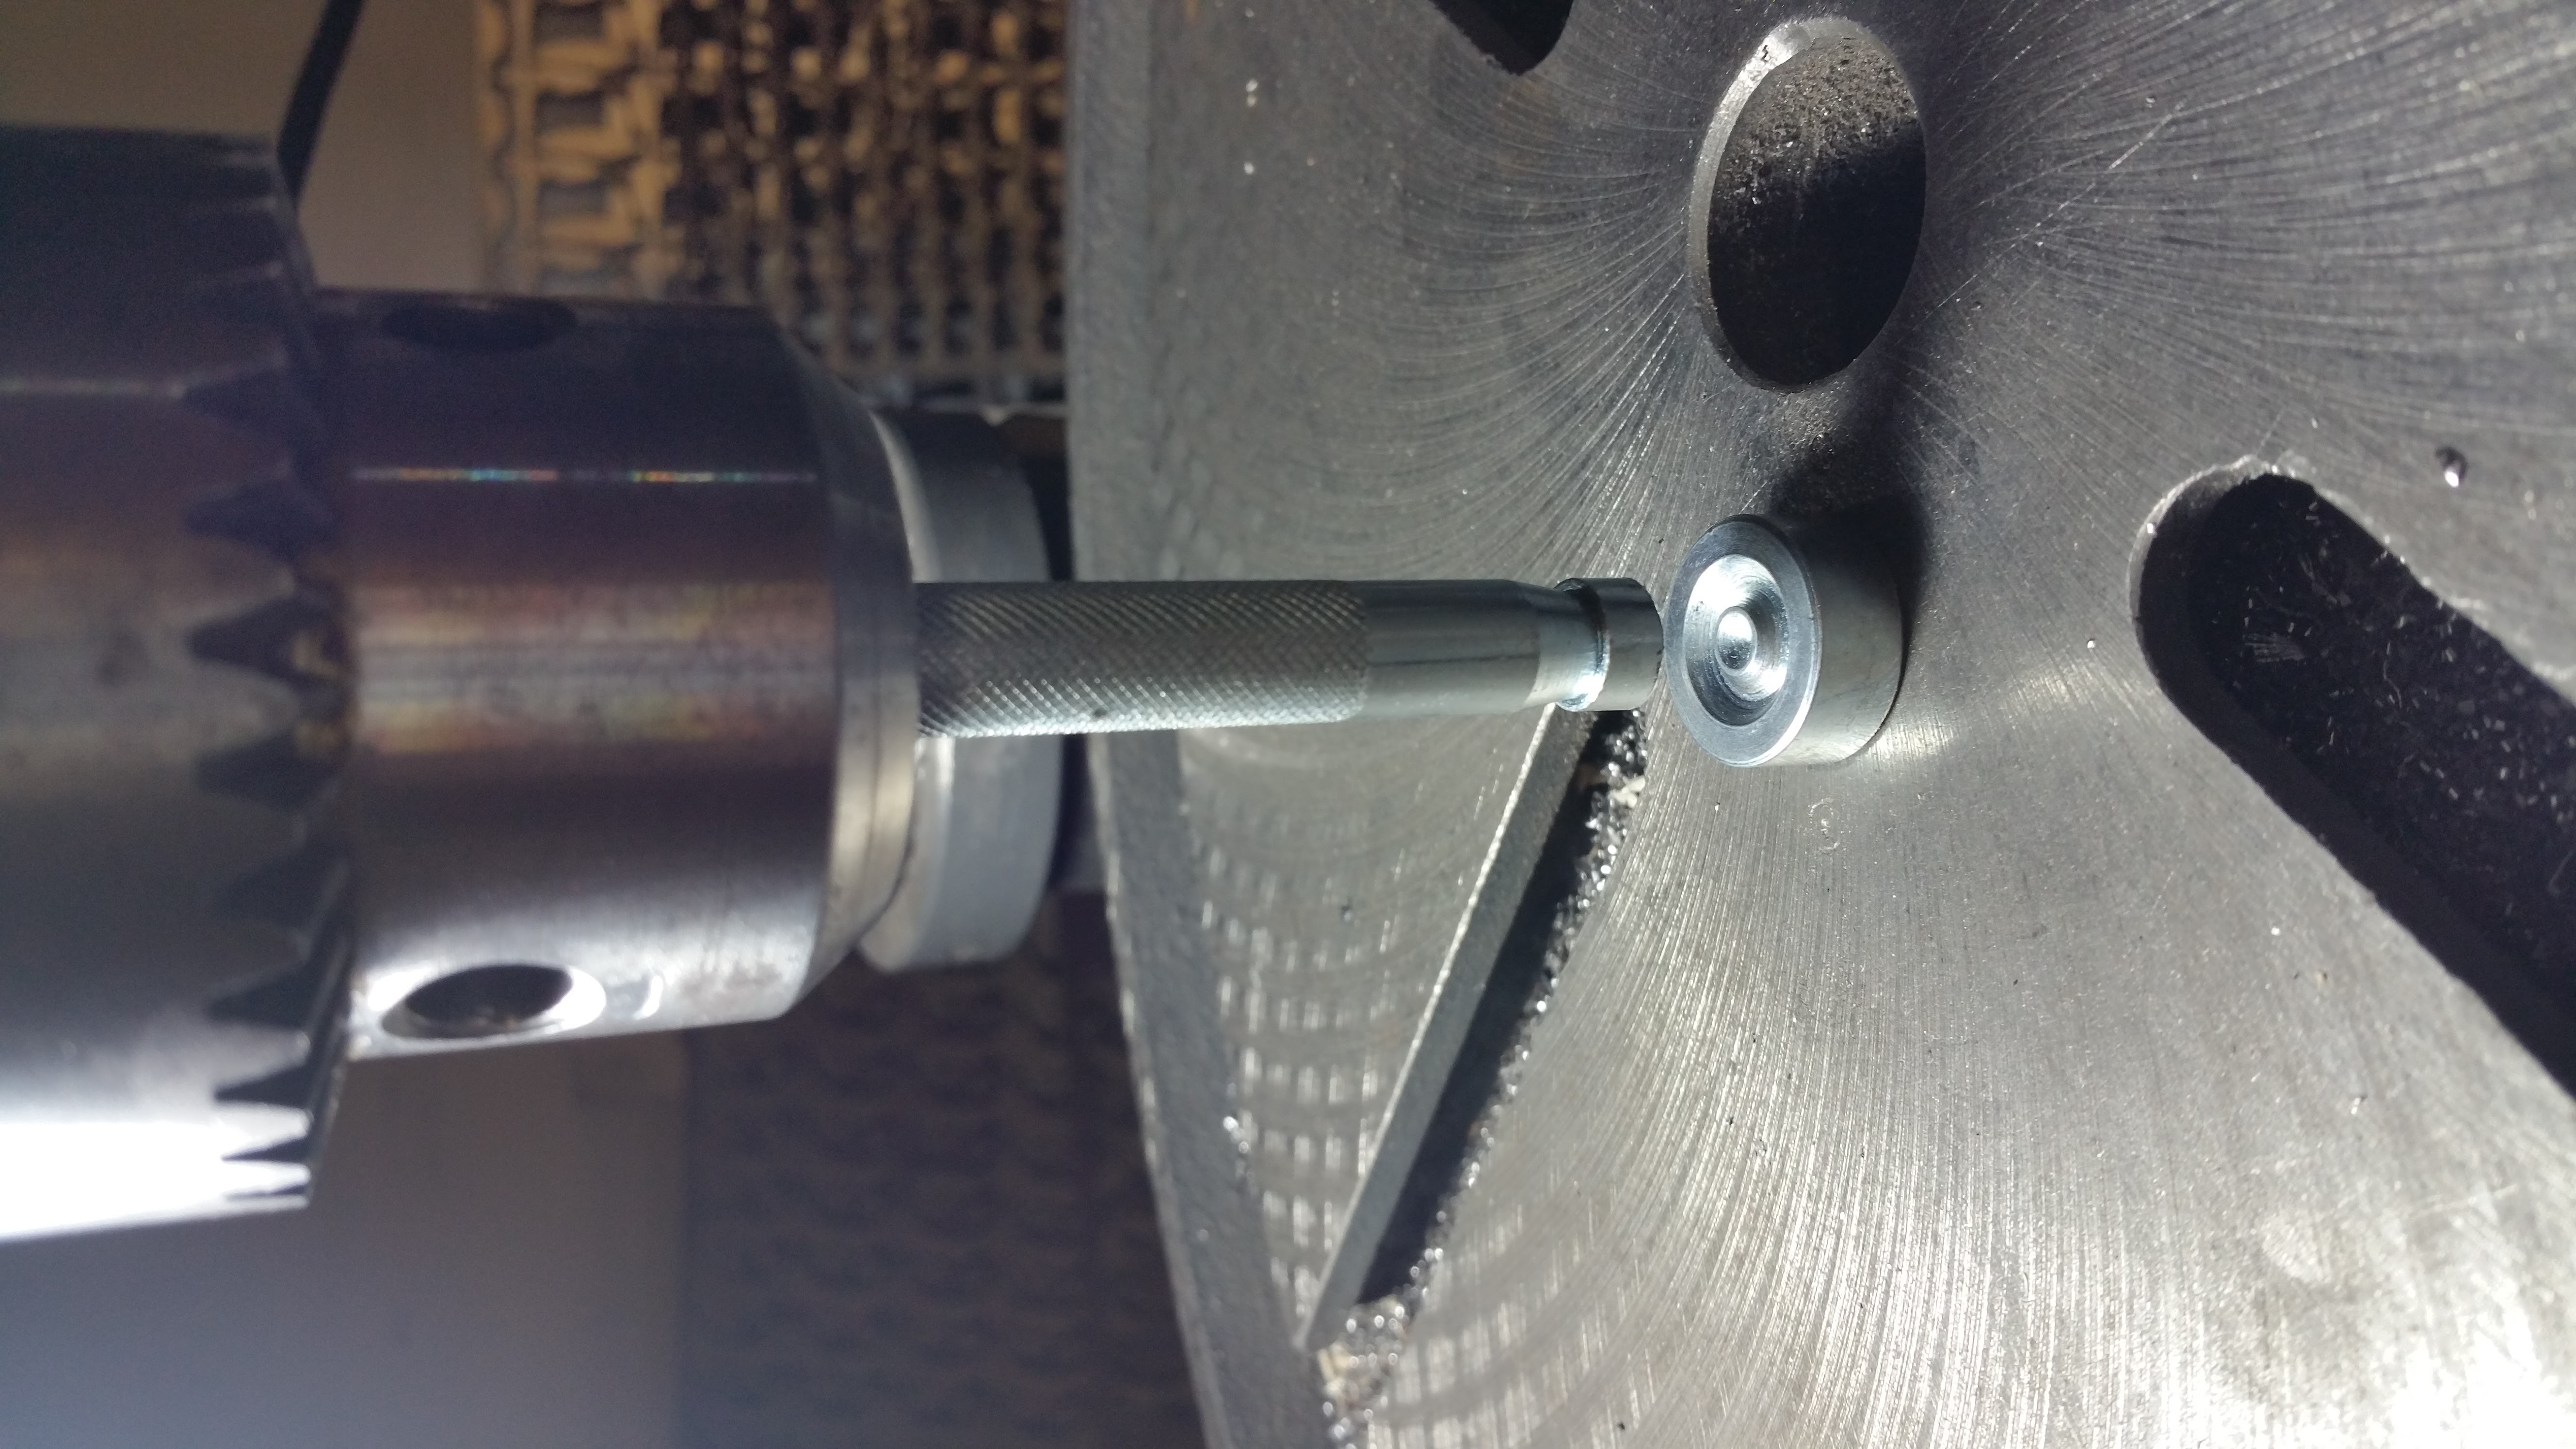
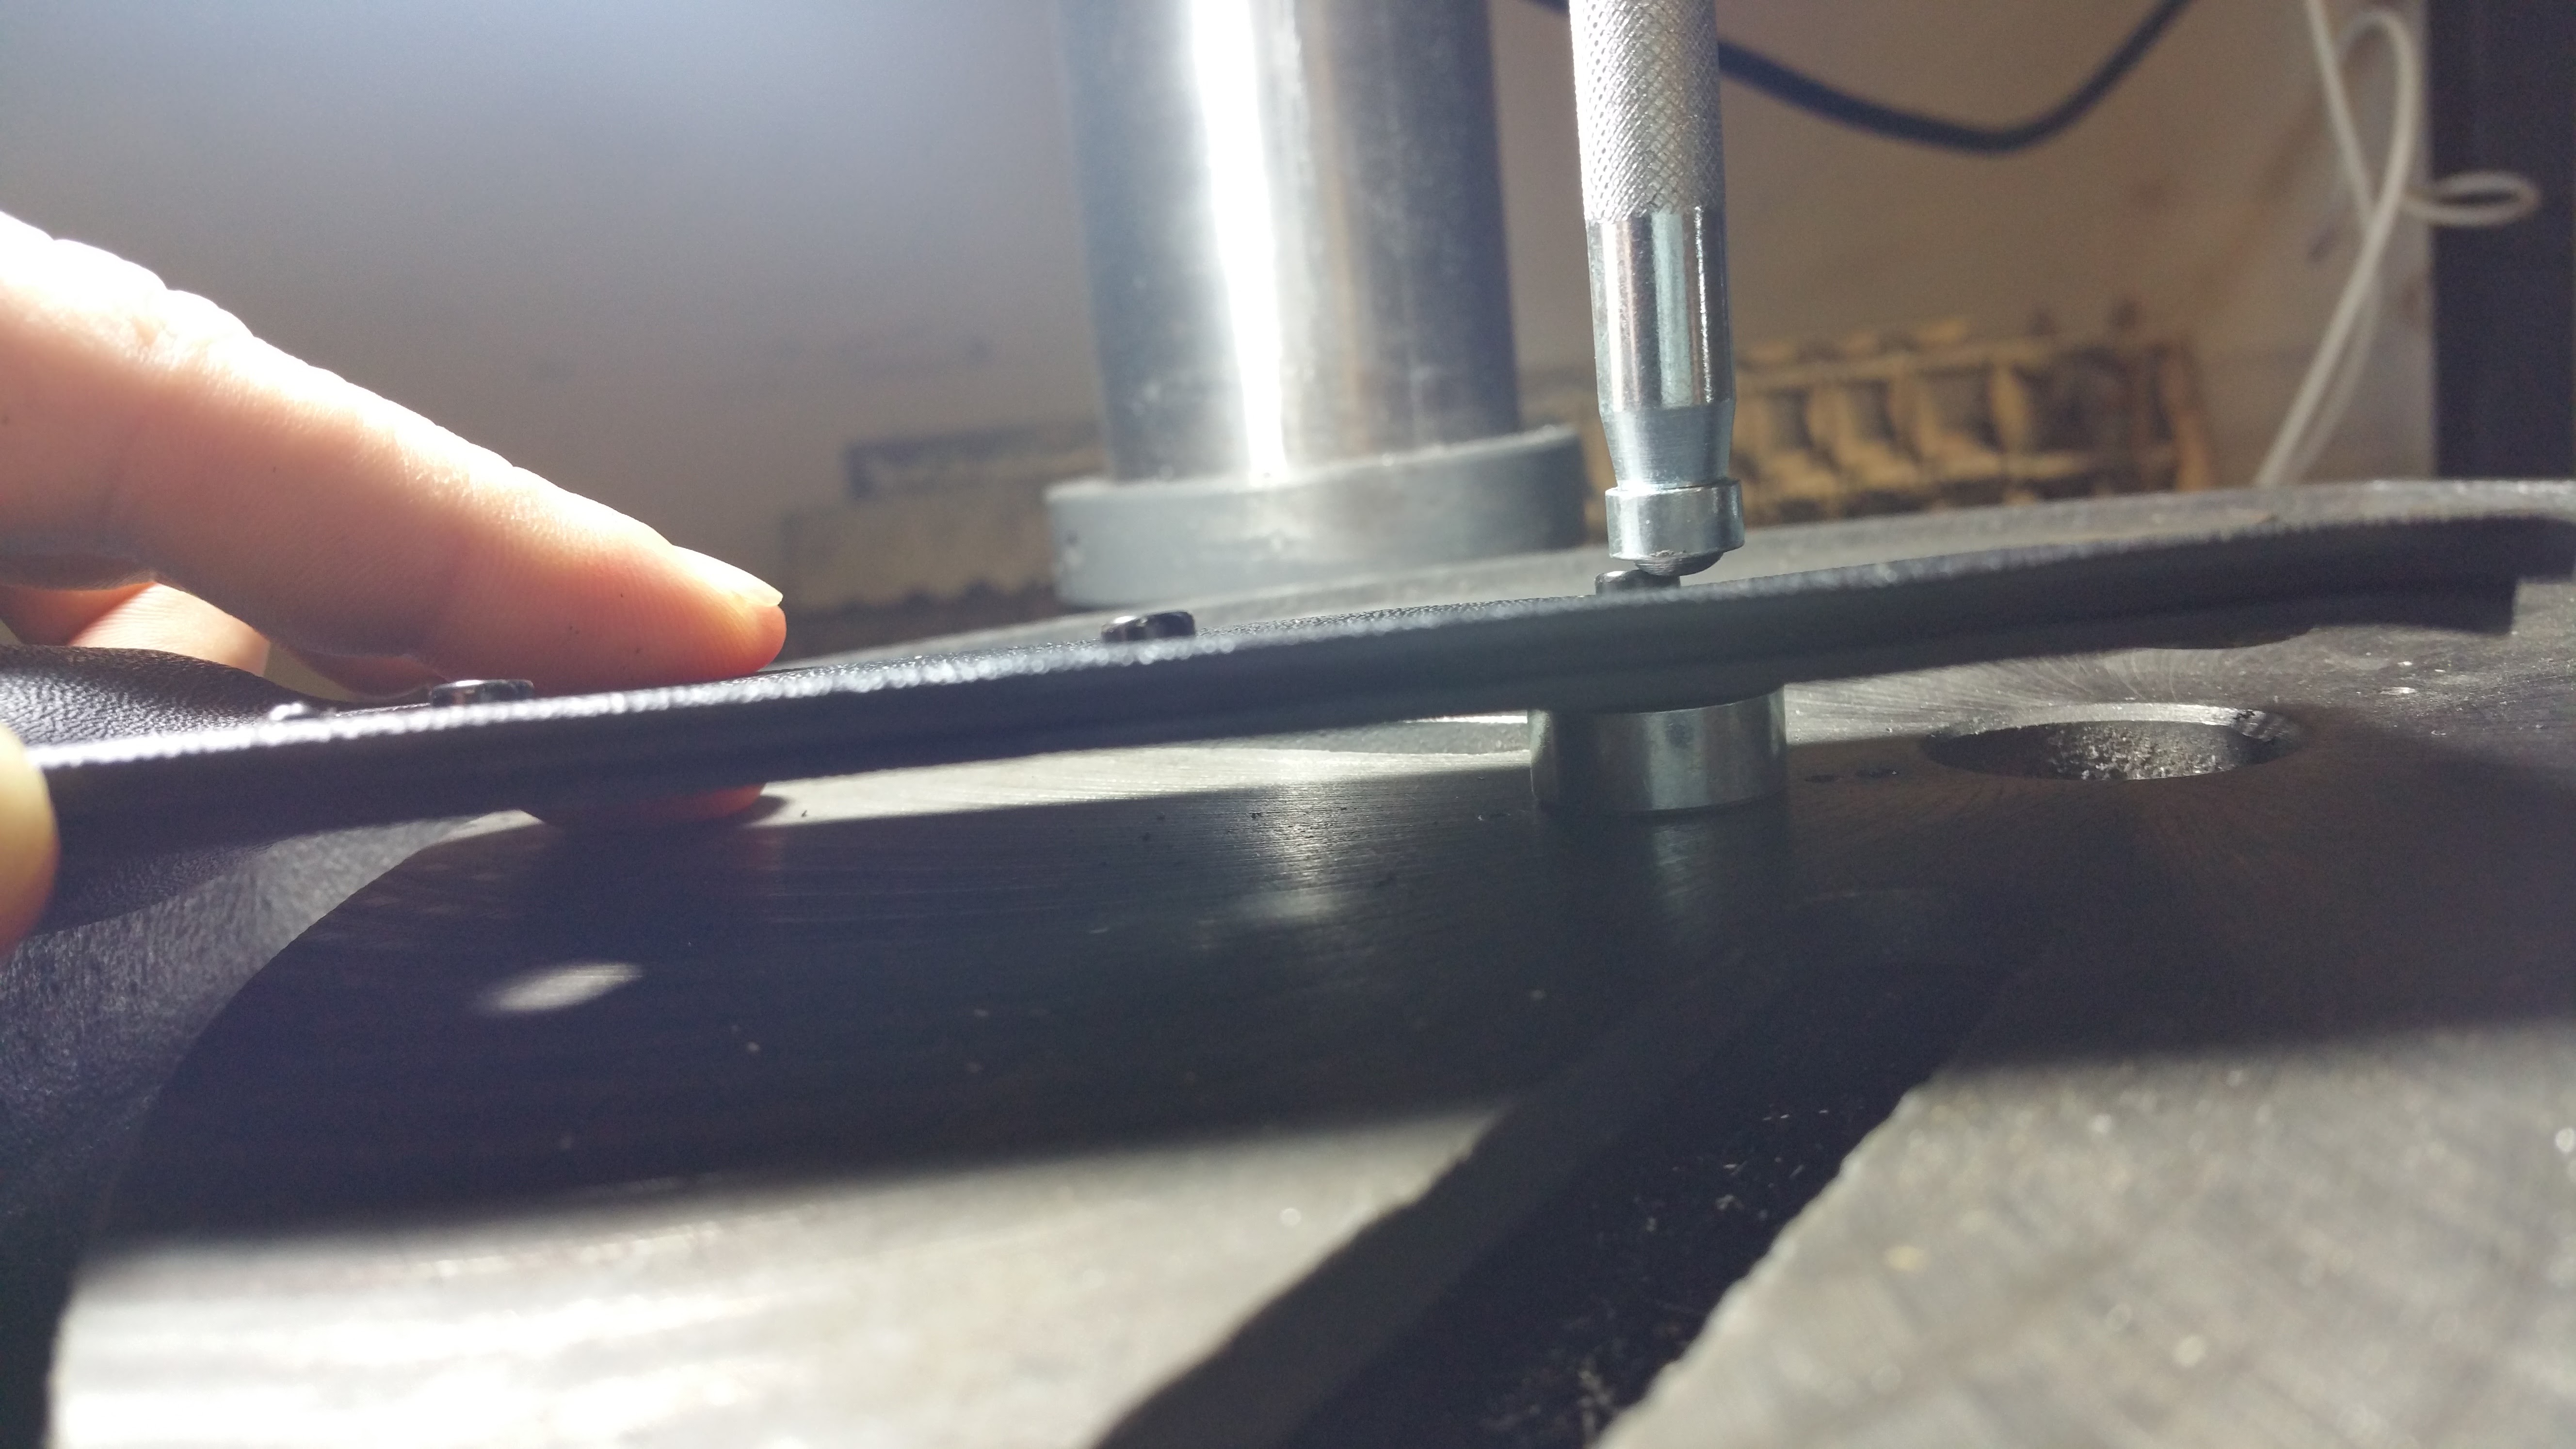
STEP 7: Now lets get the eyelets tapped in. If you have a drill press you can use that with your hand setter kit to get a nice even press on your eyelets. If you don't have a press that's ok, just use a hammer and be sure to tap them evenly so they don't split. Insert your eyelets into the holes and start setting.

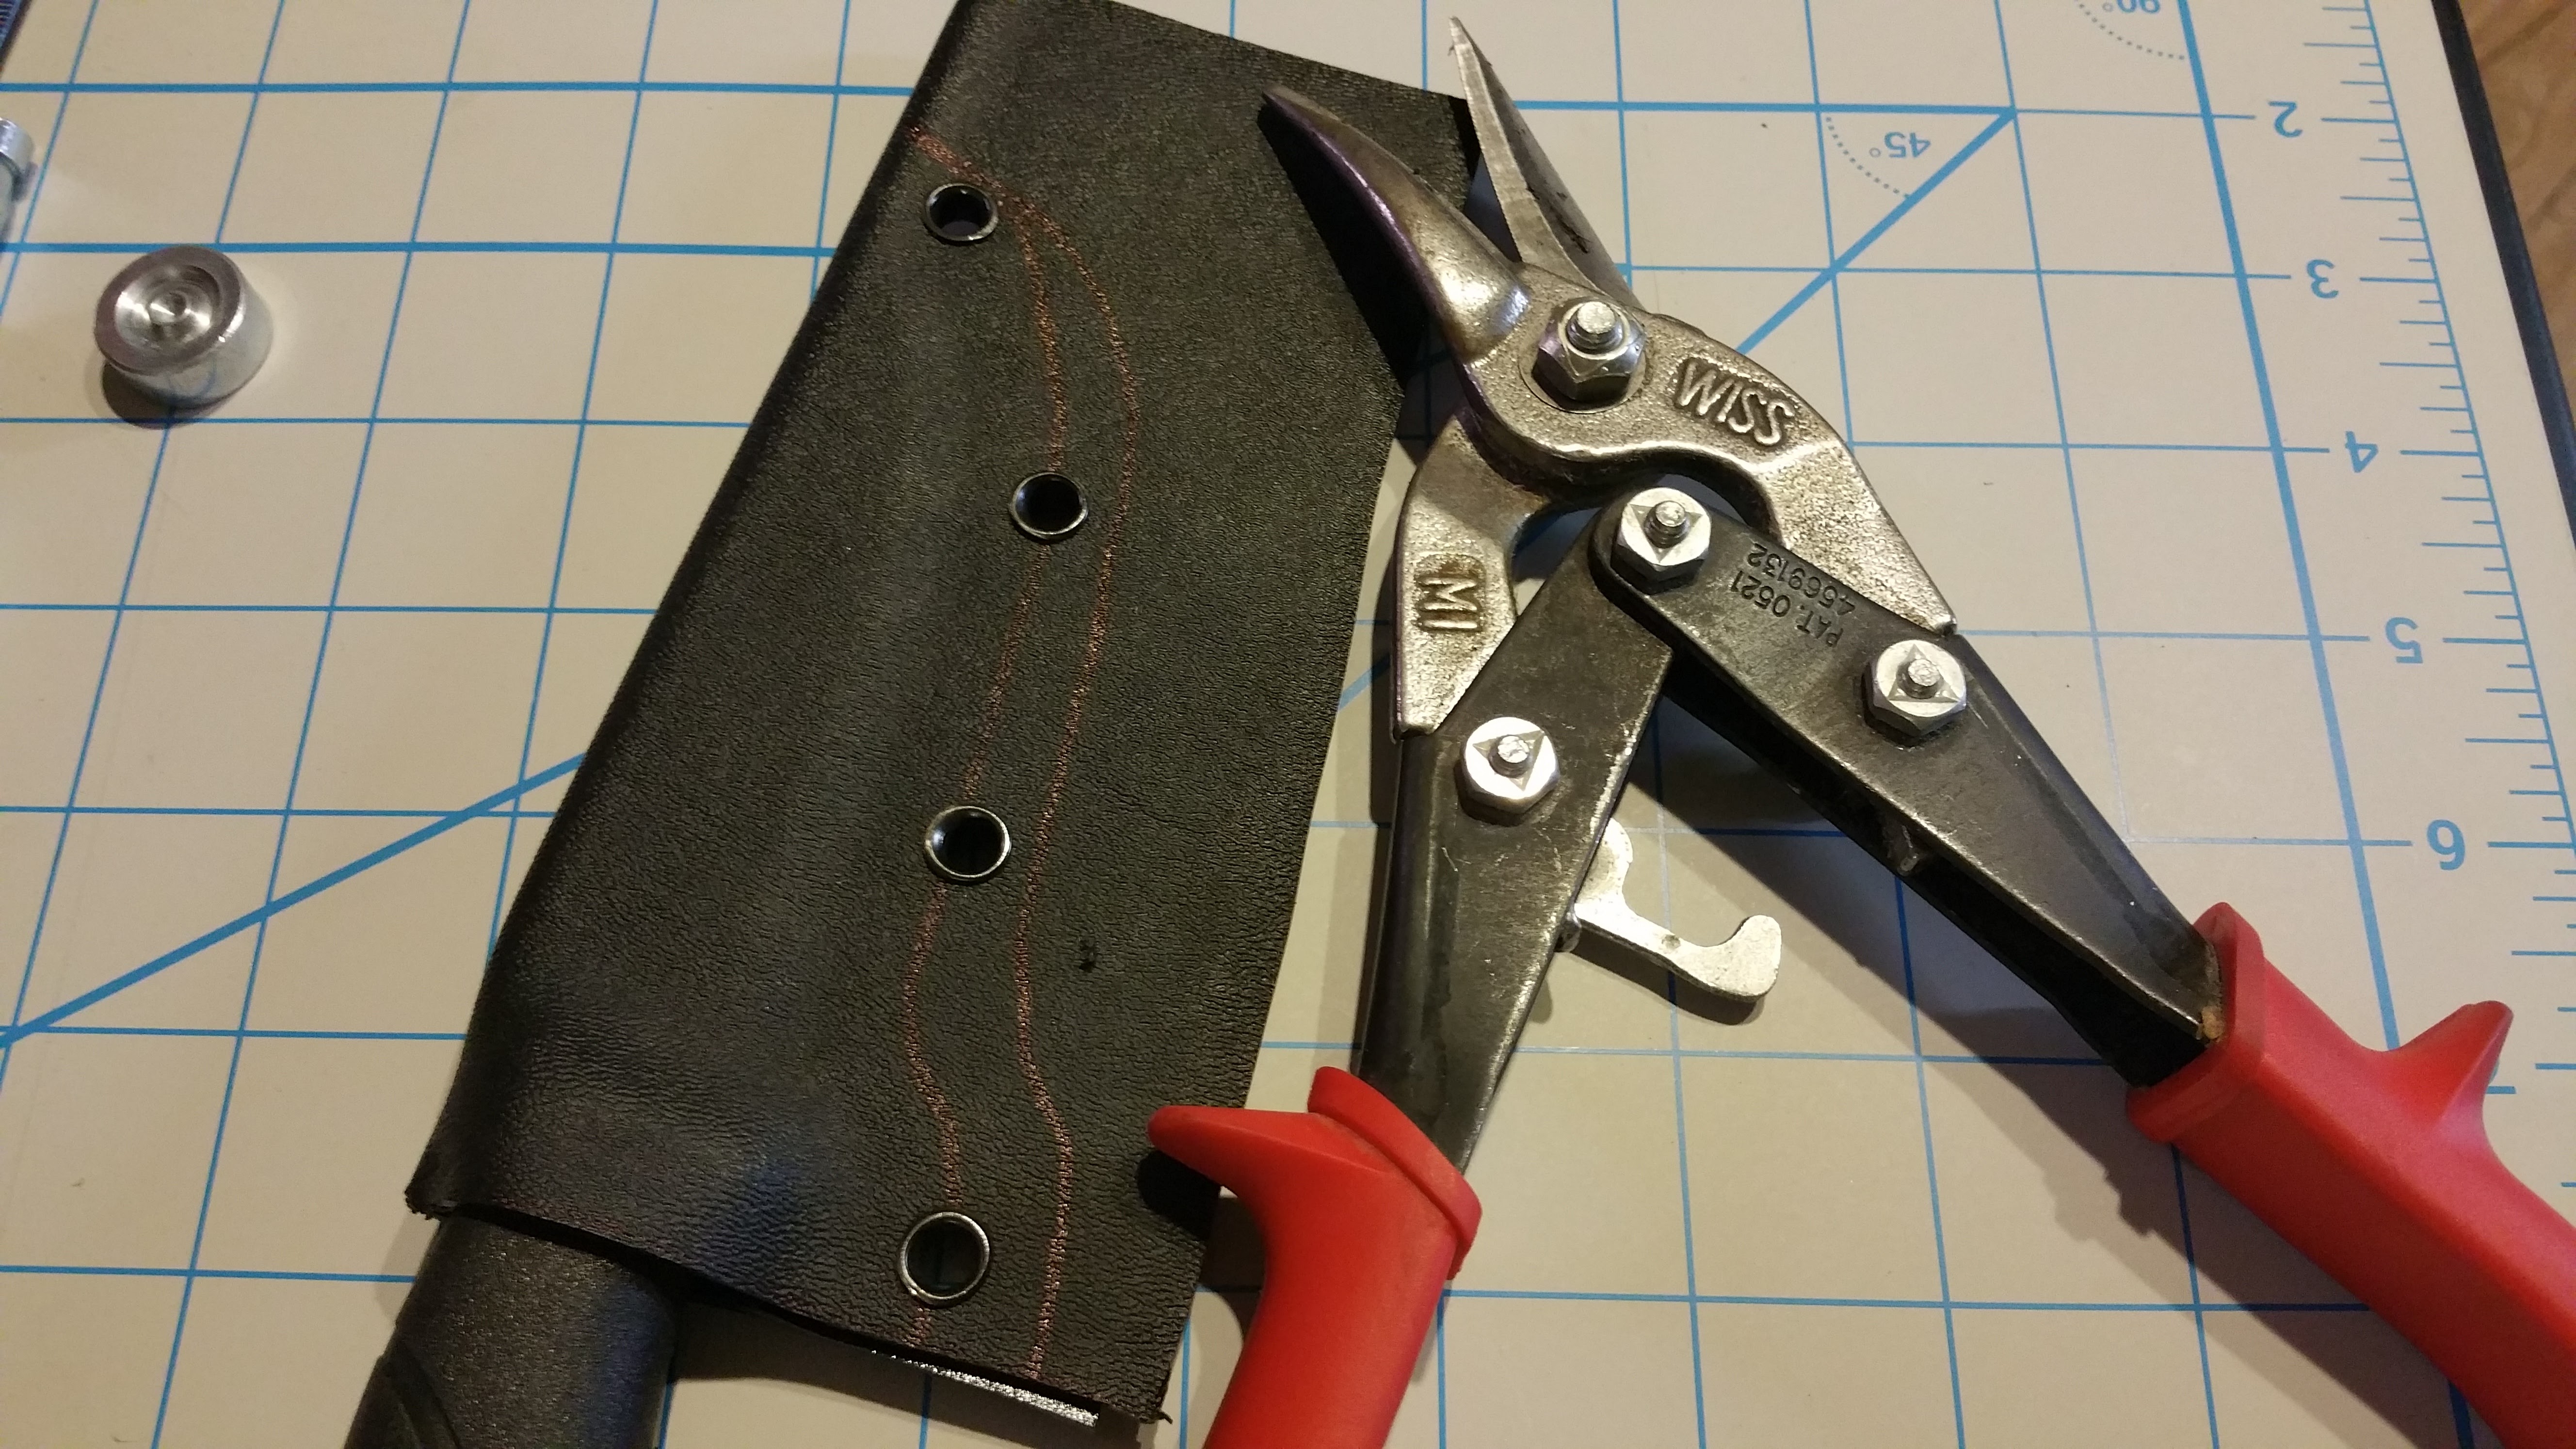
STEP 8: Use your snips or scissors to cut along your design lines you made to start forming your sheath. The more you cut off now the less you will have to sand later.

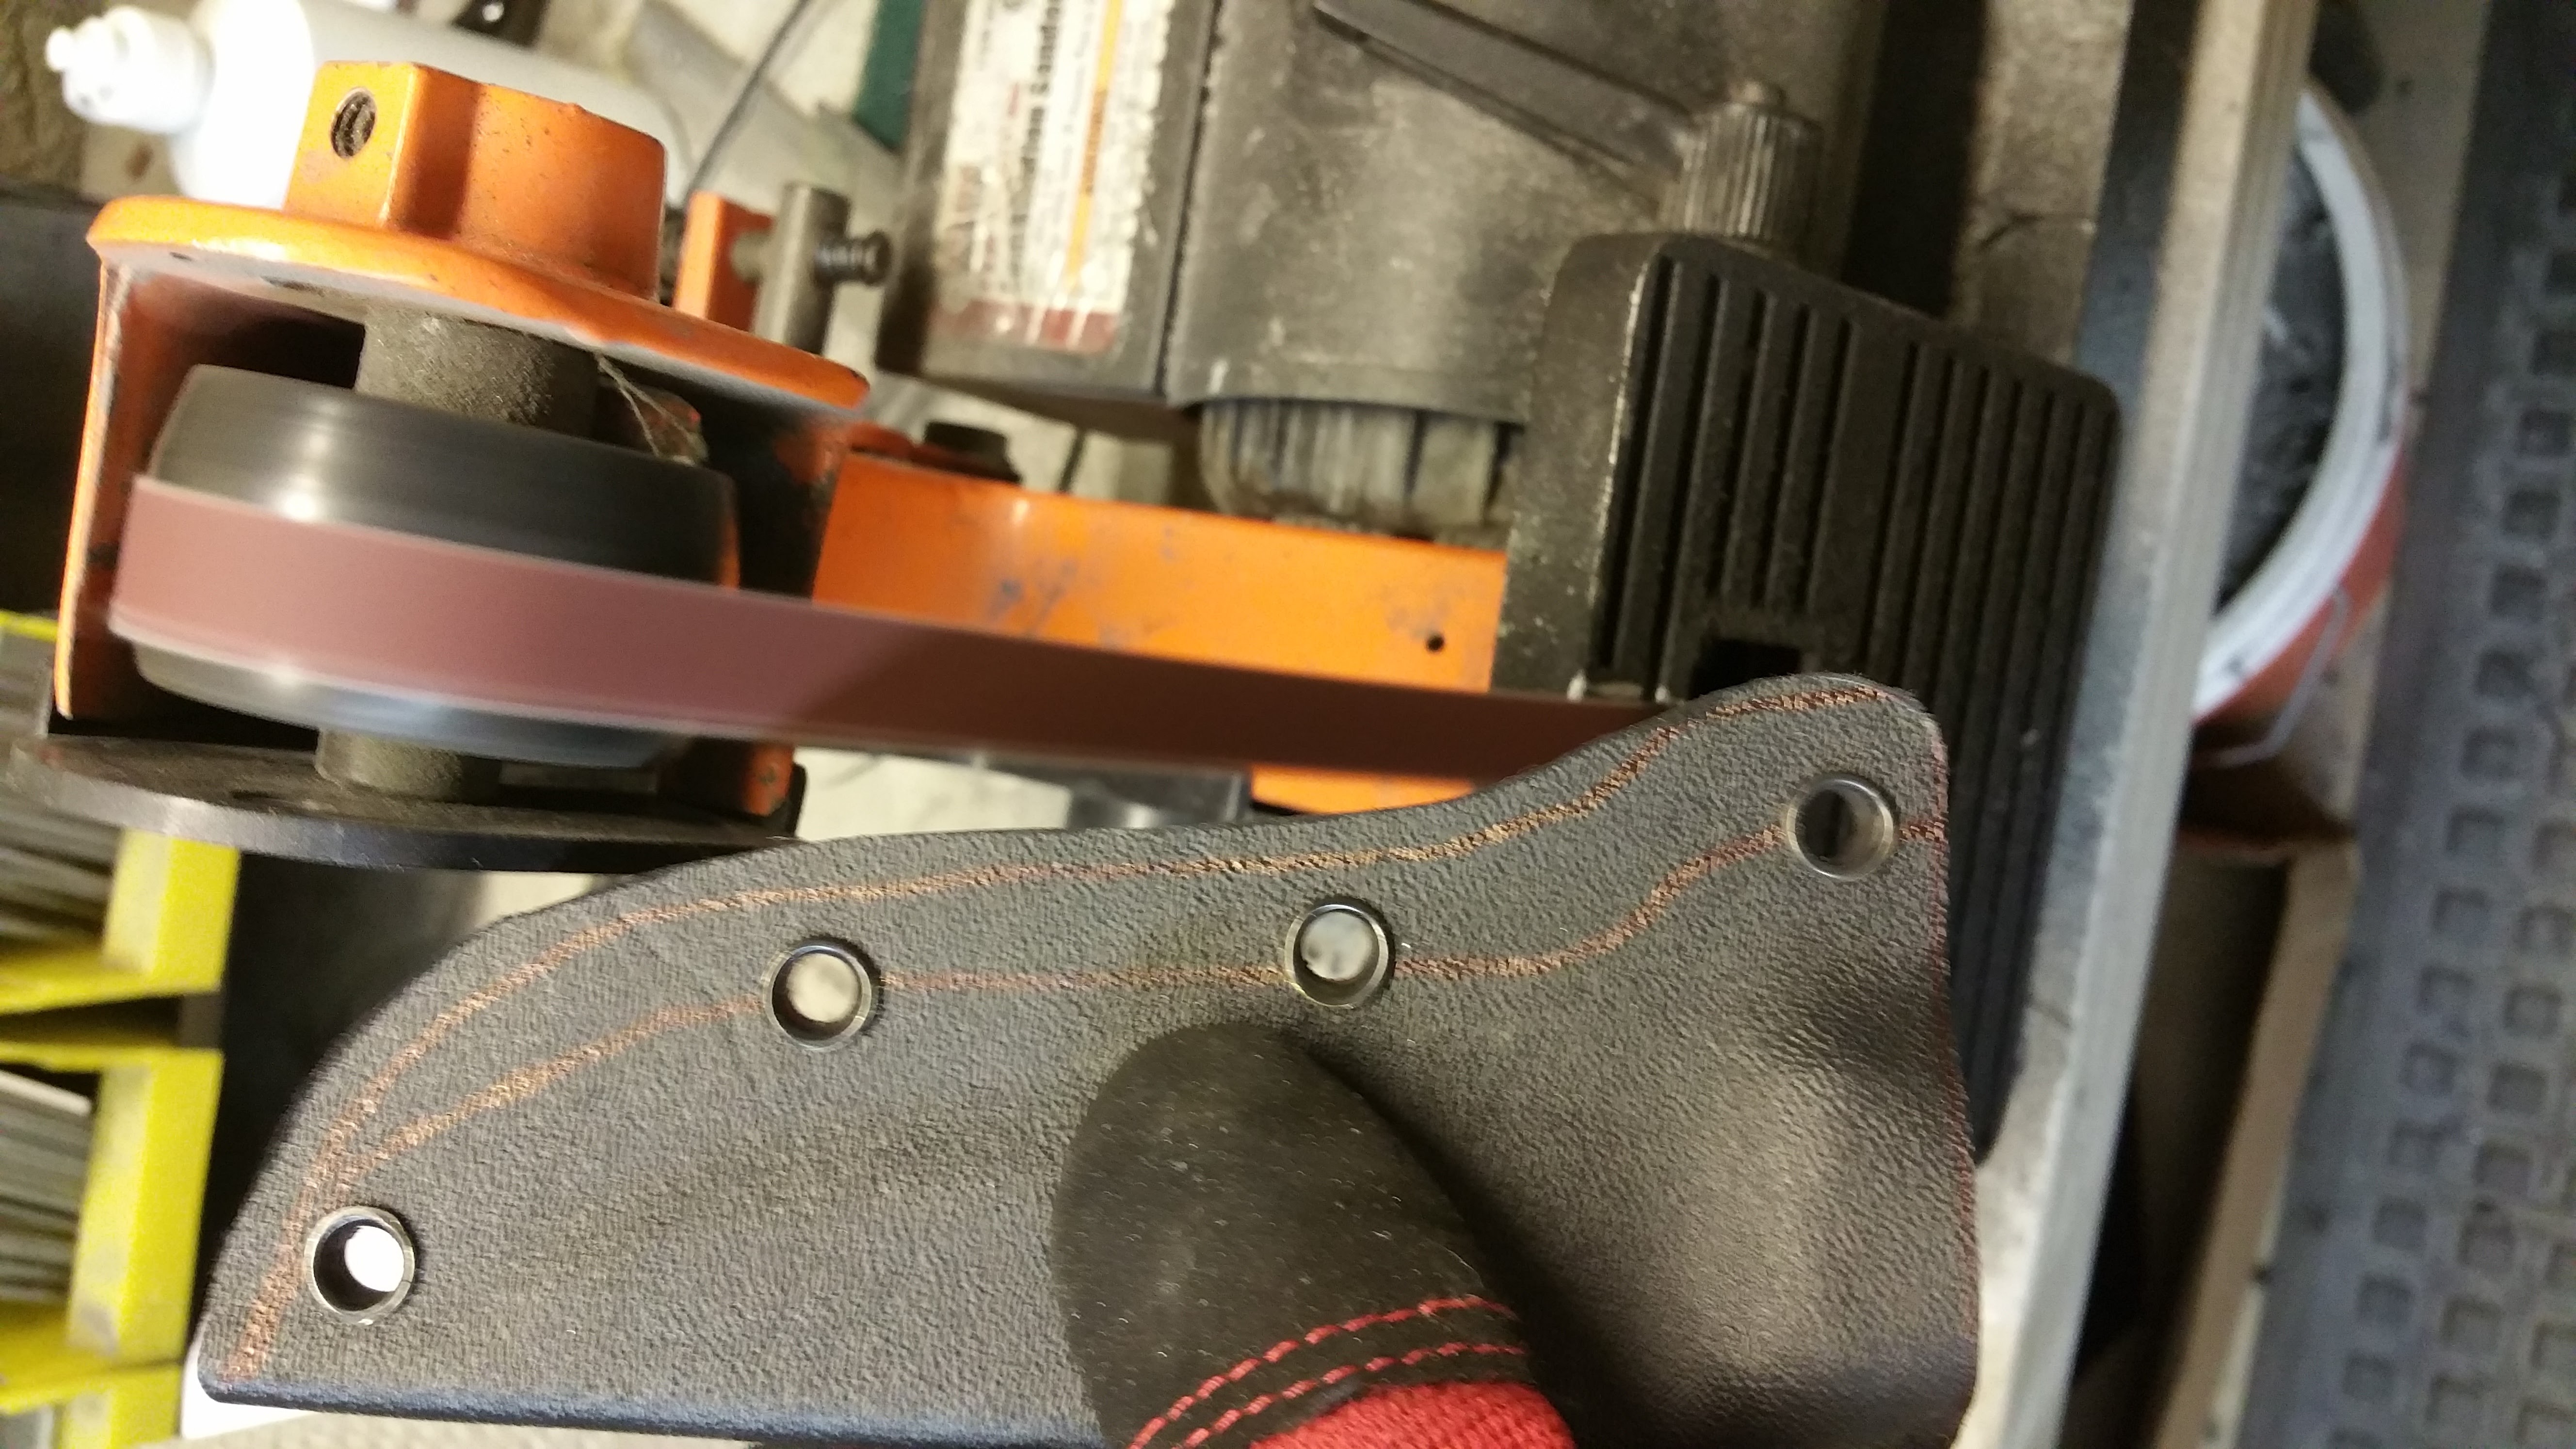
STEP 9: Now that you have the rough shape cut out you need to fine tune it and get all the edges looking nice. Use your sander or sand paper to start evening everything out.
STEP 10: Congrats! Your sheath should be all done now. Check to make sure your knife fits well and ENJOY!