

DIY Climashield Underquilt
Posted by Dutch on Oct 10th 2023
Share:This tutorial article will show you how to make your own 48" x 60" climashield underquilt.
Project Overview
| Skill Level | Estimated Time | Estimated Cost |
| Intermediate | 1-2 hours | $$$$ |
Materials and Tools
| Materials Needed: | Tools Needed: |
| 5 Yards Fabric | Sewing Machine |
| 2 Yards Climashield | Scissors |
| 9 Feet 3/32 Shock Cord | Ruler/Tape Measure |
| 18 Feet 1/8 Shock Cord | Straight Edge |
| 4 Mini Cord Locks | Pins |
| 2 Quilt Hangers or Micro Carabiners |
Step 1.
On a flat surface lay out the fabric shell material and cut 2 pieces that measure 52” wide and 64” long.
Step 2.
On a flat surface lay out the Climashield and cut to size the same as the shell material, 52” wide and 64” long.
Step 3.
With the left over (scrap) shell material, cut 2 lengths that are 62” long and 3” wide. Also, cut 2 lengths that are 50” long and 3” wide. These will be used as the shock cord channels.
Step 4.
With the channel material, stitch a rolled hem on all 4 of the short sides. Make sure the hems are rolled in the same direction.
Step 5.
Fold each channel in half lengthwise and stitch together ½” from the fold. Make sure to lock all stitches.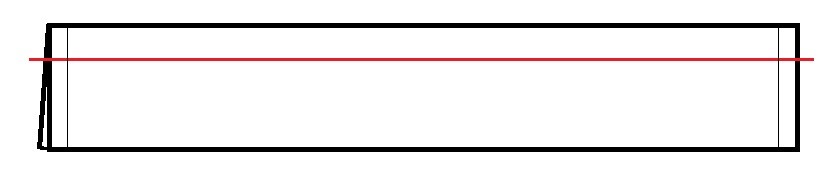
Step 6.
Lay one piece of the shell material on your work surface (wrong side down). On each of the short sides, lay the short channels on the shell with the channels facing away from the raw edge of the shell material, pin in place with a few pins. Do the same with the long channels.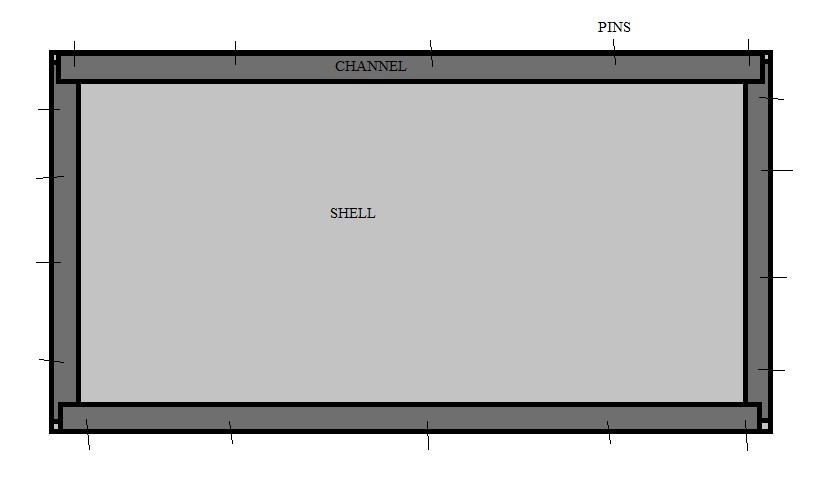
Step 7.
With the channels pinned in place on the “Right Side” of the shell material, lay the other shell on top, (Right side down). Pin in place. The pins that were originally holding the channels on can be re-pinned as to “sandwich” the channels in between the shell material.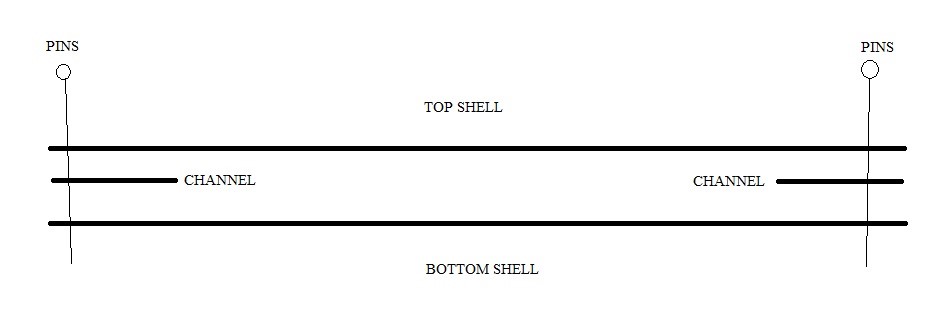
Step 8.
Make a straight stitch with a ½” seam allowance along the perimeter to hold the shell and channels in place. This step makes it much easier to attach the insulation. Leave a 8-10” gap along the short side.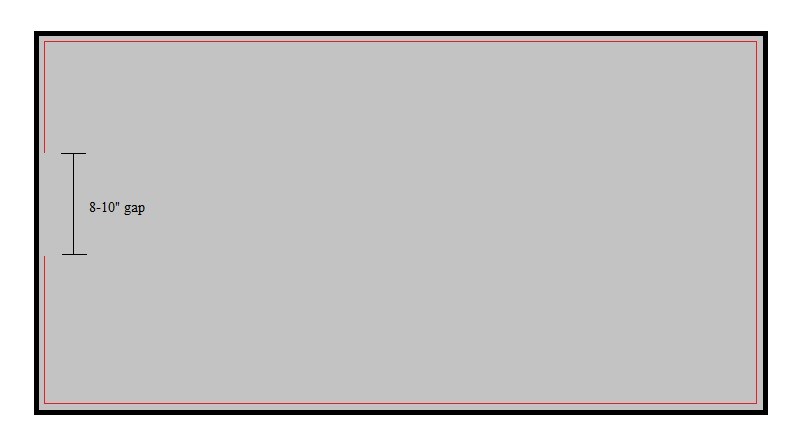
Step 9.
On your work surface, lay down the insulation, then along the long side, line up your shell material and start pinning into place.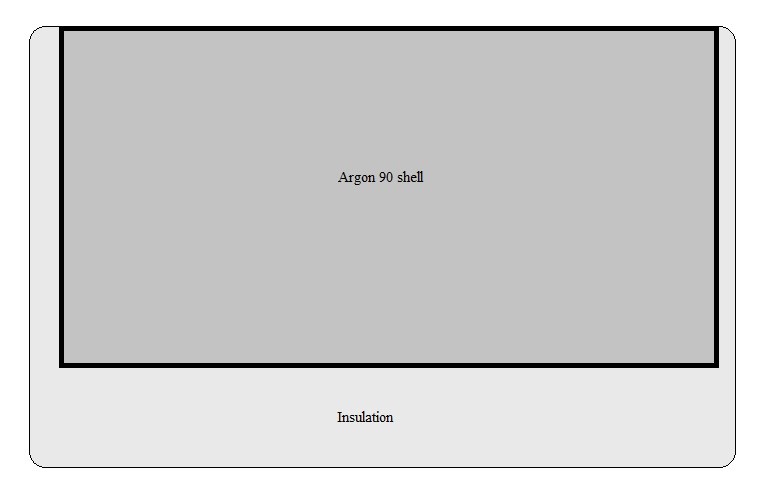
Step 10.
After pinned in place, cut off the excess insulation.
Step 11.
With the insulation on bottom, start sewing a straight stitch ¼- ½” on the inside of your original hem. Follow this around the perimeter but again, leave that 8-10” gap in the same place.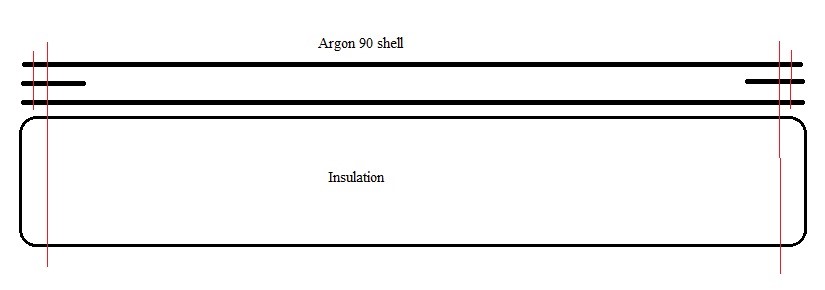
Step 12.
Reach into the gap and grab the opposite corners of the quilt and begin to turn it “inside out. This will leave you with the insulation sandwiched inside of each shell and the channels on the outer perimeter of your quilt.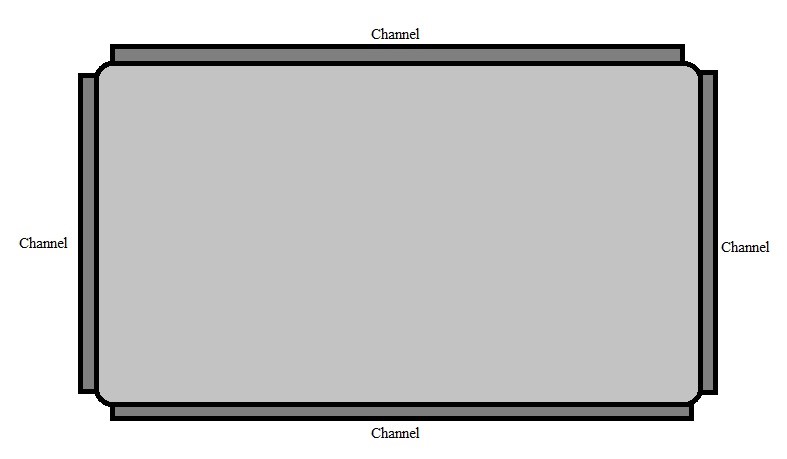
Step 13.
Sew up the 8-10” gap with a clean straight stitch. Remember to lock your stitches.
Step 14.
Cut the 3/32” shock cord in half and singe the ends. Then put one mini cord lock on and tie a figure 8 knot at the end. Run the shock cord through the short channel, put on the other cord lock, and finally tie another figure 8 knot on that end.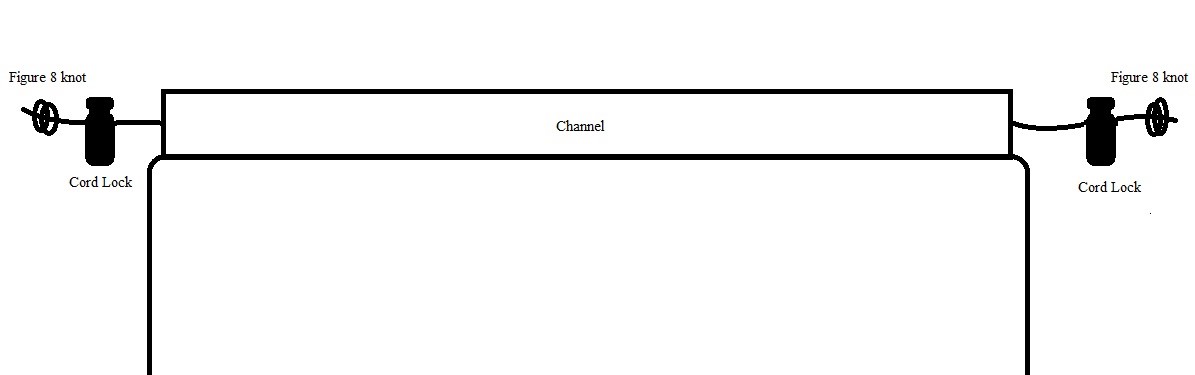
Step 15.
Run the 1/8” shock cord through each long channel and tie an overhand knot. Your quilt should look like this.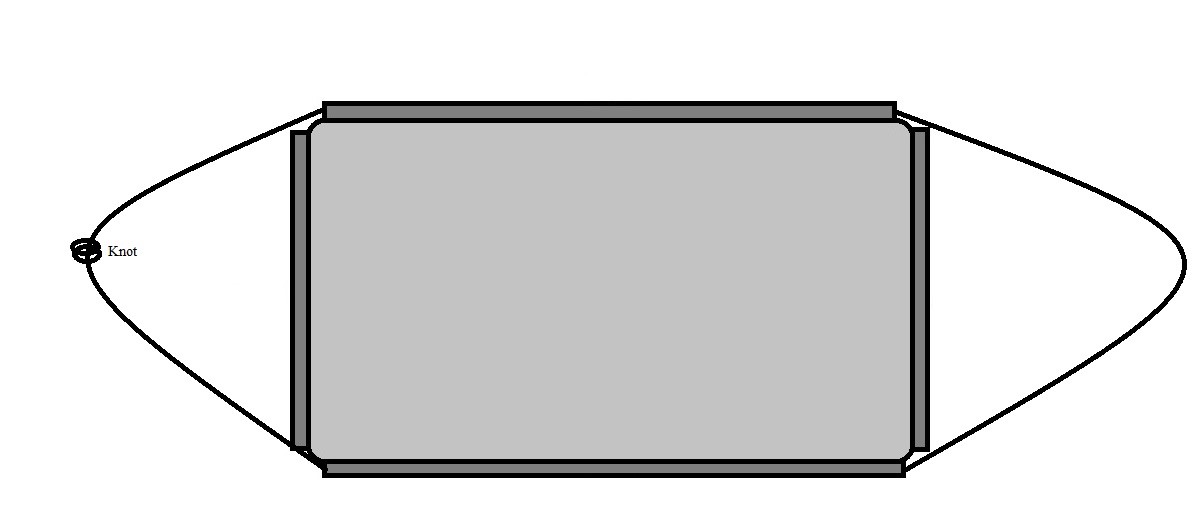
Step 16.
You are almost done! Attach the shock cord around the whipping of your hammock or clip to the suspension with a quilt hanger, micro biner, etc. Adjust the length of the 1/8” shock cord accordingly so that there is no slack when you are in your hammock. Cut off any excess shock cord.


