DIY Rain Mitts Instructions
Posted by Dutch on Oct 10th 2023
Share:Project Overview
| Skill Level | Estimated Time |
| Beginner | 30- 40 minutes |
Materials and Tools
| Materials Needed: | Tools Needed: |
| 1/2 yard of one of the following: Xenon Helion Dyneema composite | Sewing Machine |
| 1 yard Dutch Cord | Scissors |
| 1 yard shock cord | Ruler/Tape Measure |
| 2– Mini Cord Locks | Marker or Chalk |
| Thread of your choice |
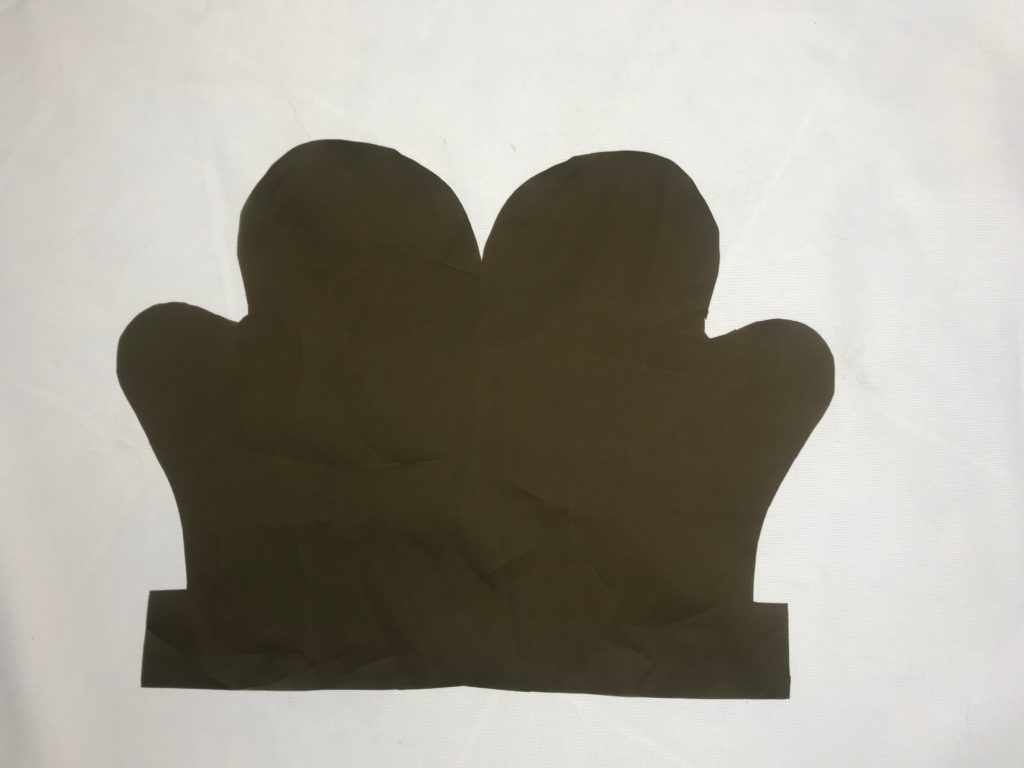
Pattern Components
- 2 cut mitten pieces
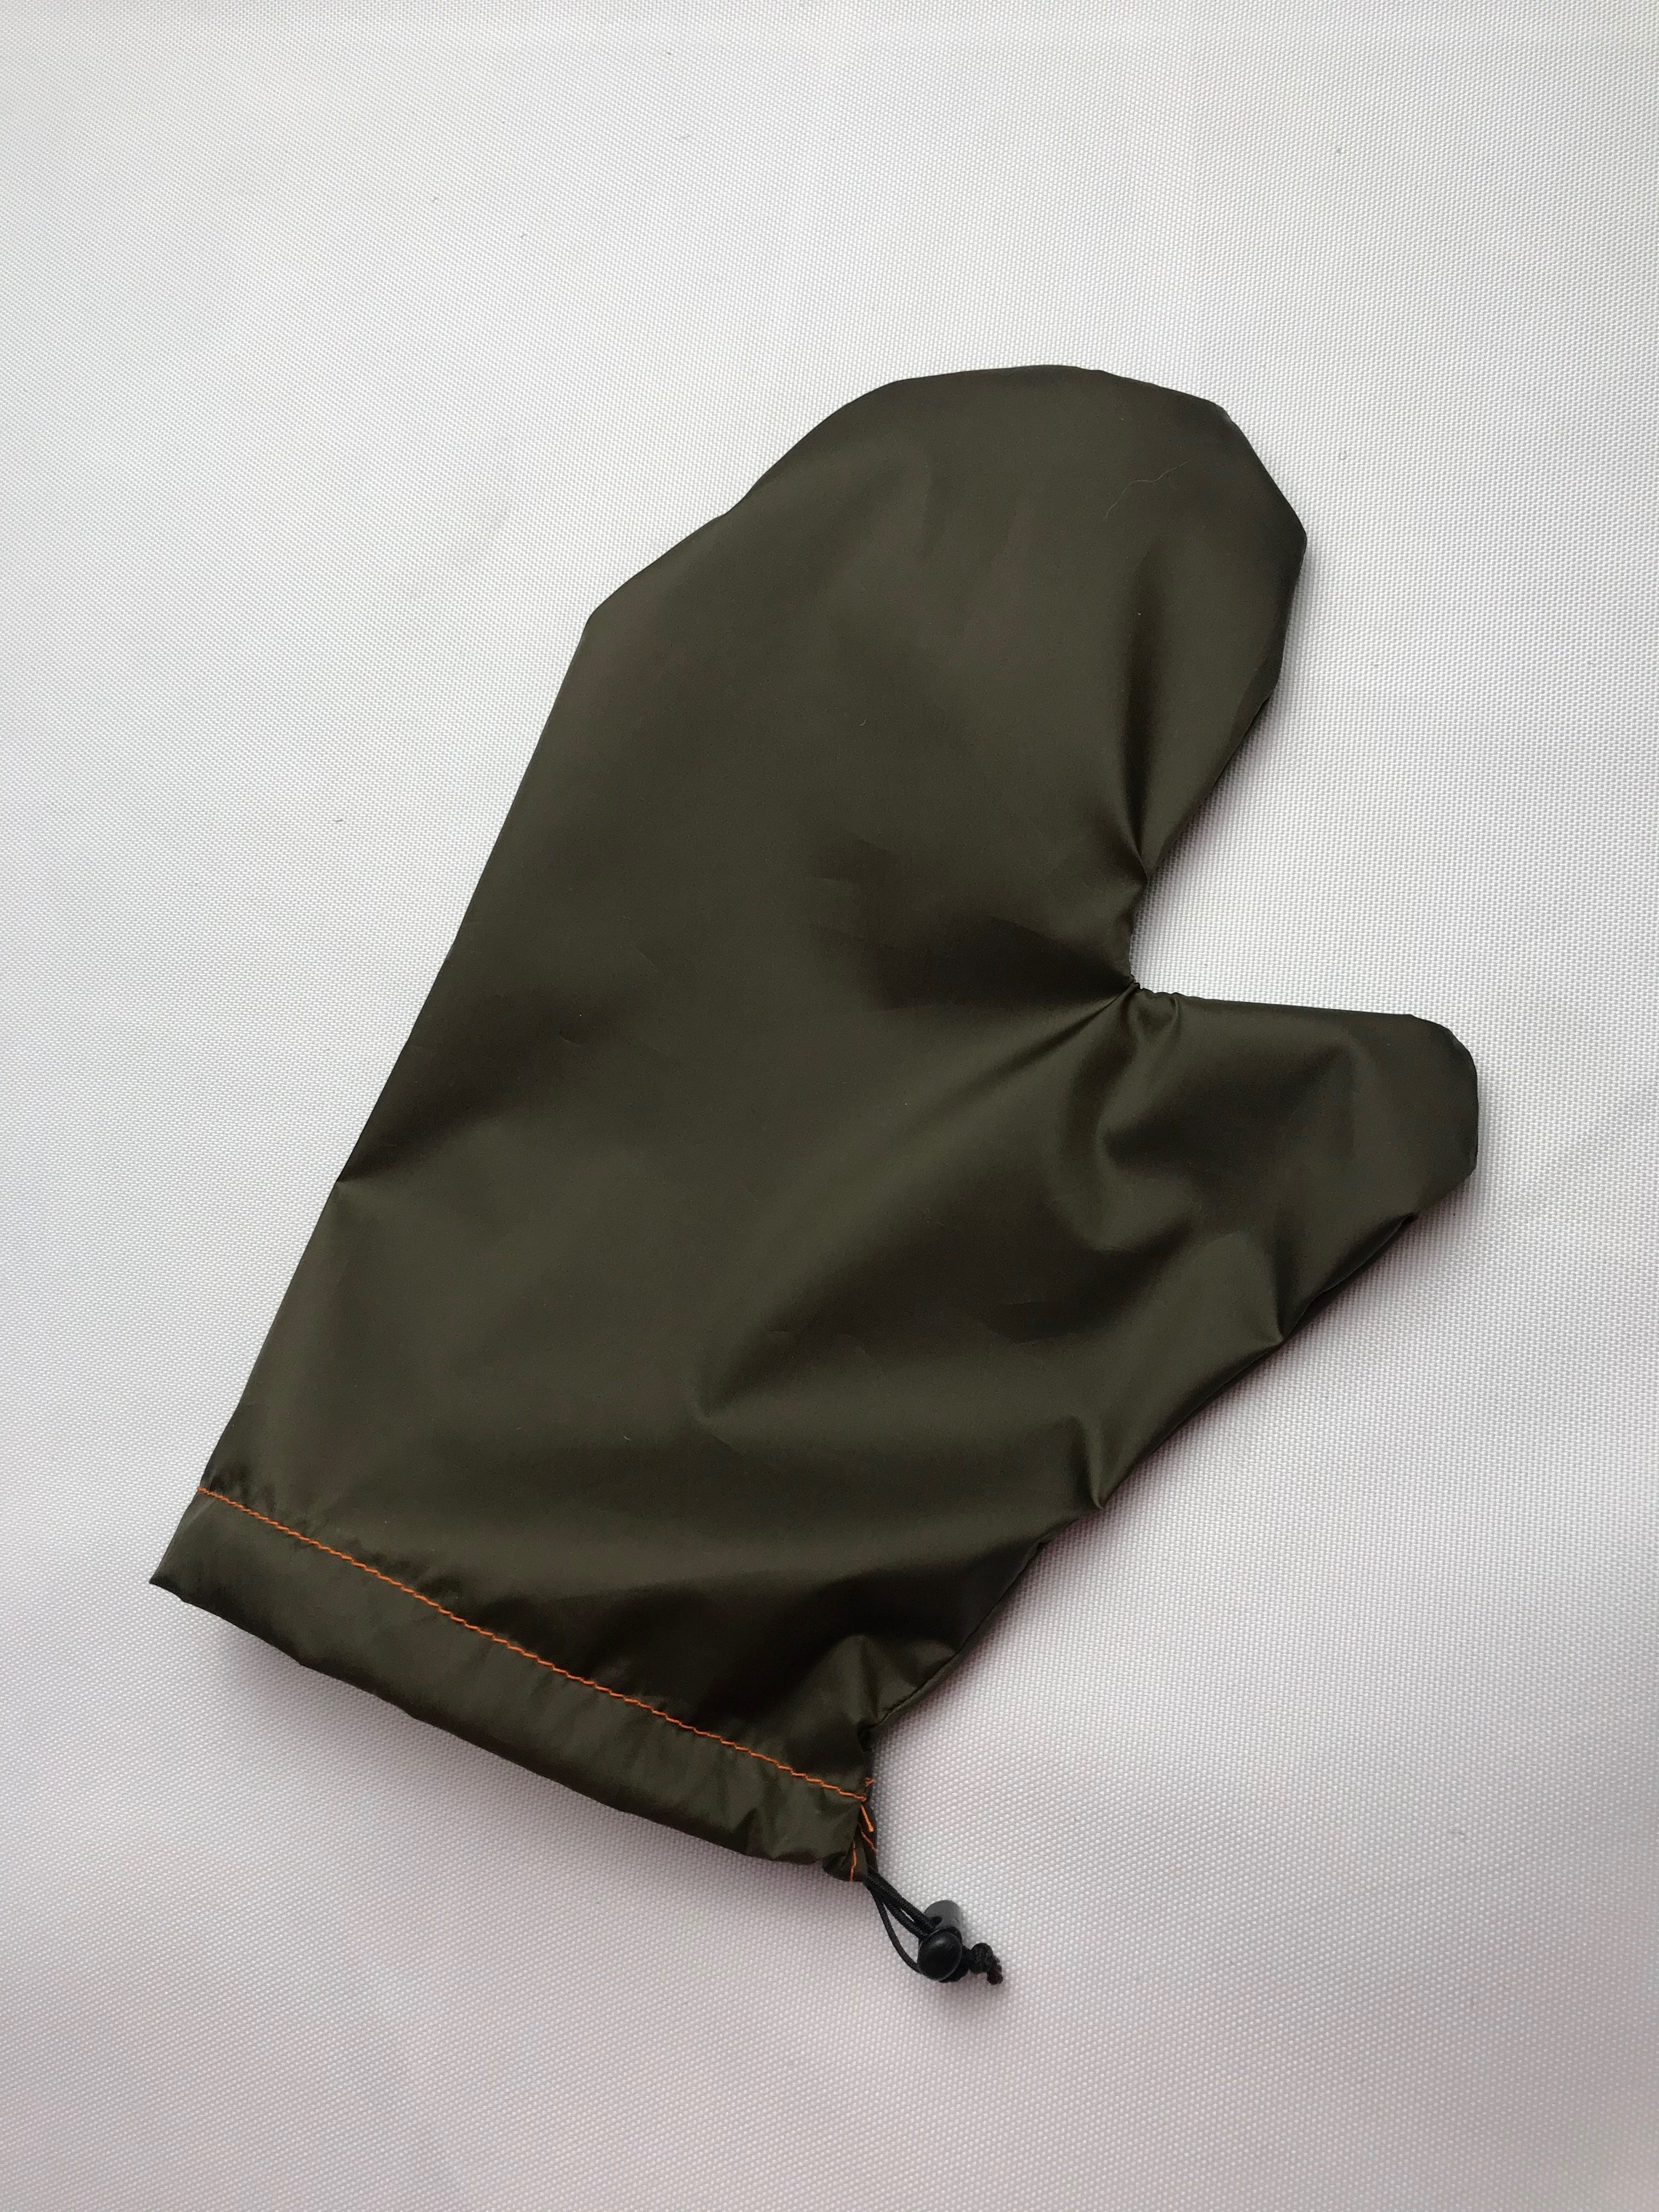
Simple instructions for basic functional rain mitts. Features an easy to use drawstring requiring the use of only one hand.
Note: this can also be done as a no-sew project, using seam tape in place of regular seams
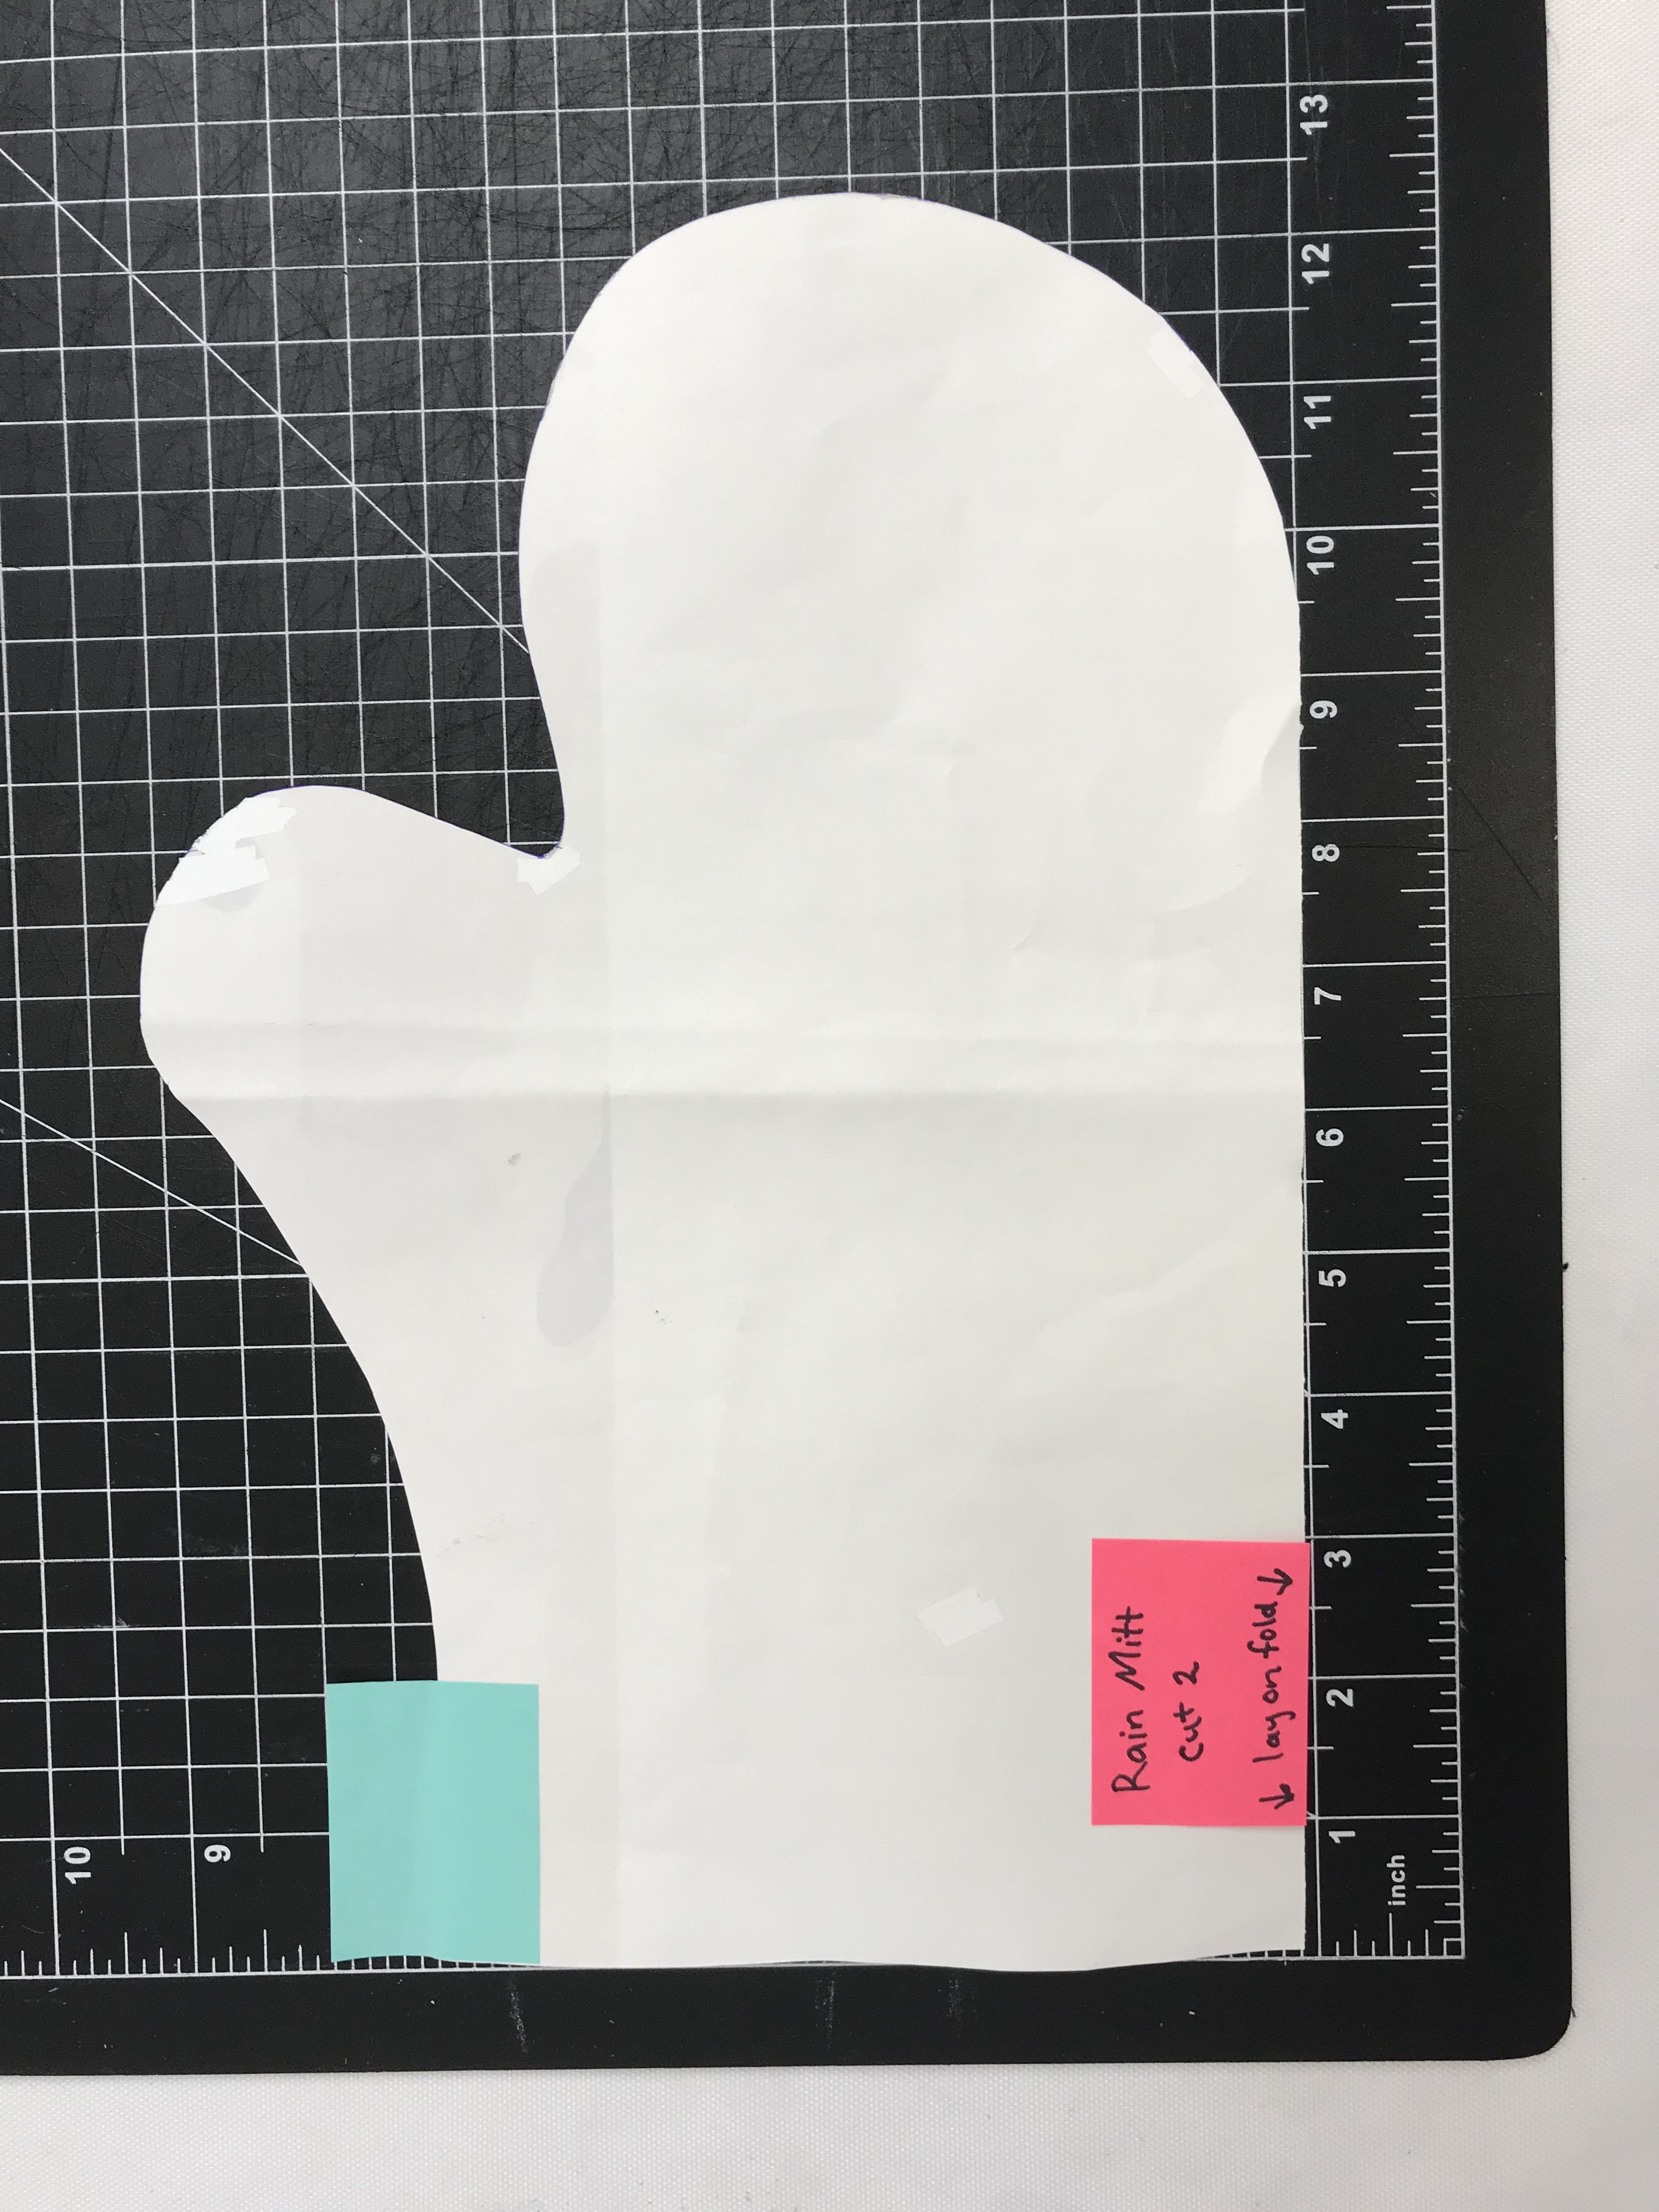
Step 1:
To create your own pattern, draw a mitten shape slightly larger then your hand, allowing for range of motion, as well as seam allowance. Add a 3/4" x 2" tab on inside wrist corner. See photo below for reference.
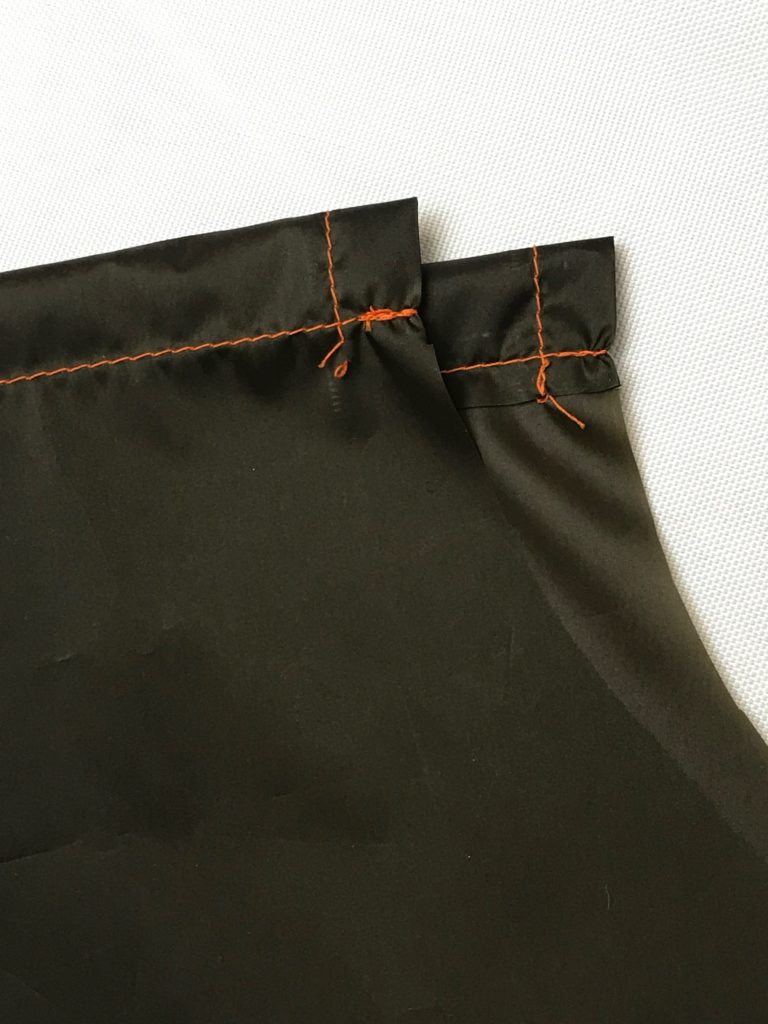
Step 2:
Fold in both 2” tabs on outside corners and hem. This will finish/reinforce drawstring channel opening.

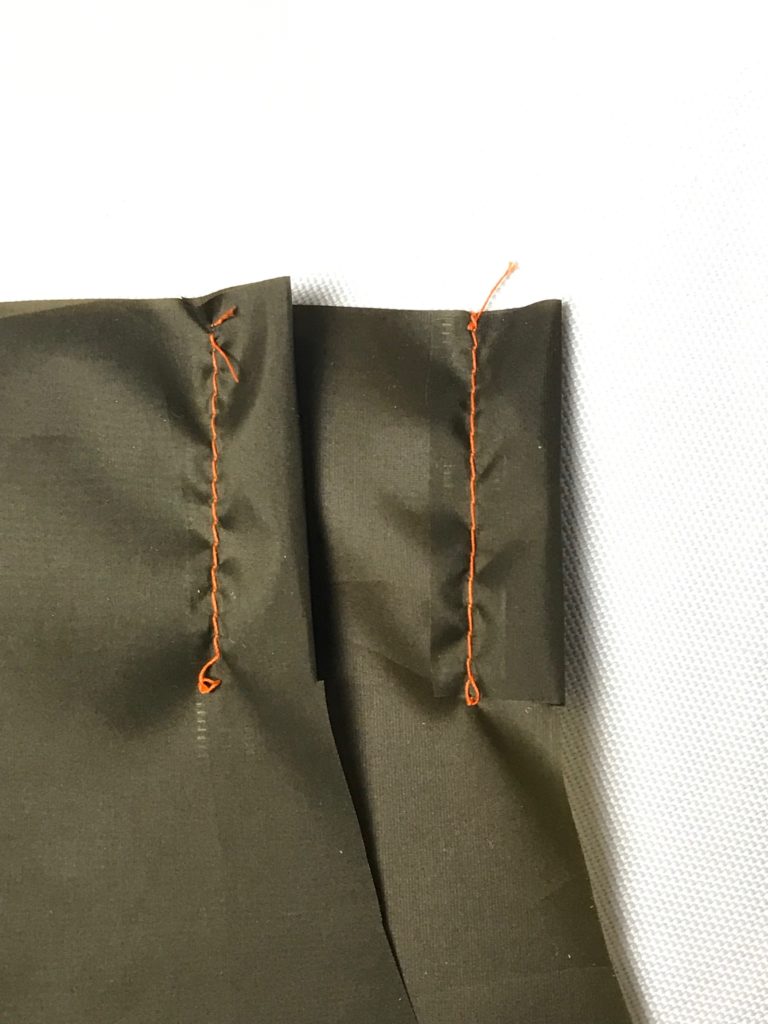
Step 3:
Fold straight edge in and sew a ¾” hem, creating the drawstring channel.

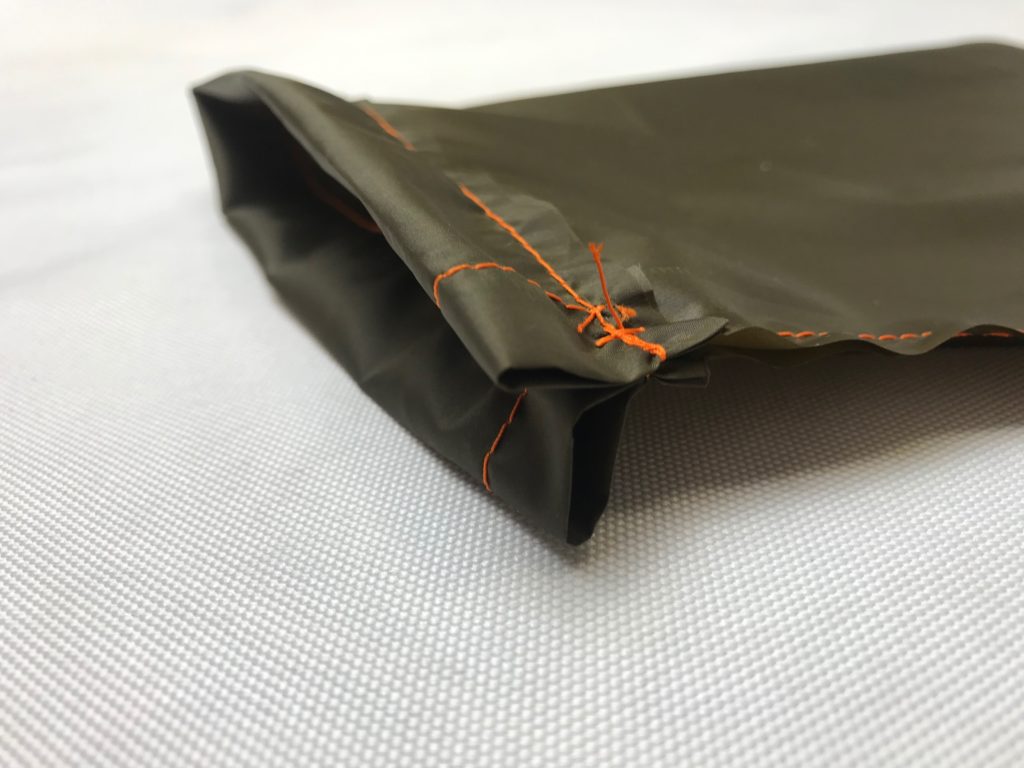
Step 4:
Fold in half, right sides together. Start seam at wrist, perpendicular to drawstring channel. Sew around edge of mitt until you reach the fold where the two sides come together. When sewing the inside curve of the thumb, avoid making a “v” shape with your seam. A rounded curve is more durable then a sharp corner . Backtack at start and finish of seam.


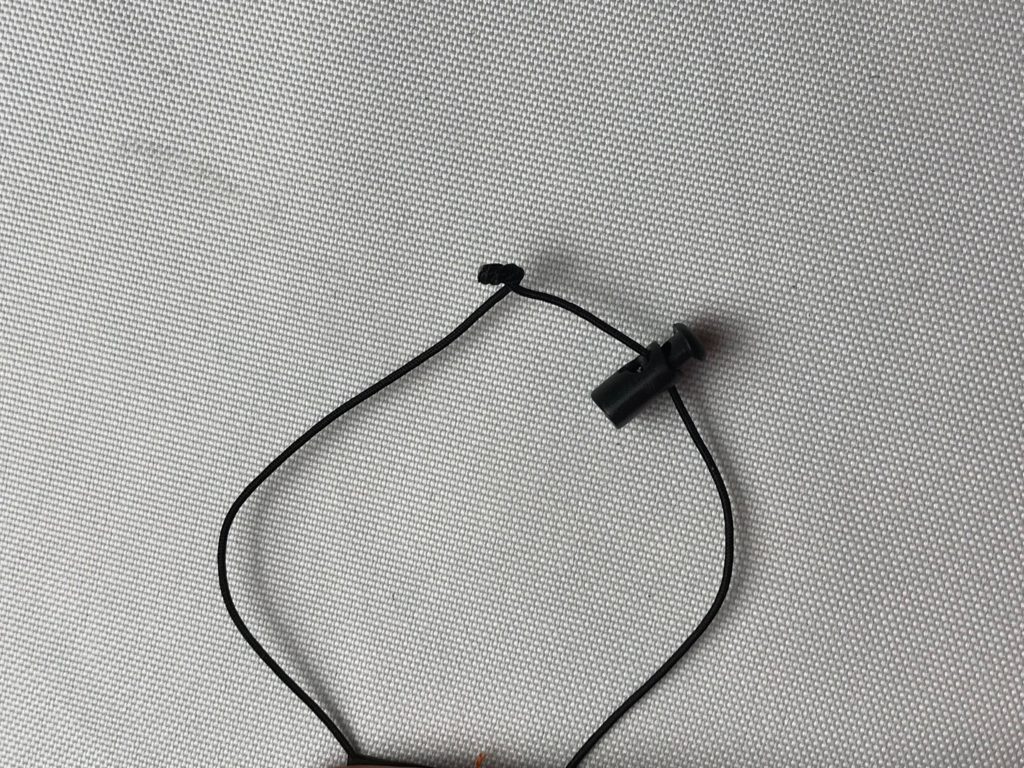
Step 5:
Use a bodkin to thread Dutch Cord through drawstring channel. (If you don't have a bodkin a large safety pin works well for this) Thread only one strand through mini cord lock. Knot, fuse ends with flame.
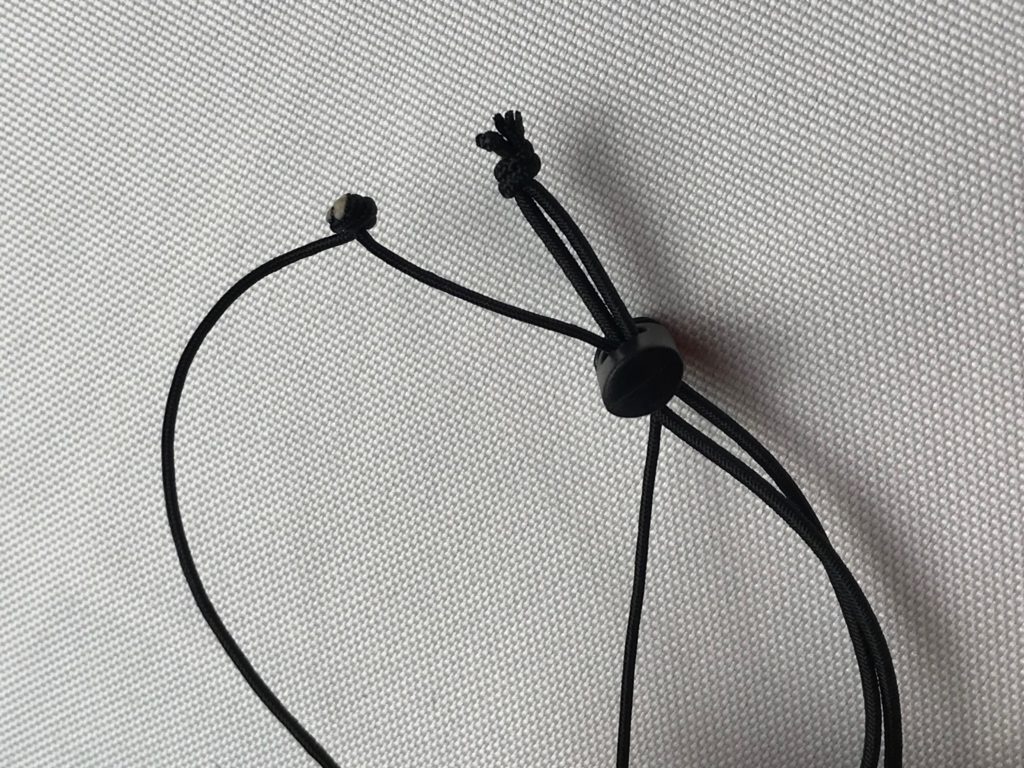
Step 6:
To tighten drawstring, pull (with one hand) the shock cord. The dutch cord holds the mini cord lock in place.