DIY Vertical Compression Stuff Sack
Posted by Dutch on Oct 10th 2023
Share:In this tutorial article we will show you how to create your own vertical DIY compression stuff sack
This is a smaller, vertical compression. This compresses along the length of the stuff sack. Compression pressure on the longest side (most room for potential compression). In our opinion the better, most efficient style of compression stuff sack.

Project Overview
| Skill Level | Estimated Time |
| Intermediate | 2-3 hours |
Materials and Tools
| Materials Needed: | Tools Needed: |
| 1 Yard 300D | Sewing Machine |
| 15" Dutch Cord | Scissors |
| 1 - Mini Cord Lock | Ruler/Tape Measure |
| 4 - Linelock 3's | Marker or Chalk |
| 4 - 1/2" Beastee Dee's | |
| 64" reflective cord | |
| 40" x 1/2" Grosgrain | |
| Thread of your choice |
Pattern Components
- Main Stuff Sack Body
- End Cap Circles
- Compression Panels
Instructions for a clean-looking compression stuff sack.
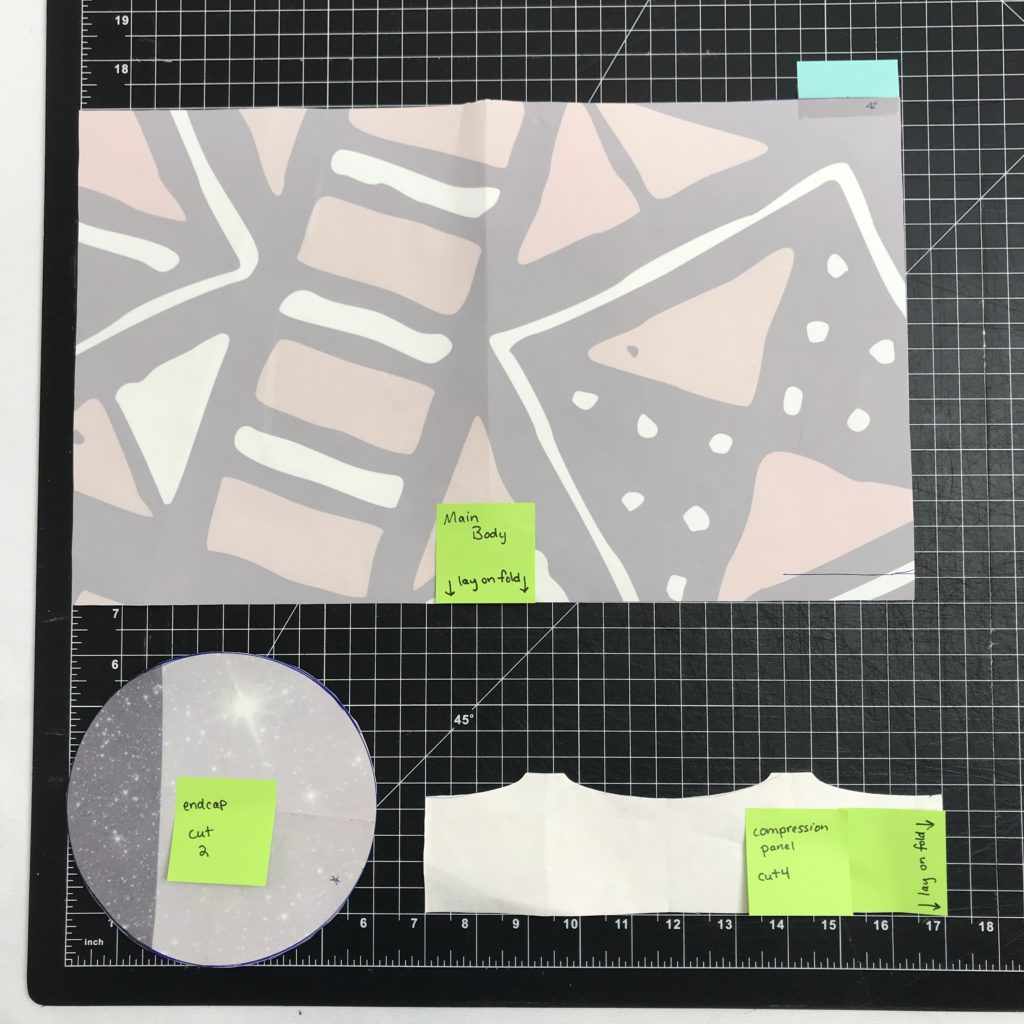
Step 1:
Cut all pattern pieces from 300D.
Pattern Piece Measurements:
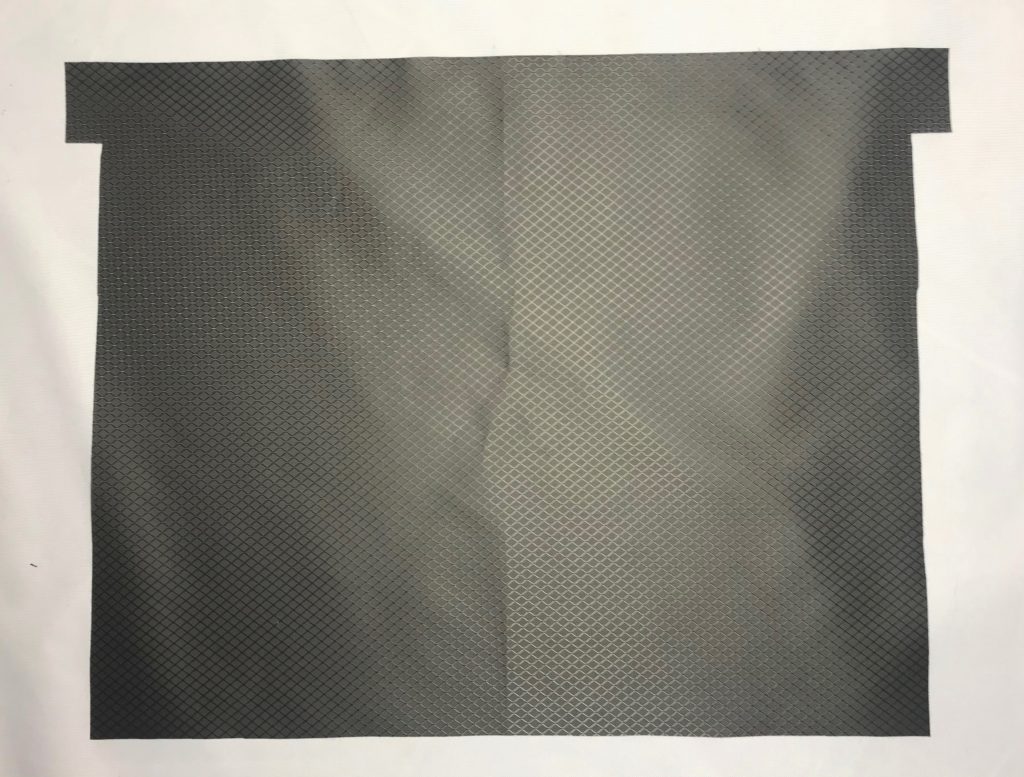
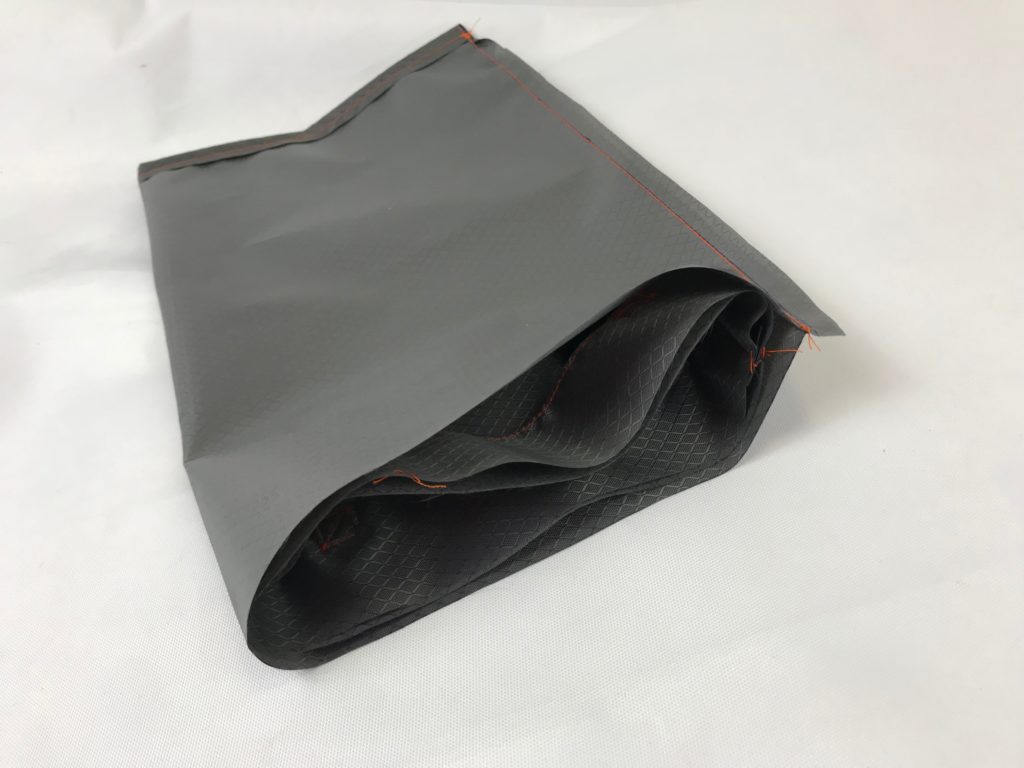
● Main stuff sack body- 16 1/2" x 10"
( lay 10" side on fold, add 2" x 3/4" tab on opposite edge to cut. (See photo below)
● End cap circles are 6 1/8" in diameter . Cut 2.
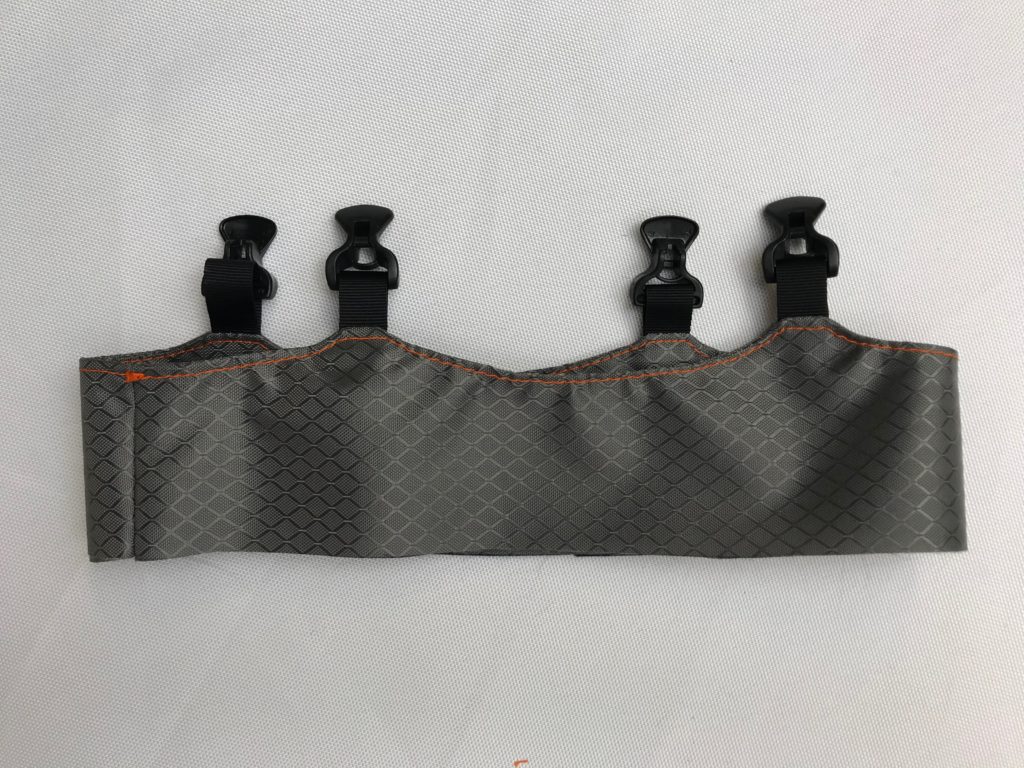
● Compression panels are 20" long, 2 3/4" wide at the widest point, i.e., the "posts", and 2 1/4" wide in the "valleys".
Step 2:
Cut reflective cord to four 16" lengths.
Step 3:
Cut grosgrain to eight 5" lengths.
Step 4:
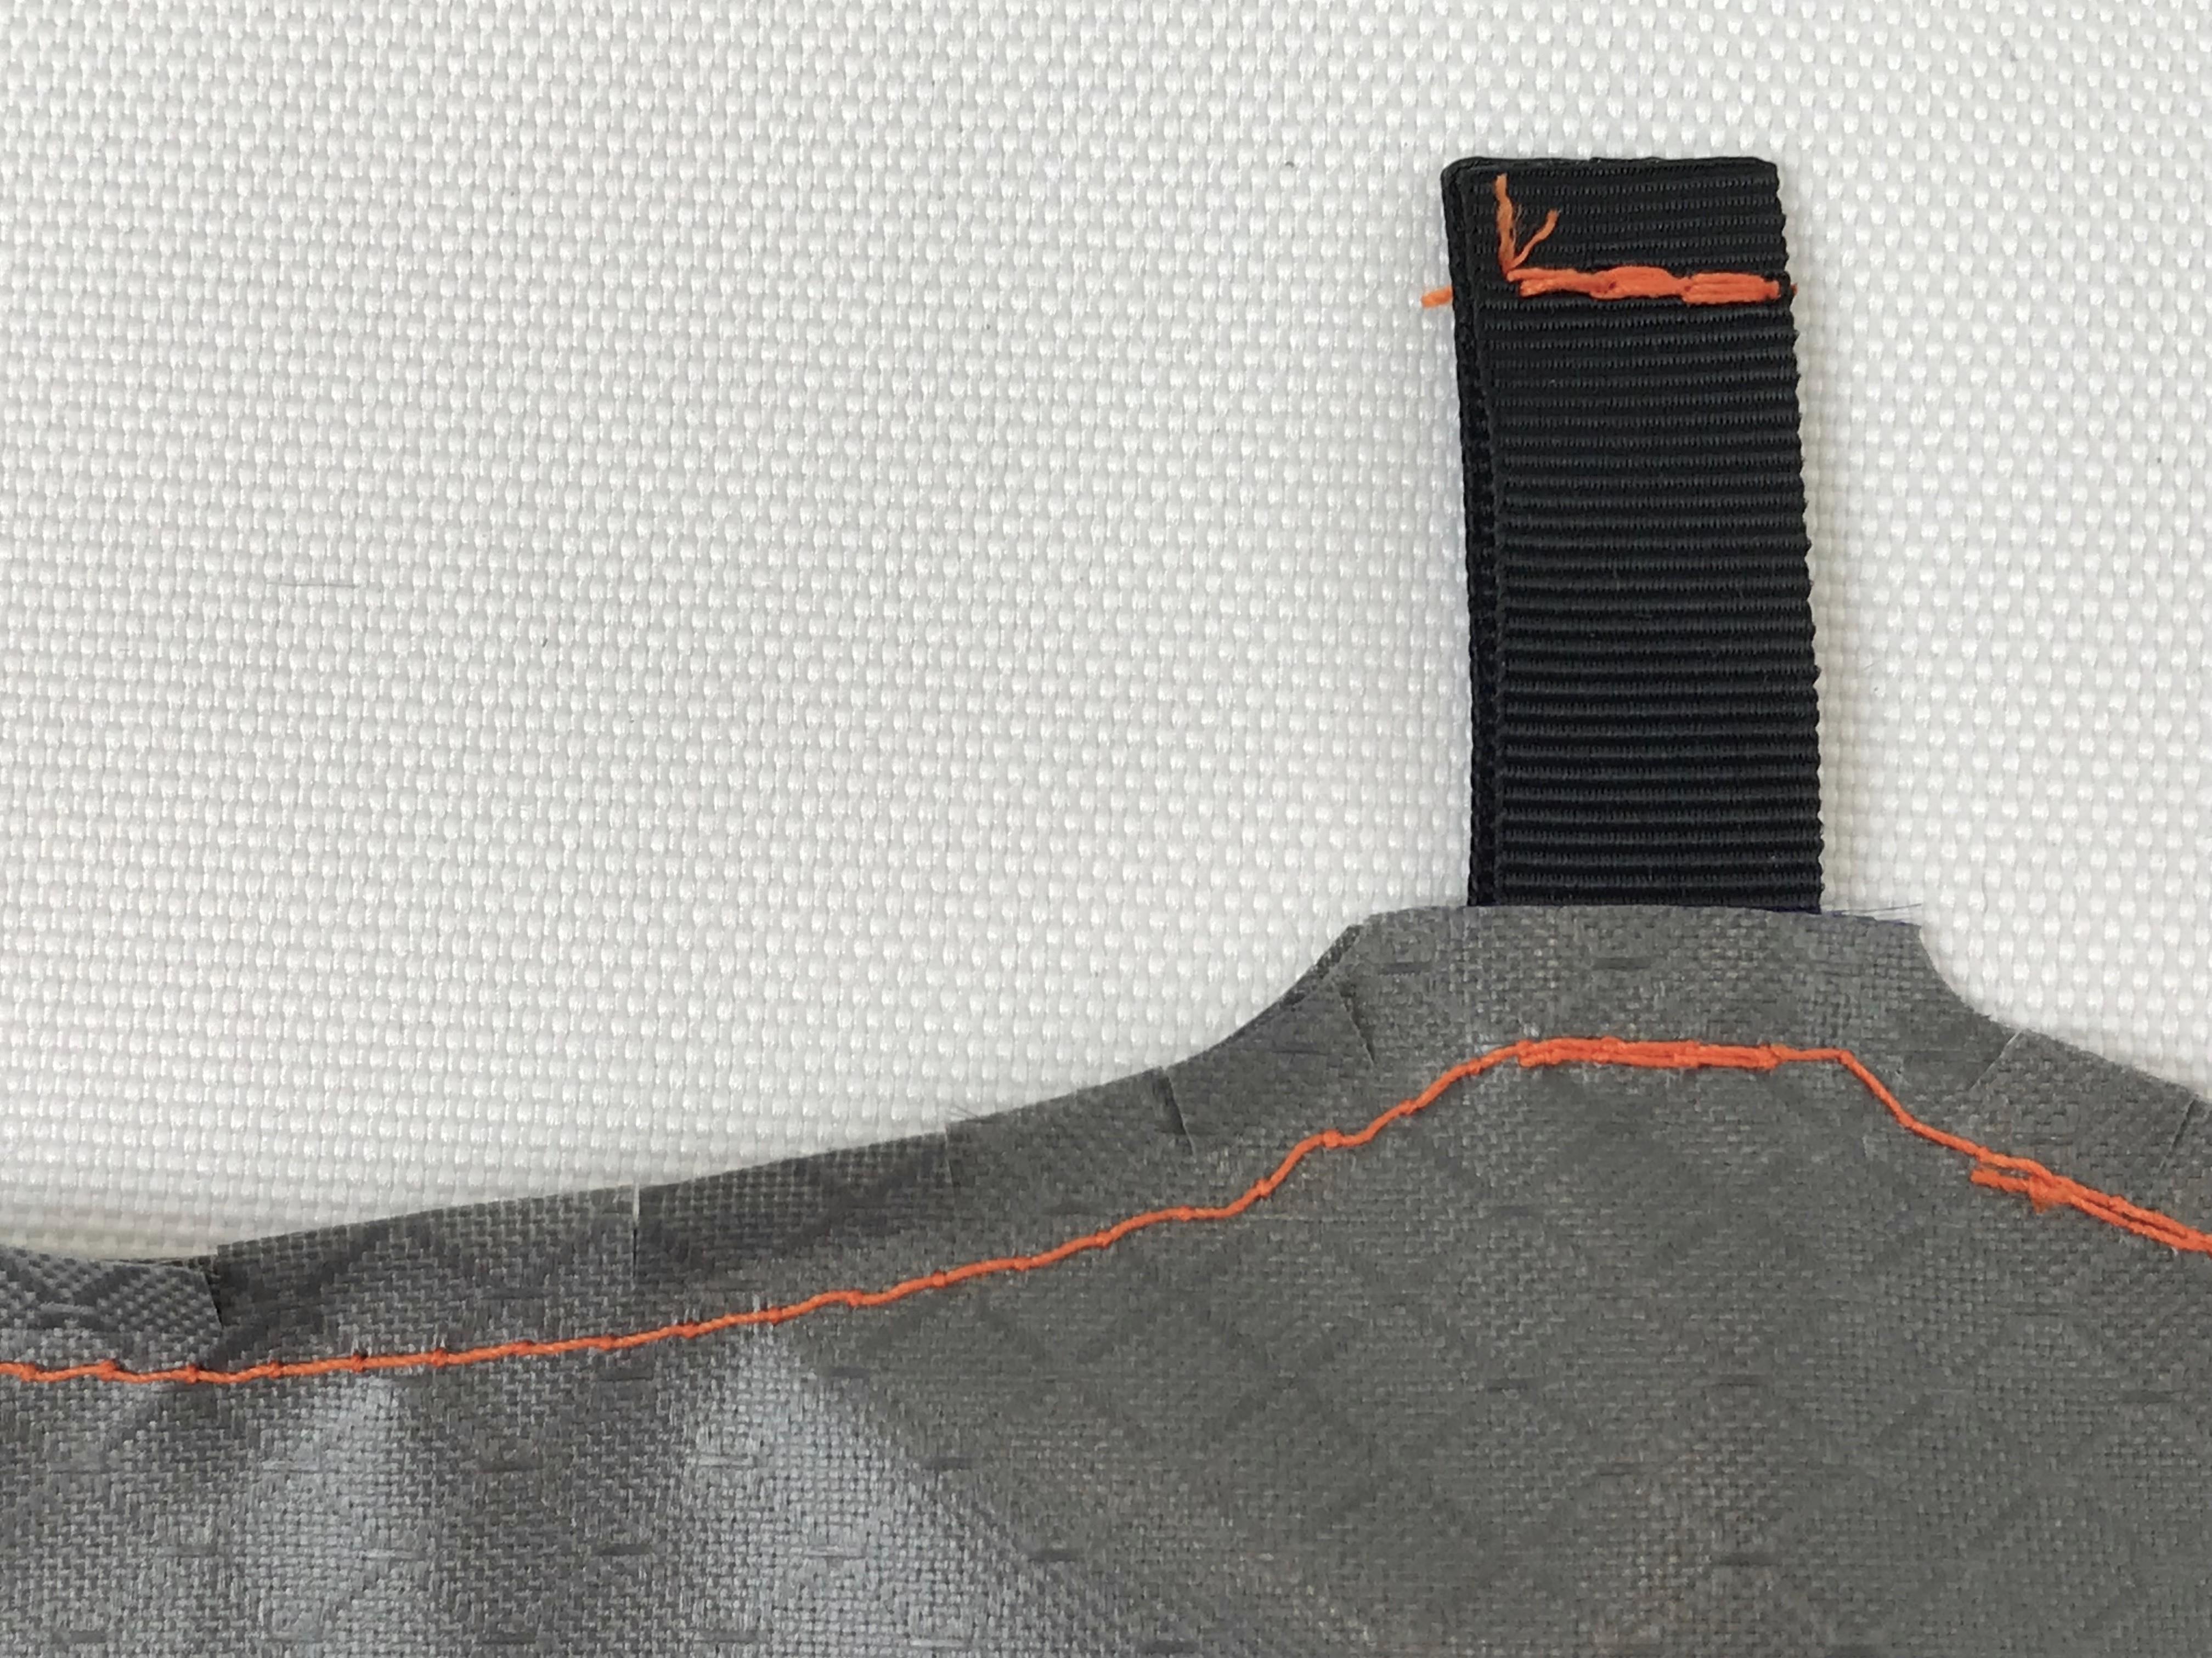
Thread each 5” length of grosgrain through the beastee dees and linelock 3s. Sew ends together to create tabs. Fuse ends with a flame.

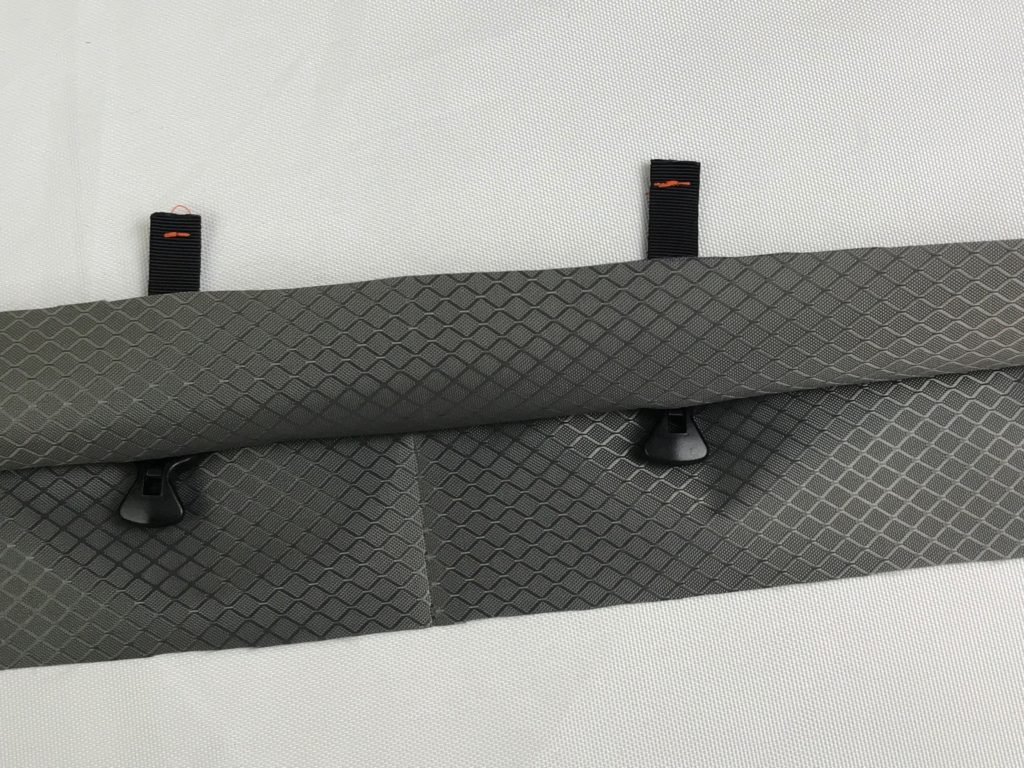
Step 5:
Arrange 2 compression side panels (right sides together), “sandwiching” tabs between the 2 layers of fabric, tabs centered on each “post”, hardware facing in. Make sure all the hardware on tabs are facing the same direction between two layers of fabric. Sew at ¼”. Backtack over grosgrain tabs for reinforcement.

Step 6:
Open the panels and fold crosswise, sew ends together. (right sides together). After this seam is sewn, panel must be 9 3/8” when folded in half crosswise, to ensure it will fit the circle end cap in a later step.
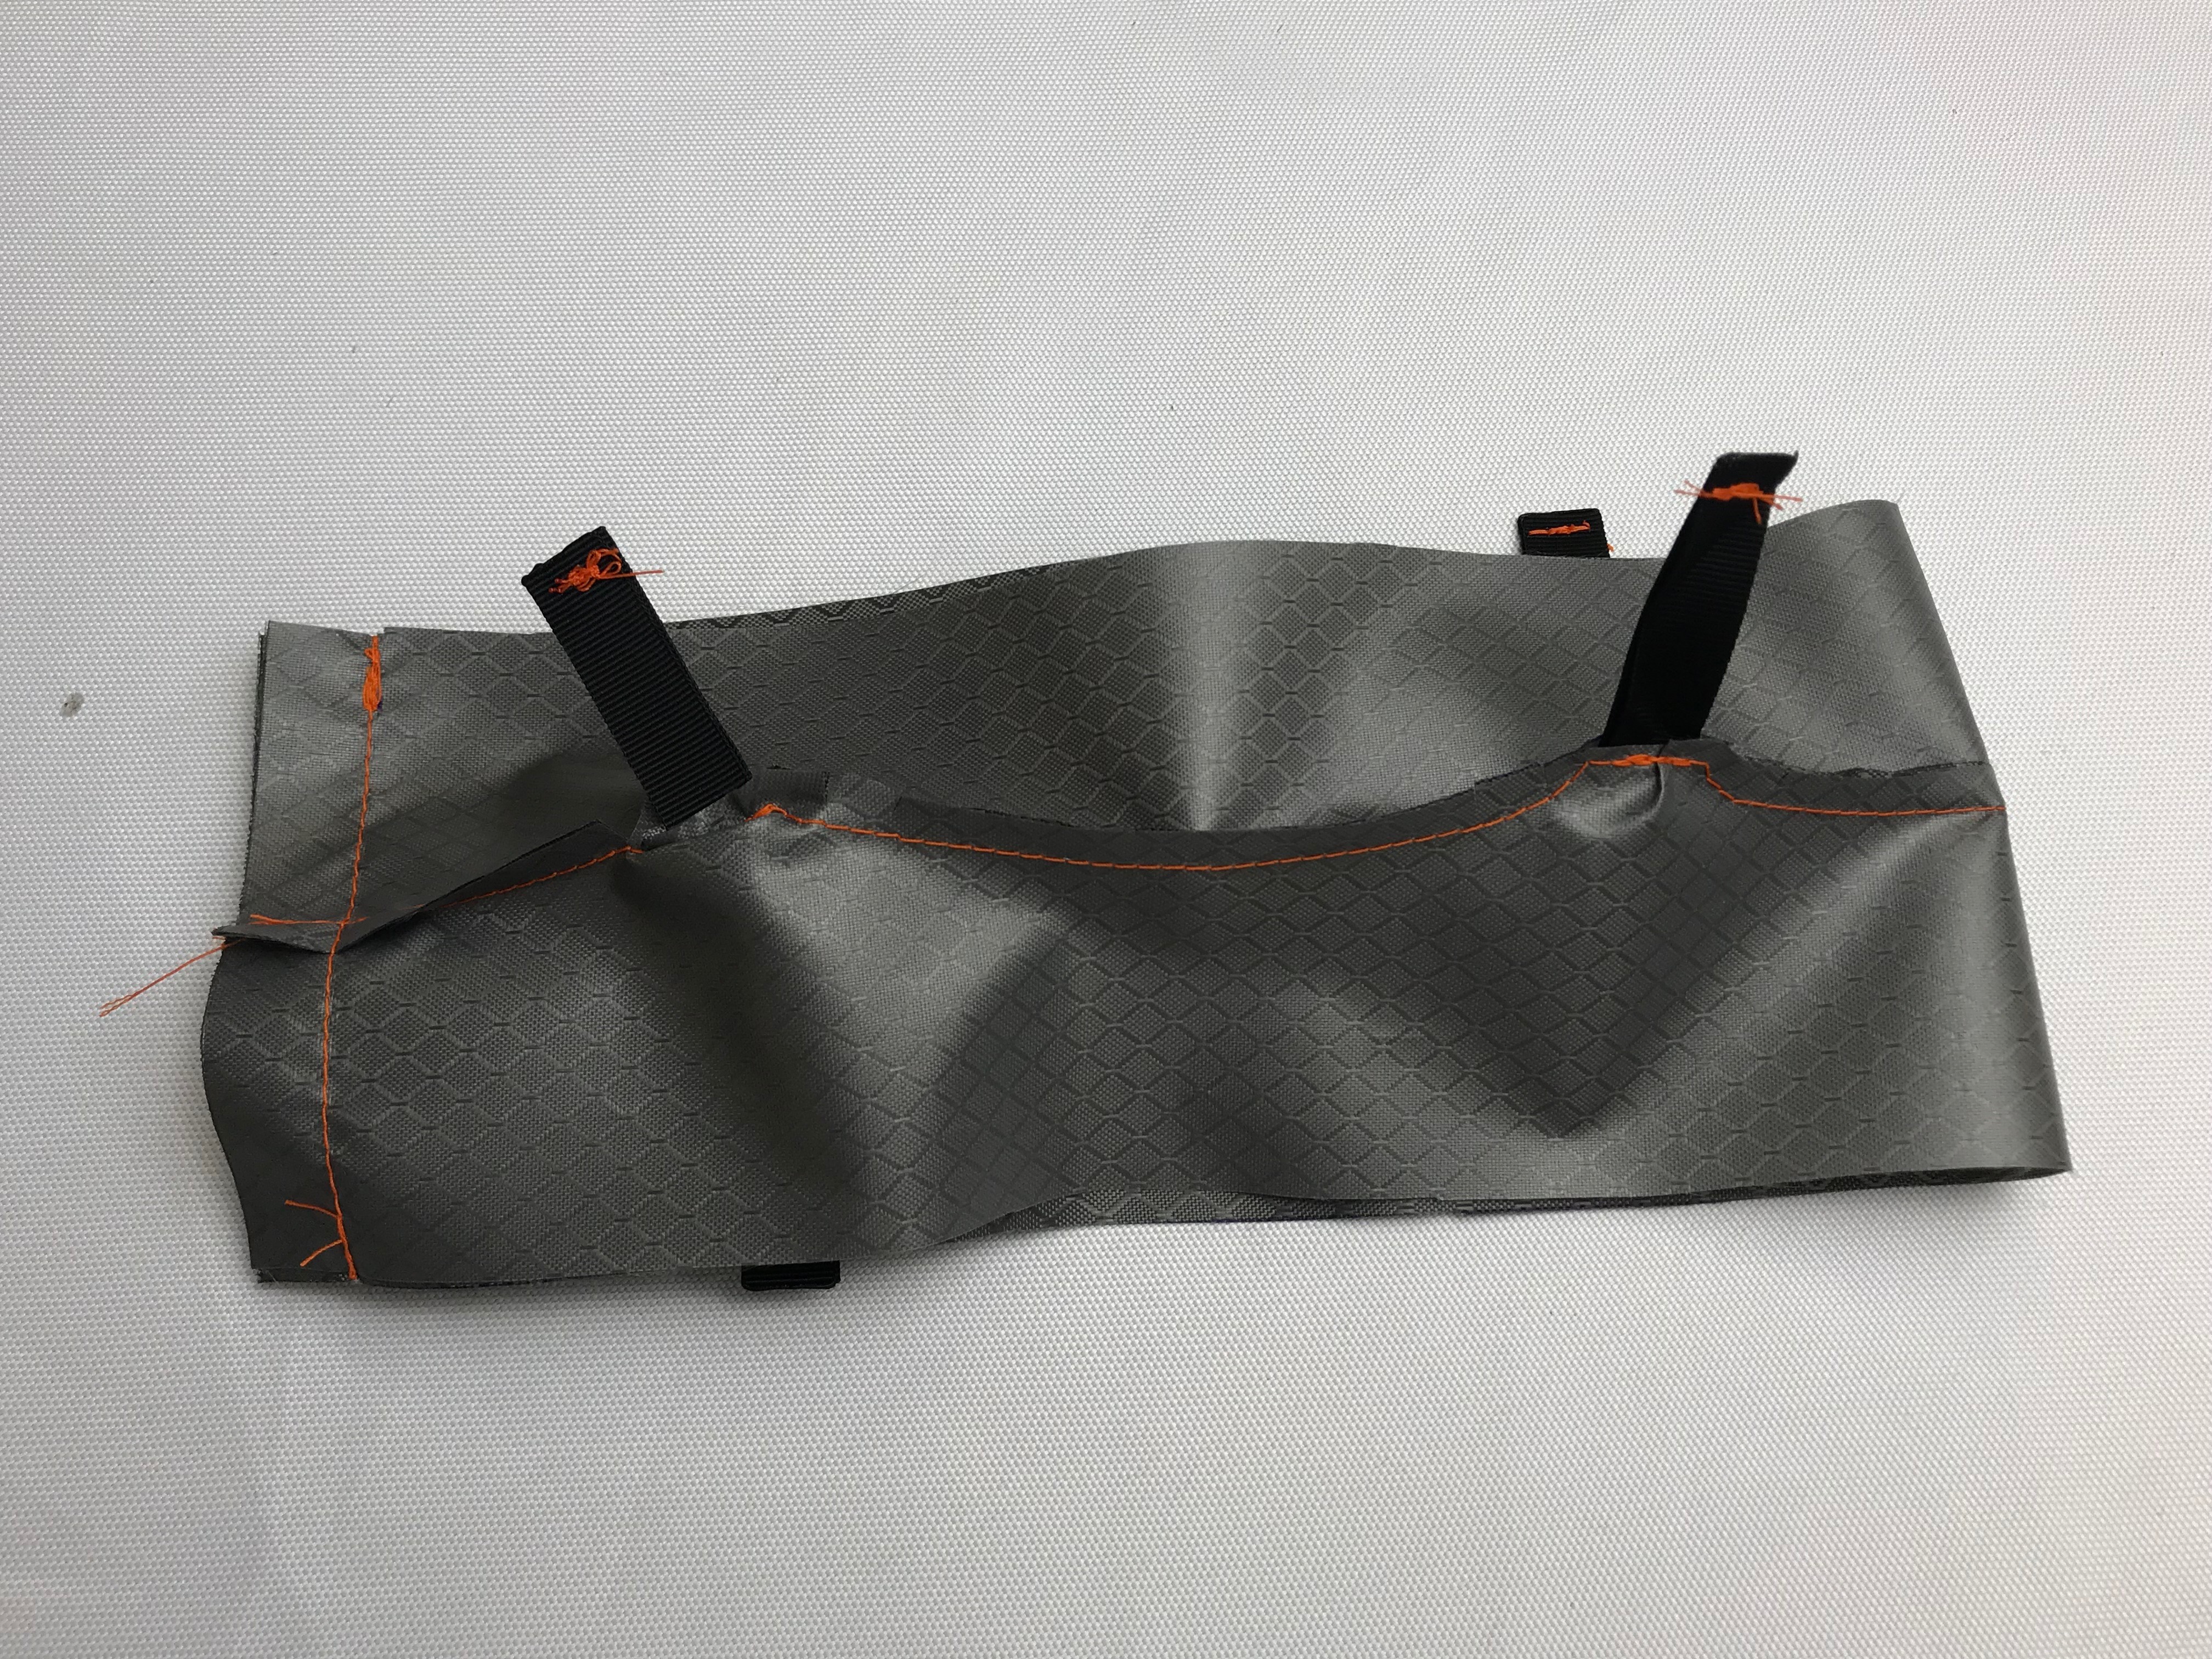
Step 7:
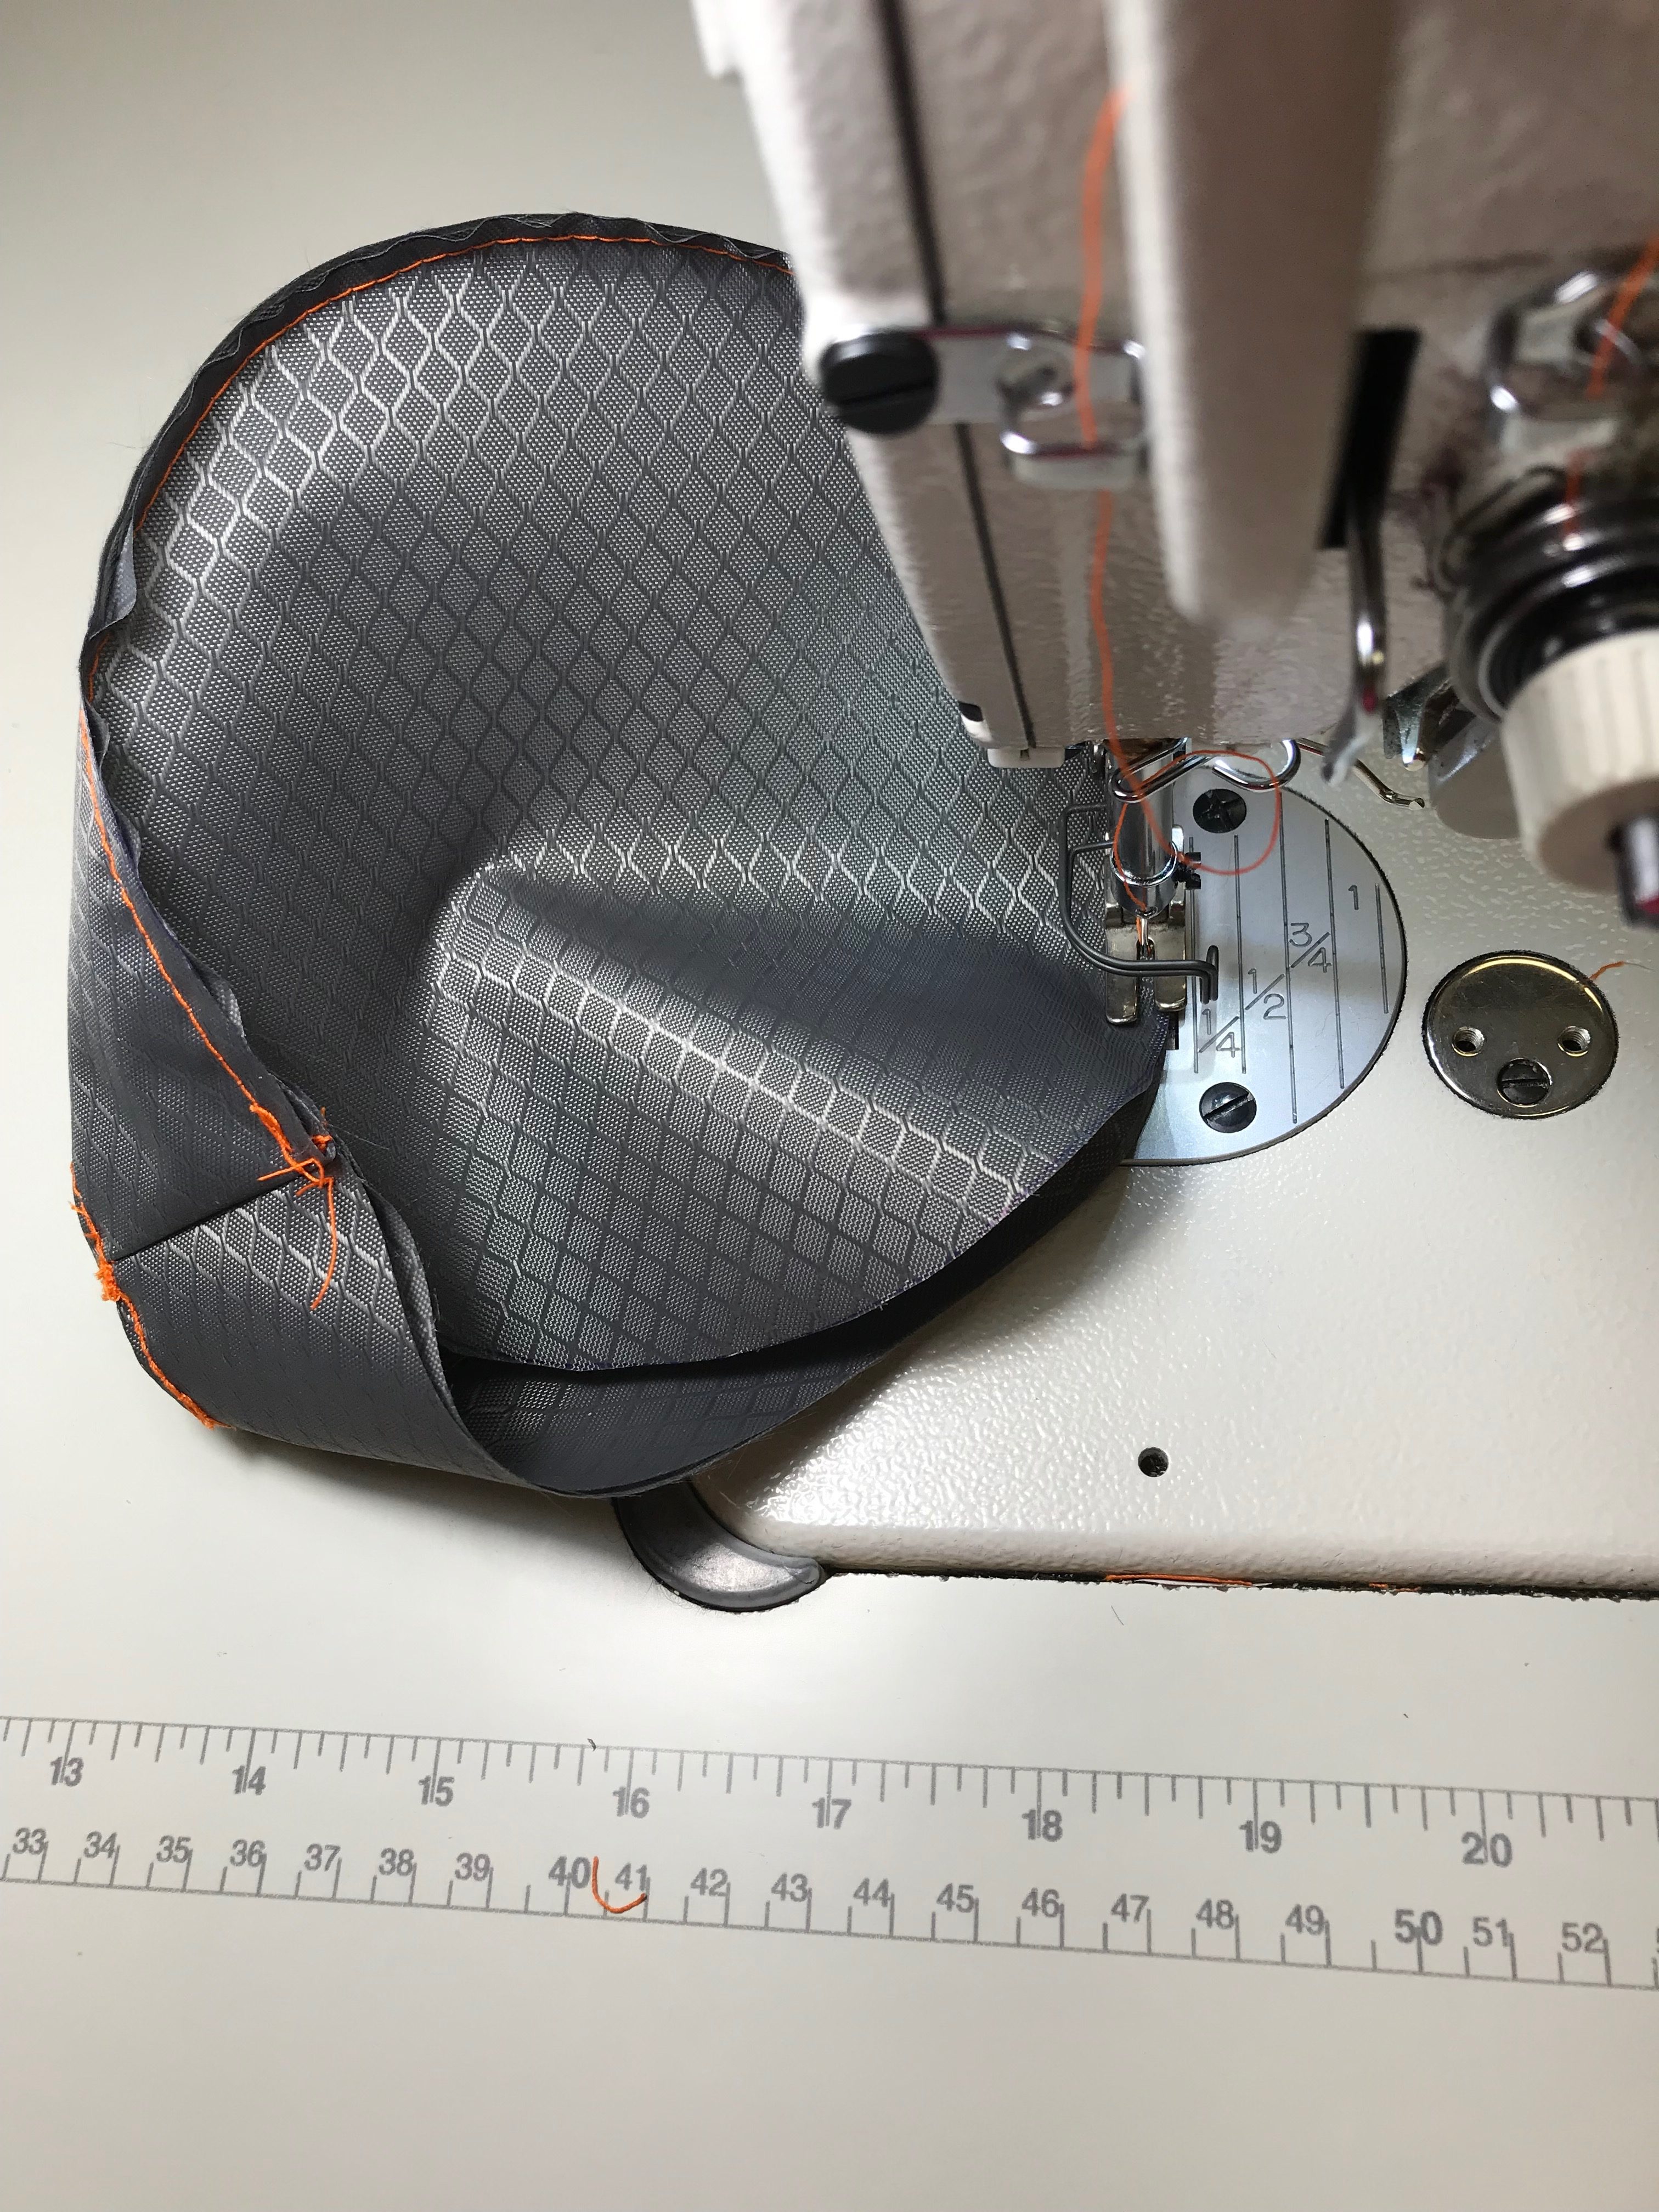
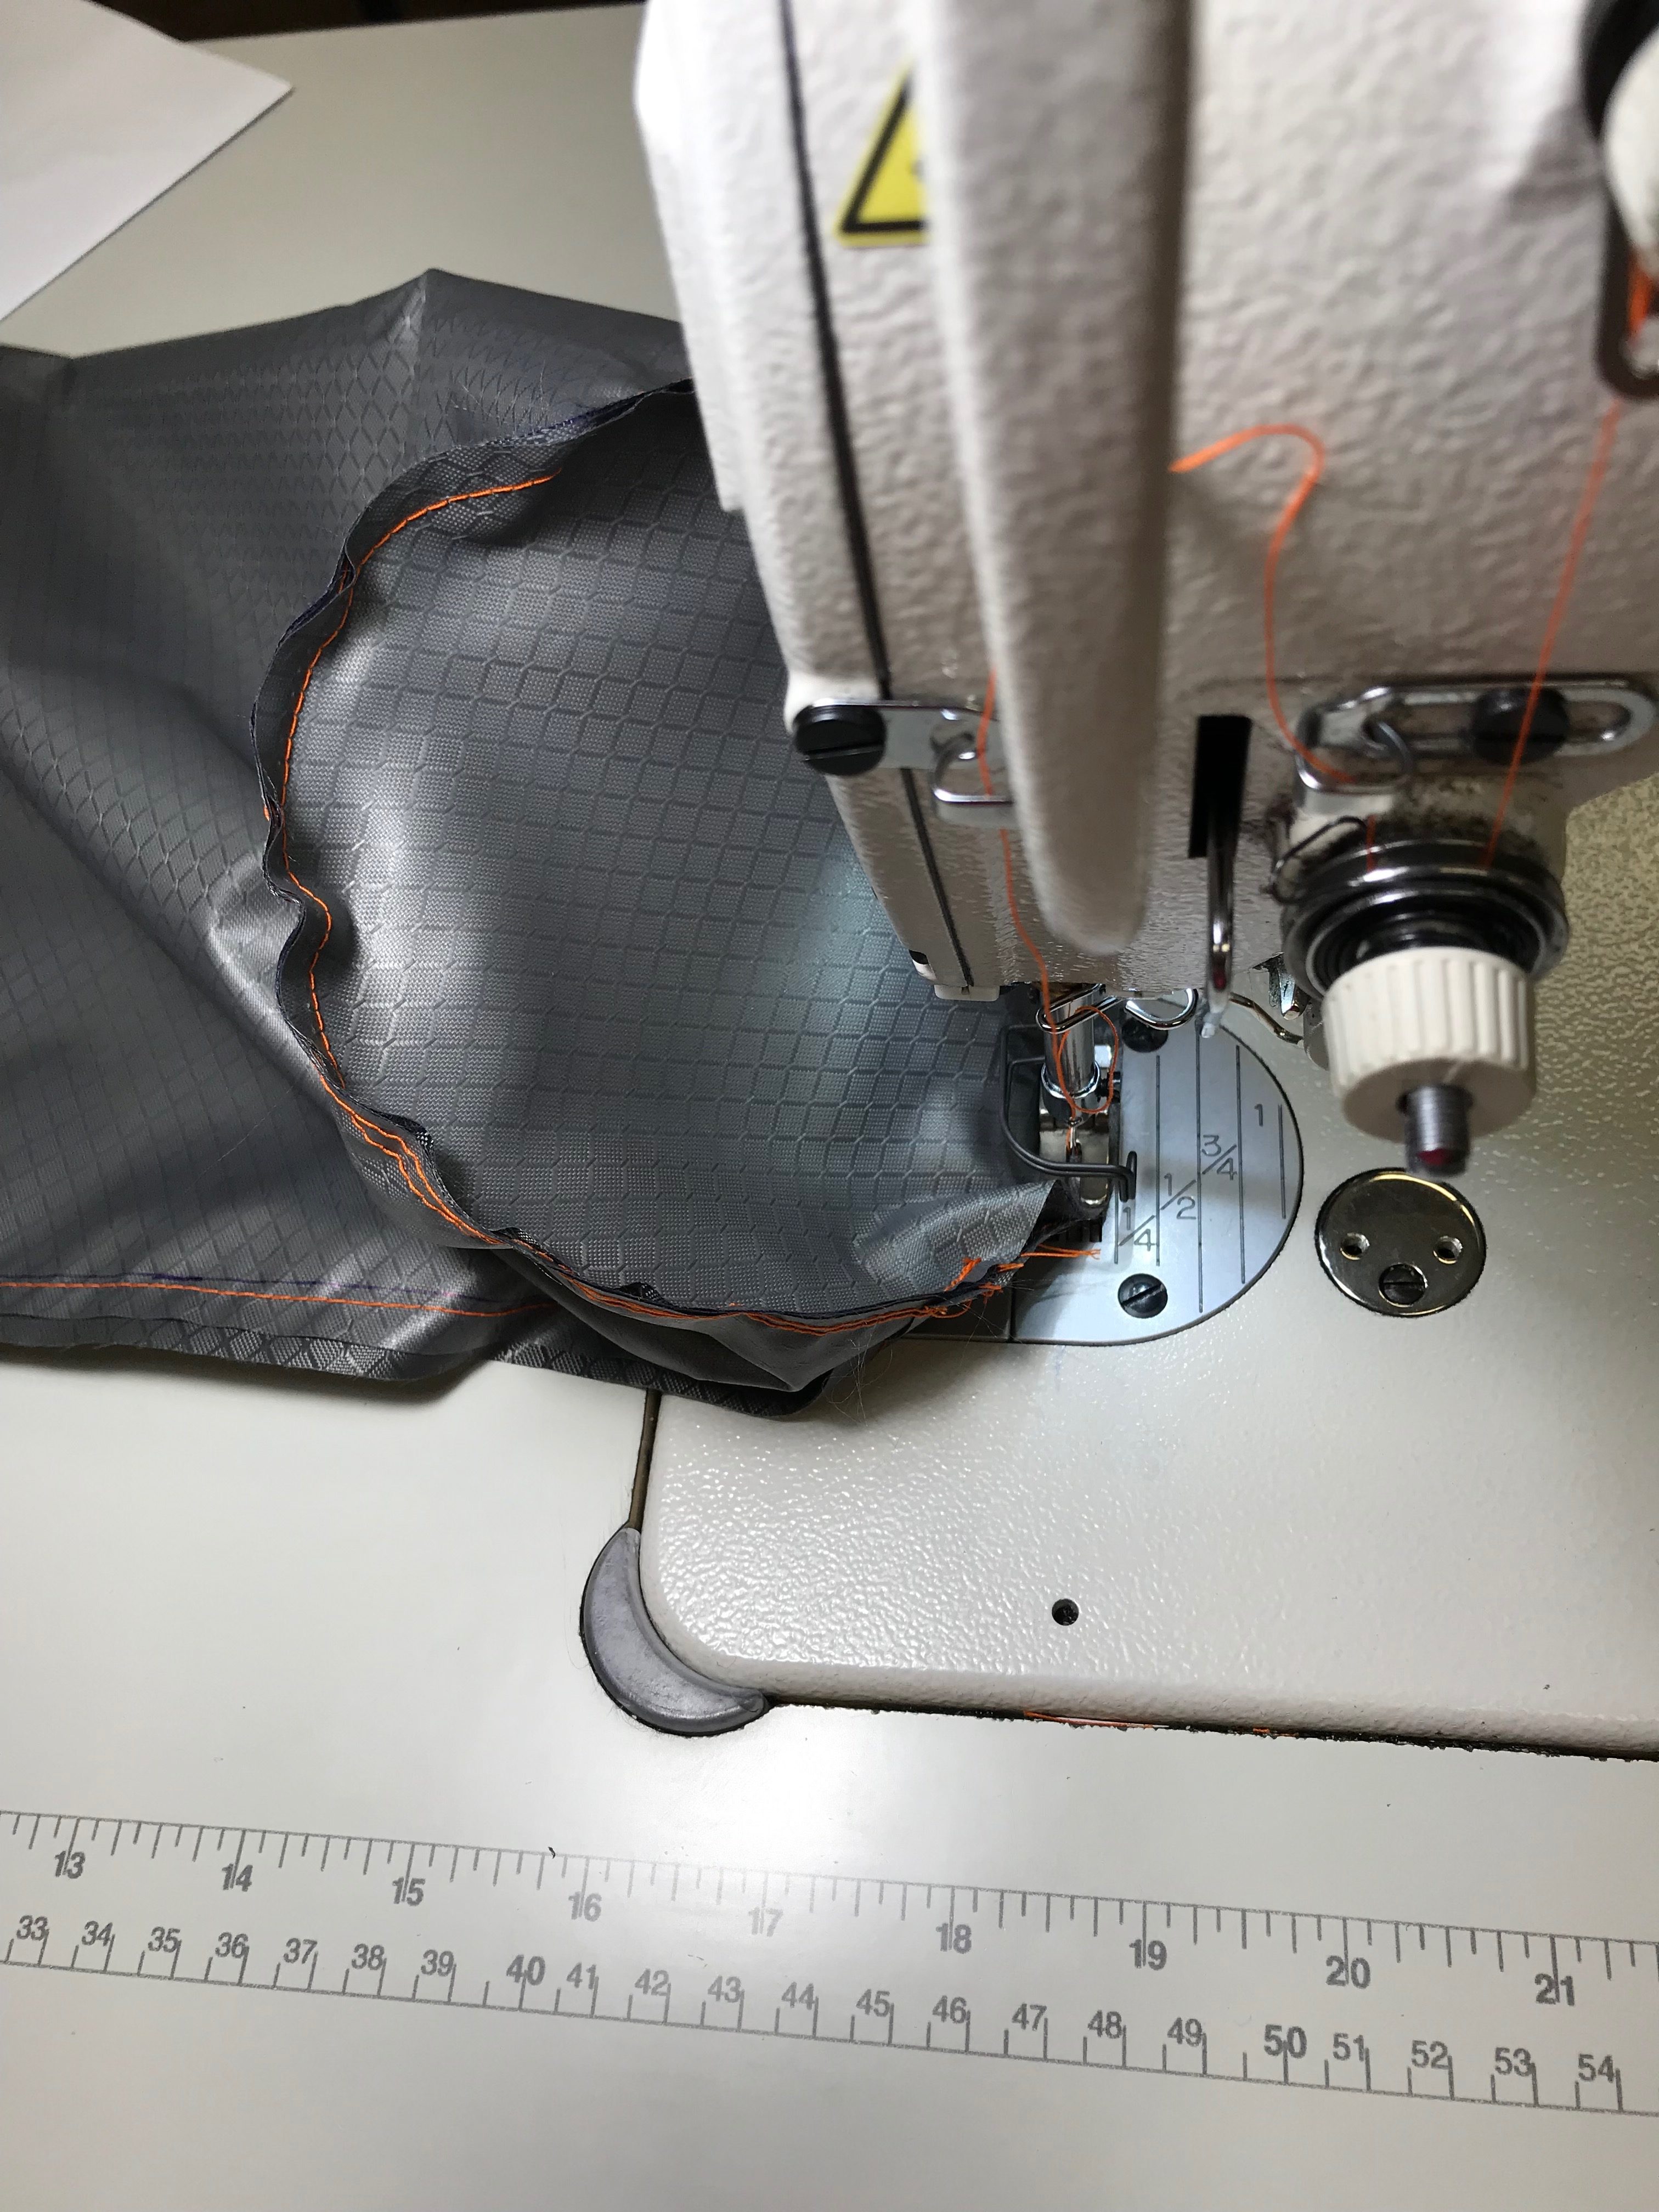
Snip the curves, as illustrated.
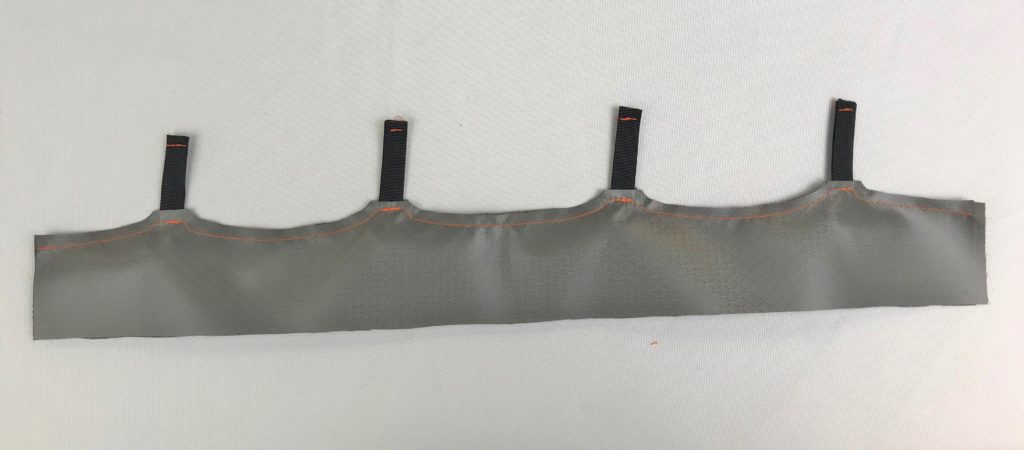
Step 8:
Turn right side out, top stitch with a narrow seam allowance.

Step 9:
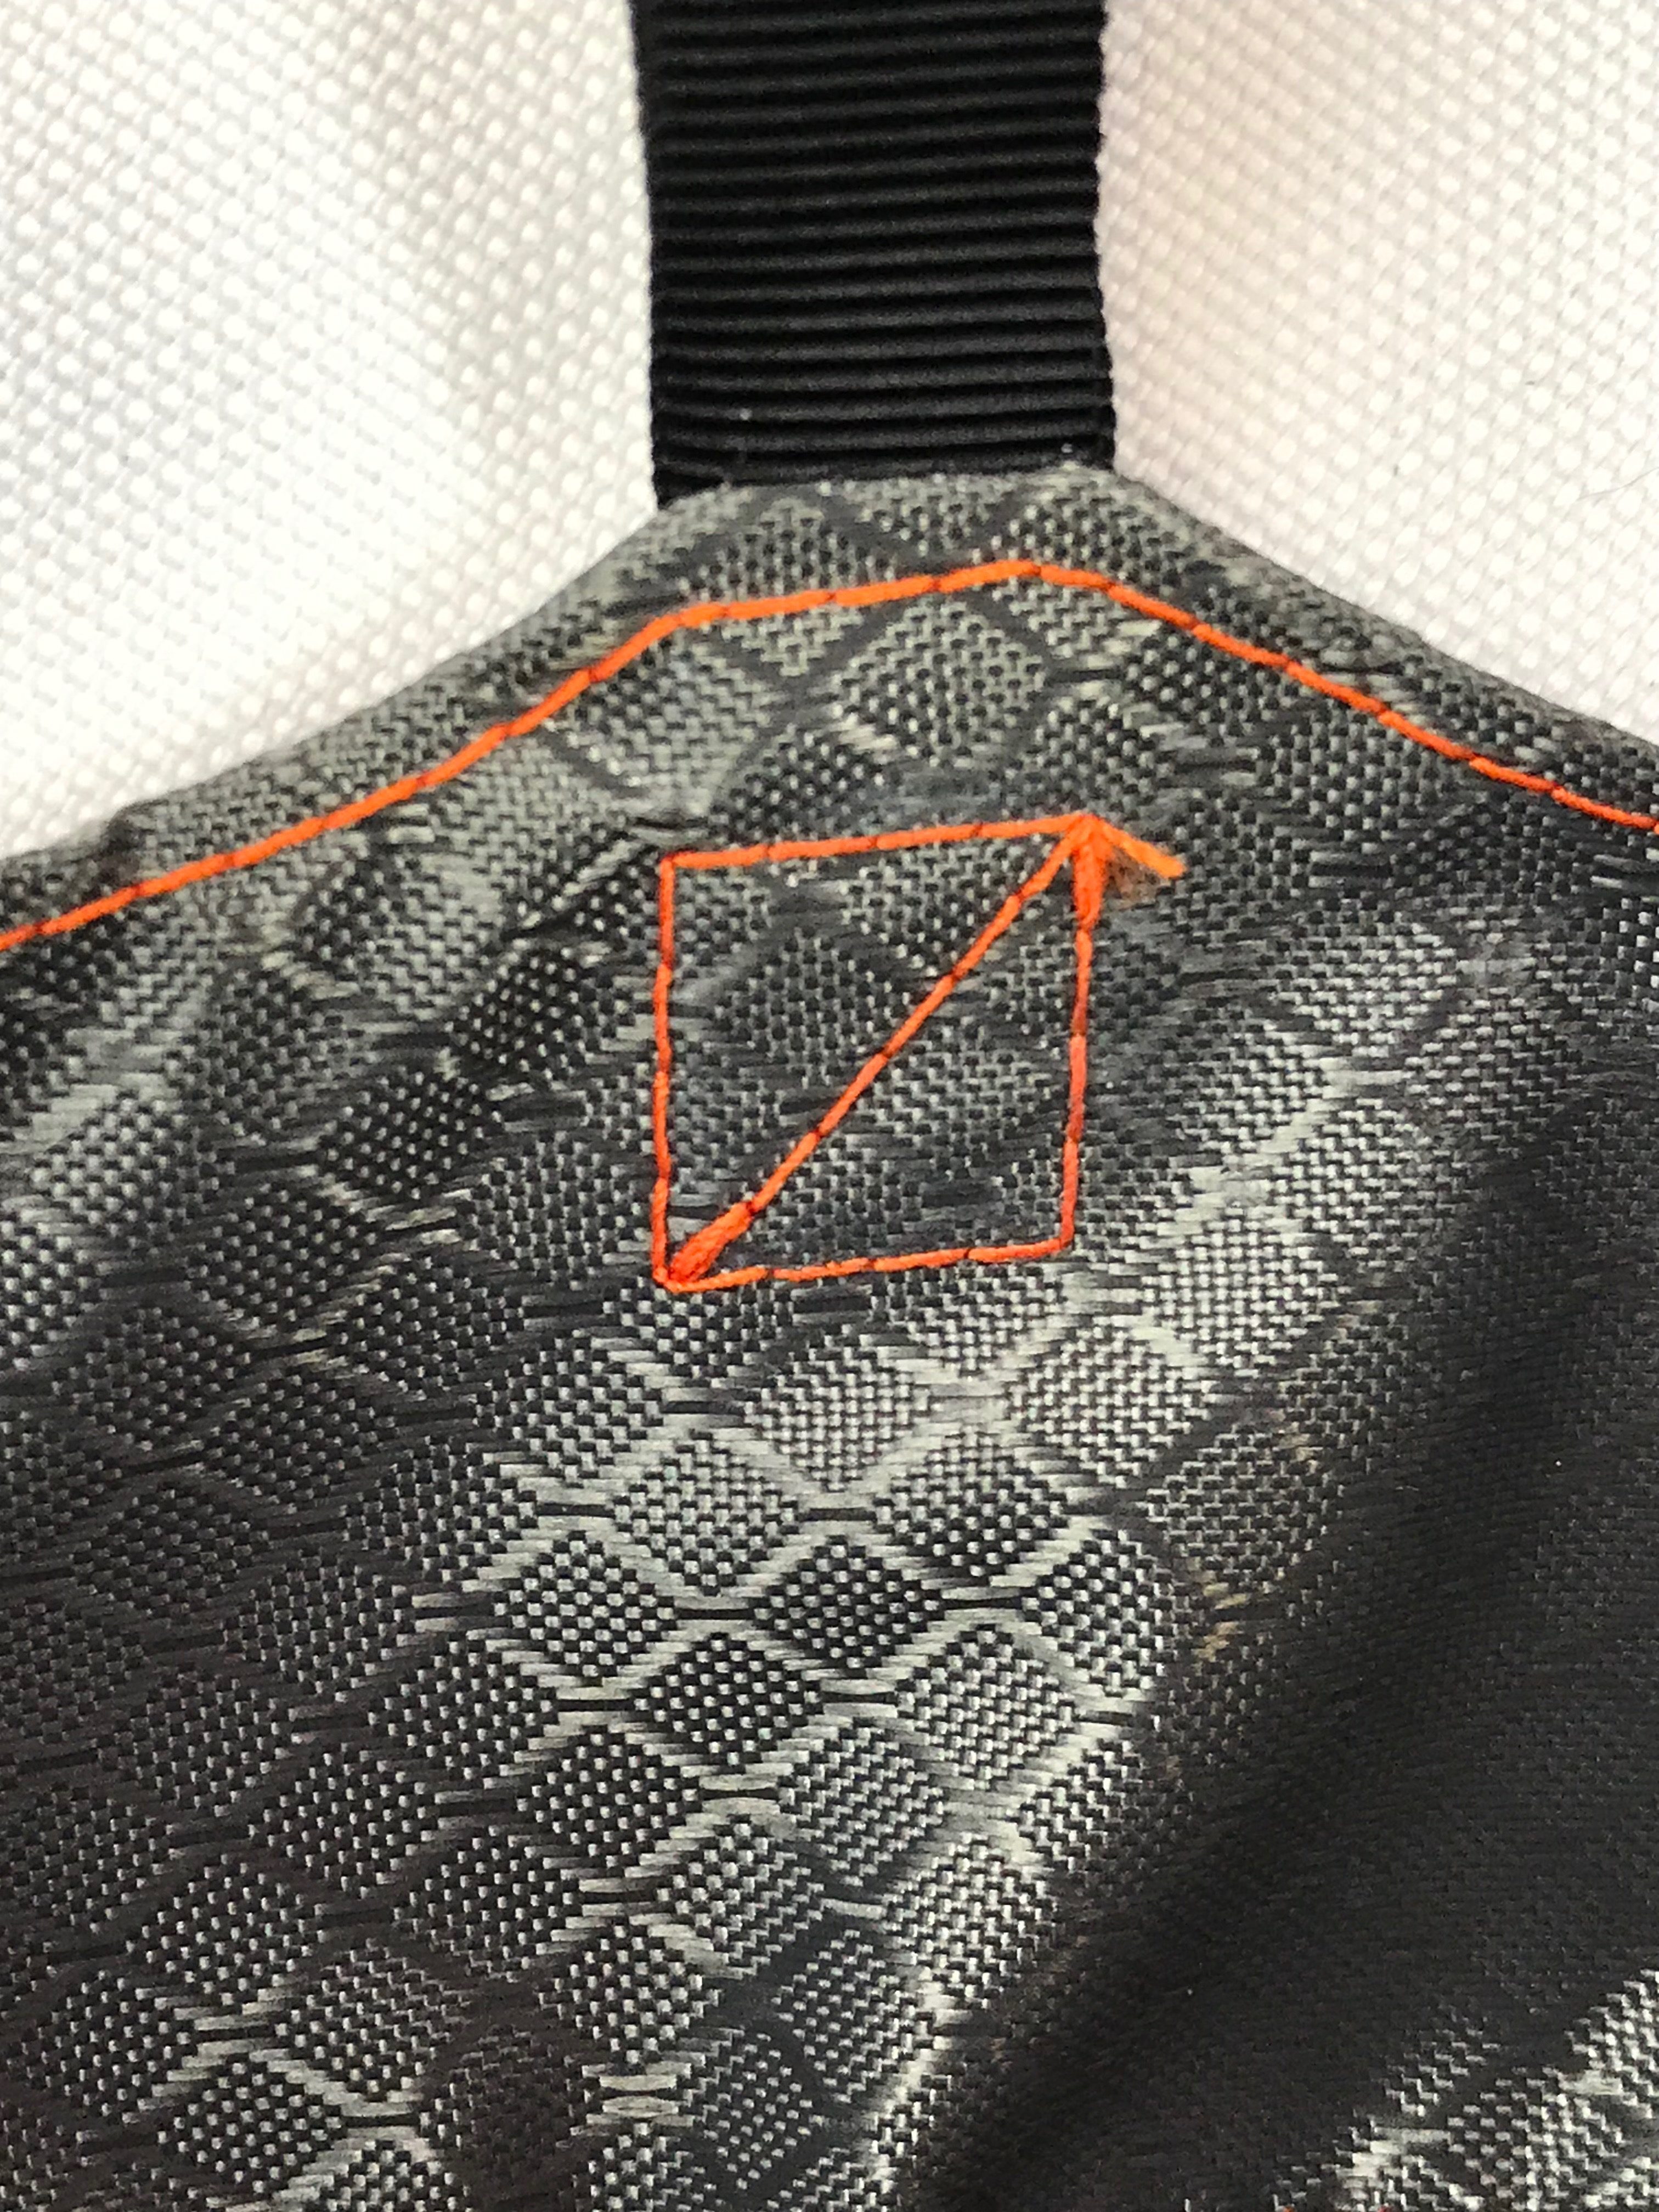
Reinforce tabs with topstitched x-boxes or half x-boxes on each post just under the previous topstitch seam . Make sure to be center your x-box reinforcements over the grosgrain tabs on the inside. You can find them by feel and mark with chalk if you need a seam guide.
Step 10:
Repeat steps 5-9 for second set of compression panels.
Step 11:
Sew end cap circle to the compression panel (linelock3 panel). The edge of machine presser foot is a good seam allowance for this step.
Step 12:
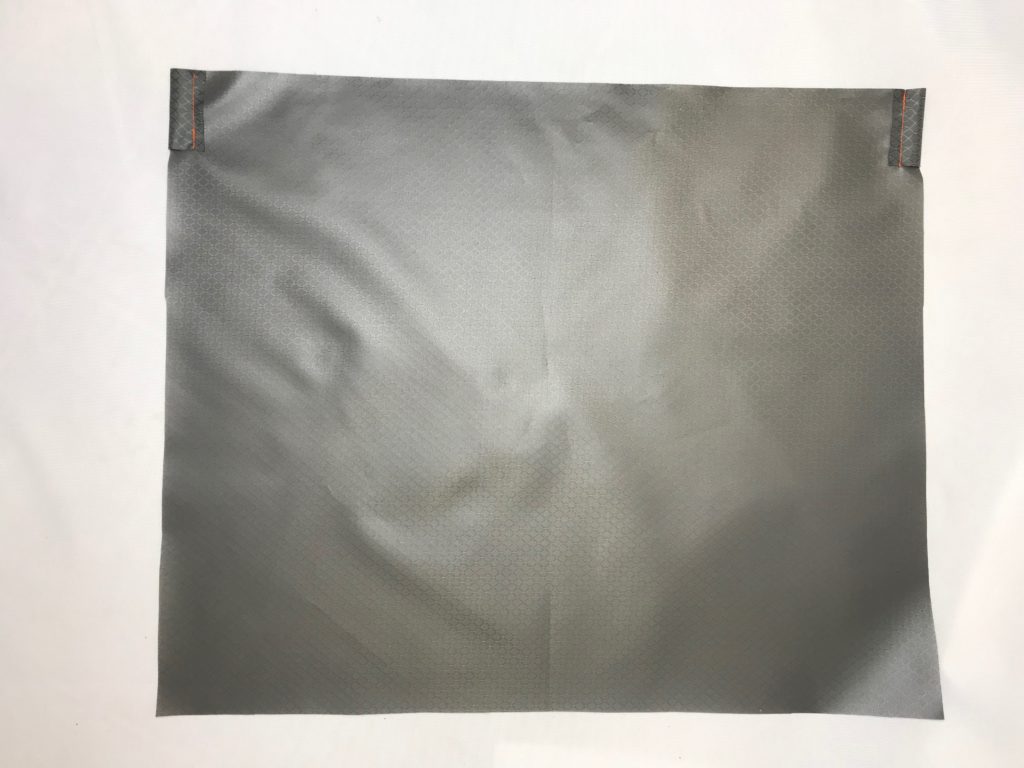
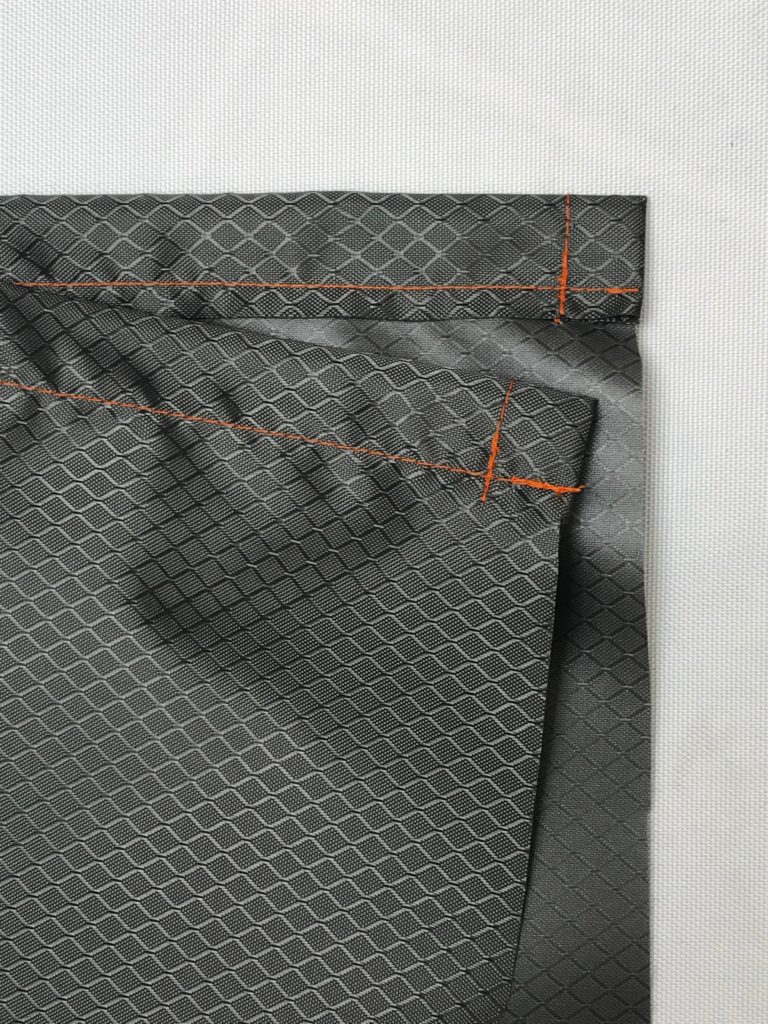
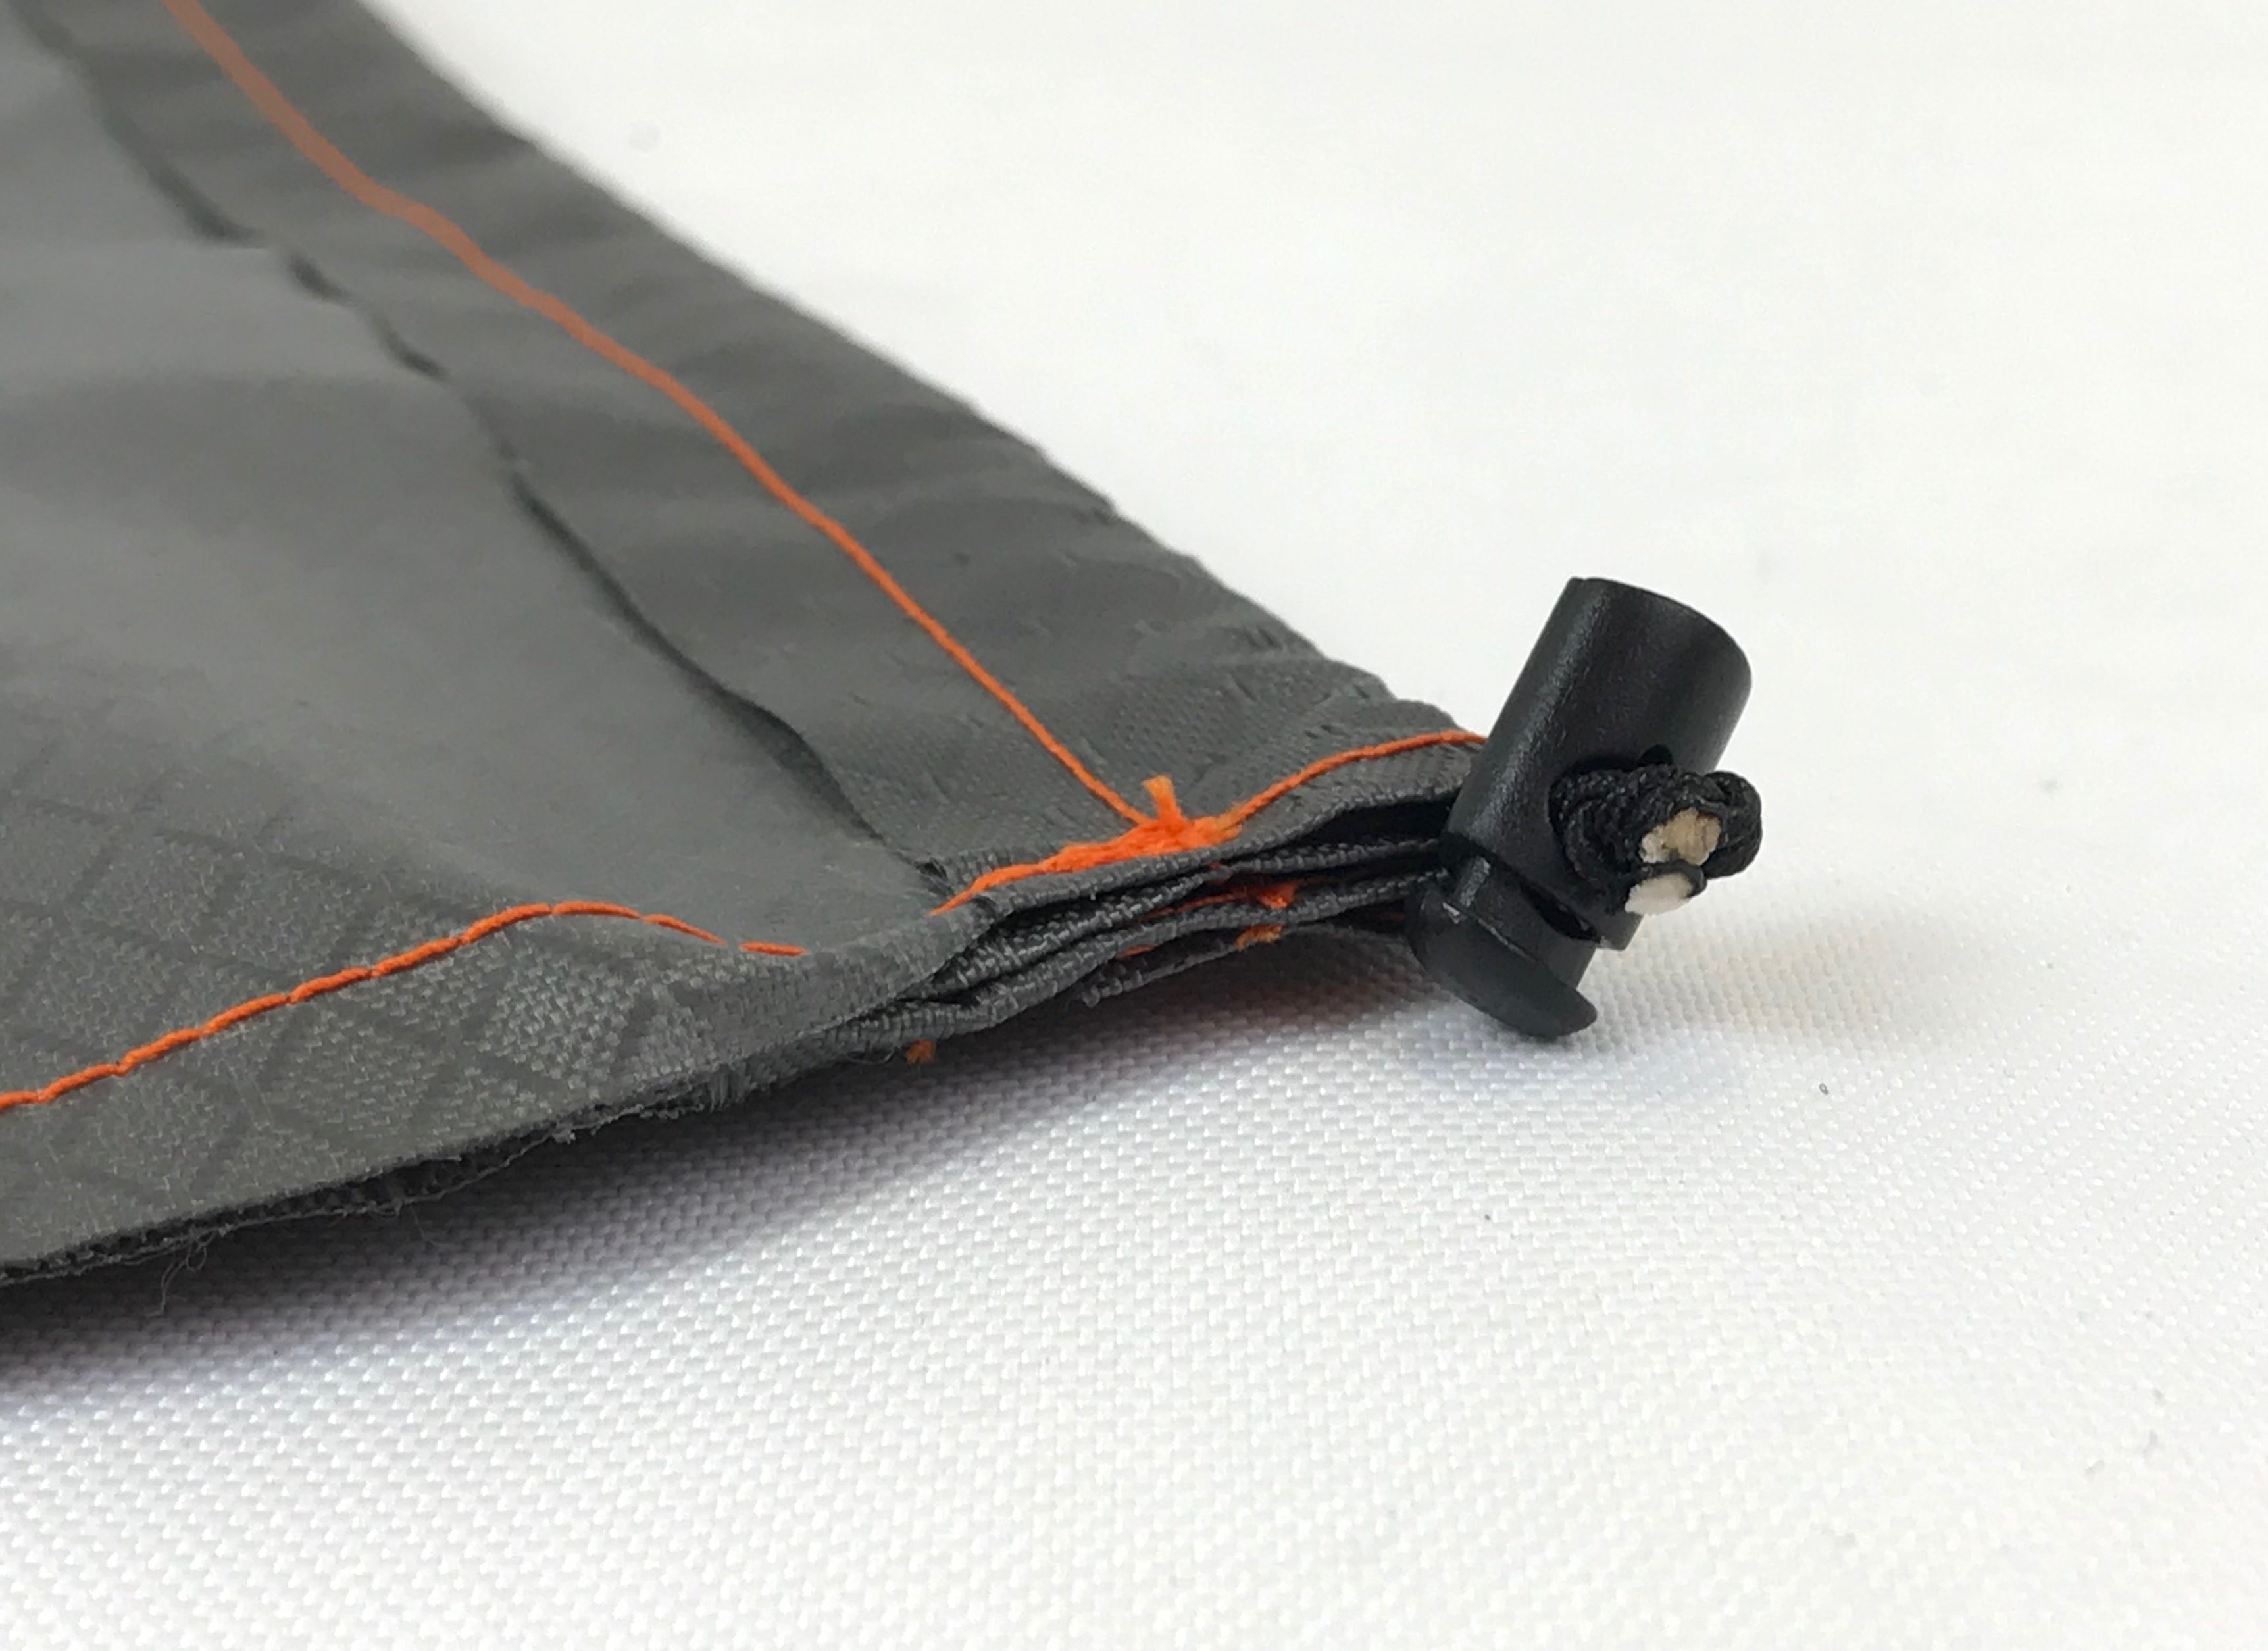
On main stuff sack body, fold both 2” tabs inwards on the wrong side and hem, making sure to keep the seam the same length as the tab. This finishes the opening of drawstring channel.

Step 13:
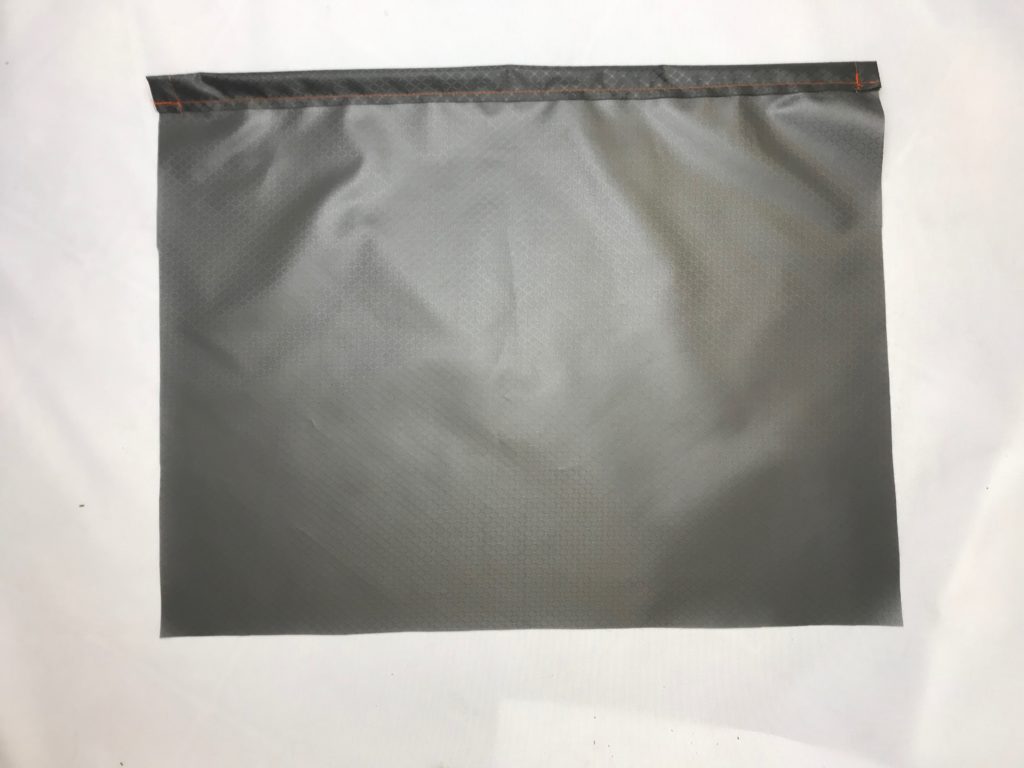
Fold top edge of stuff sack inwards 1” and hem to create drawstring channel.
Step 14:
Fold main stuff sack body in half, right sides together. Sew side seam, leaving an opening at the beginning of seam for drawstring channel. After side seam is sewn, main body must be 9 3/8” wide, to ensure main body will fit end cap circle properly.


Step 15:
Use a bodkin to thread the drawstring channel with Dutch Cord. (If you don’t have a bodkin, an extra large safety pin threaded with the cord works well for this) Thread both ends through the mini cord lock. Knot twice. Fuse ends with a flame.
Step 16:
Attach main body to bottom compression panel (panel with beastee dees tabs) . Use a narrow seam allowance.

Step 17:
Attach bottom end cap circle to the main body, right sides together. Make sure to sew seam deeper then previous seam to ensure the first seam is not visible on outside of finished product. Turn right side out.
Step 18:
Compress everything in sight (except small dogs and children).
Related Stuff Sack DIY Projects
- No Sew Cuben Fiber Double Ended Stuff Sack
- Larger, Horizontal Compression Stuff Sack
- Zip Top Double-Ended Stuff Sack
- Double-Ended Hammock Stuff Sack