Easy DIY Asym Tarp
Posted by Dutch on Oct 10th 2023
Share:In this tutorial article we will show you how to make your own versatile asymmetrical tarp out of Xenon Wide fabric.
Project Overview
| Skill Level | Estimated Time | Estimated Cost |
| Beginner | 1-2 hours | $$ |
Materials and Tools
| Materials Needed: | Tools Needed: |
| 4 Yards Xenon Fabric | Sewing Machine |
| 1/3 Yard Reinforcement | Scissors |
| 10 D-Rings | Ruler/Tape Measure |
| 2 Feet 1" Grosgrain | Marker |
| 4 Feet 1/2" Grosgrain | Pattern Material (Optional) |
Purchase The Full Wide ASYM Tarp Kit
STEP 1
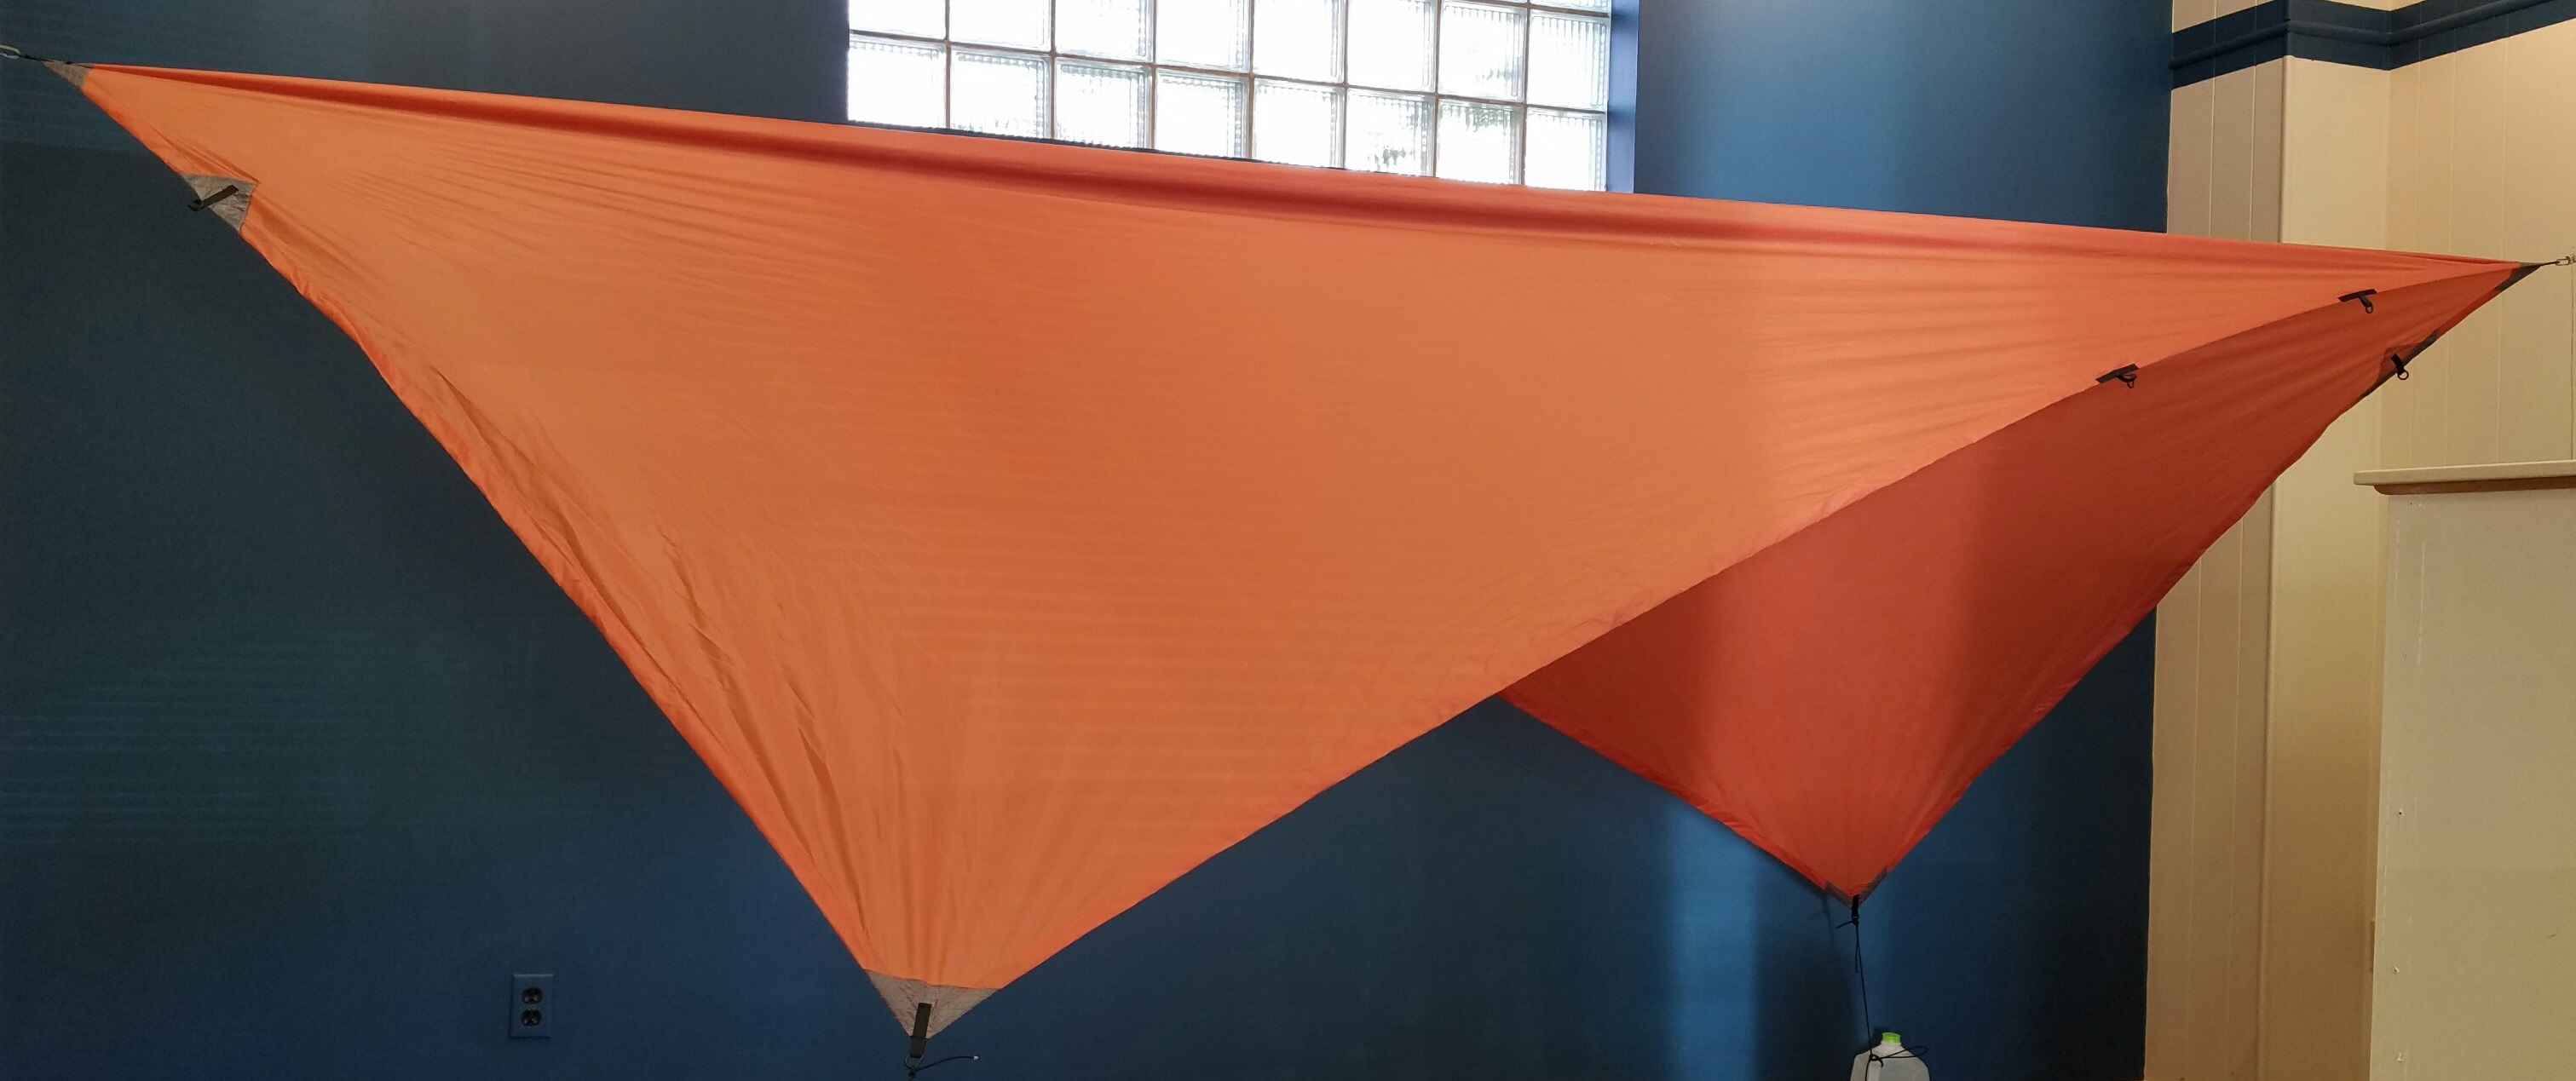
Layout and cut fabric to size. In this tutorial we are making this tarp 11 feet finished length so we need the fabric to be 11 feet 4 inches to start. The finished width will be the width of the fabric minus the rolled hems. This tarp should be 132 inches by 70 inches which will give you about a 12.5 ft ridgeline when hung at a diagonal. However, the way this tarp is designed with the 2nd set of ridgeline tieouts you could rig it at 11.5 ft or 12 ft too.
STEP 2
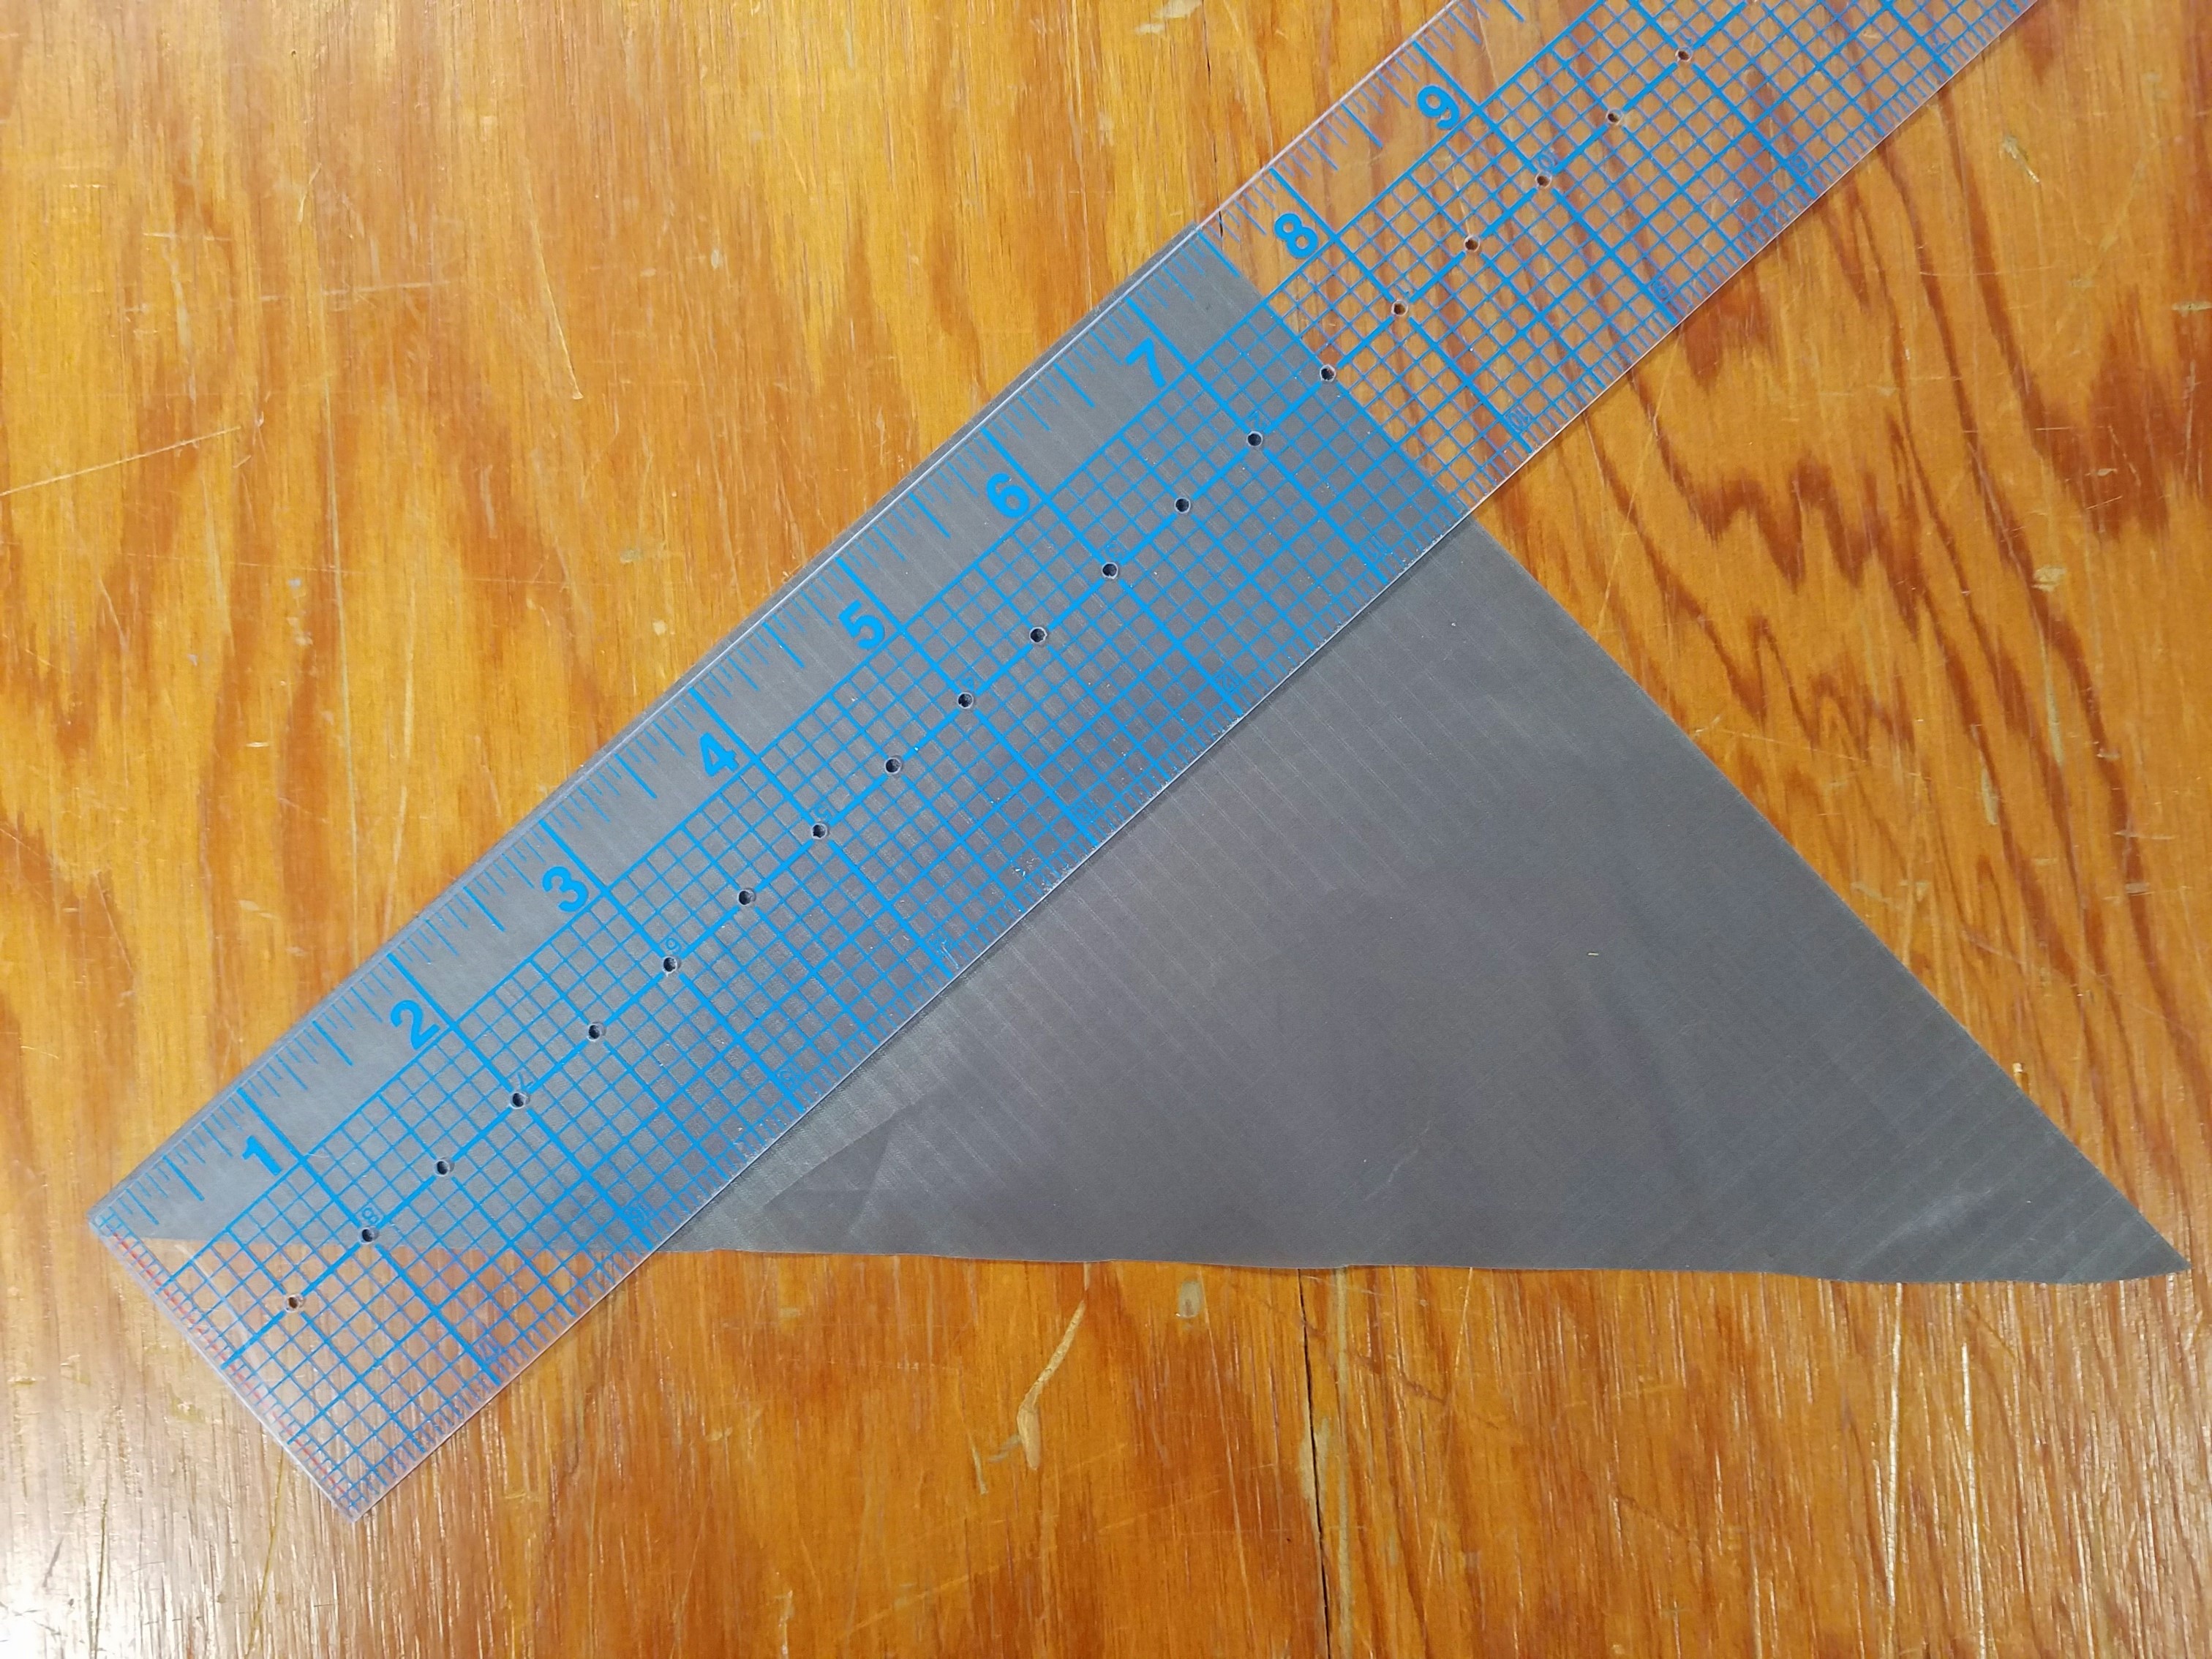
Cut 6 triangles out of your reinforcement material. Triangles should measure 10.5" by 7.5" by 7.5". You can also cut your grosgrain during this step too. You will need 4 pieces of the 1" grosgrain that measure 4" long, 6 pieces of the 1/2" grosgrain at 7 inches long, and 4 pieces of the 1/2" grosgrain at 4 inches long.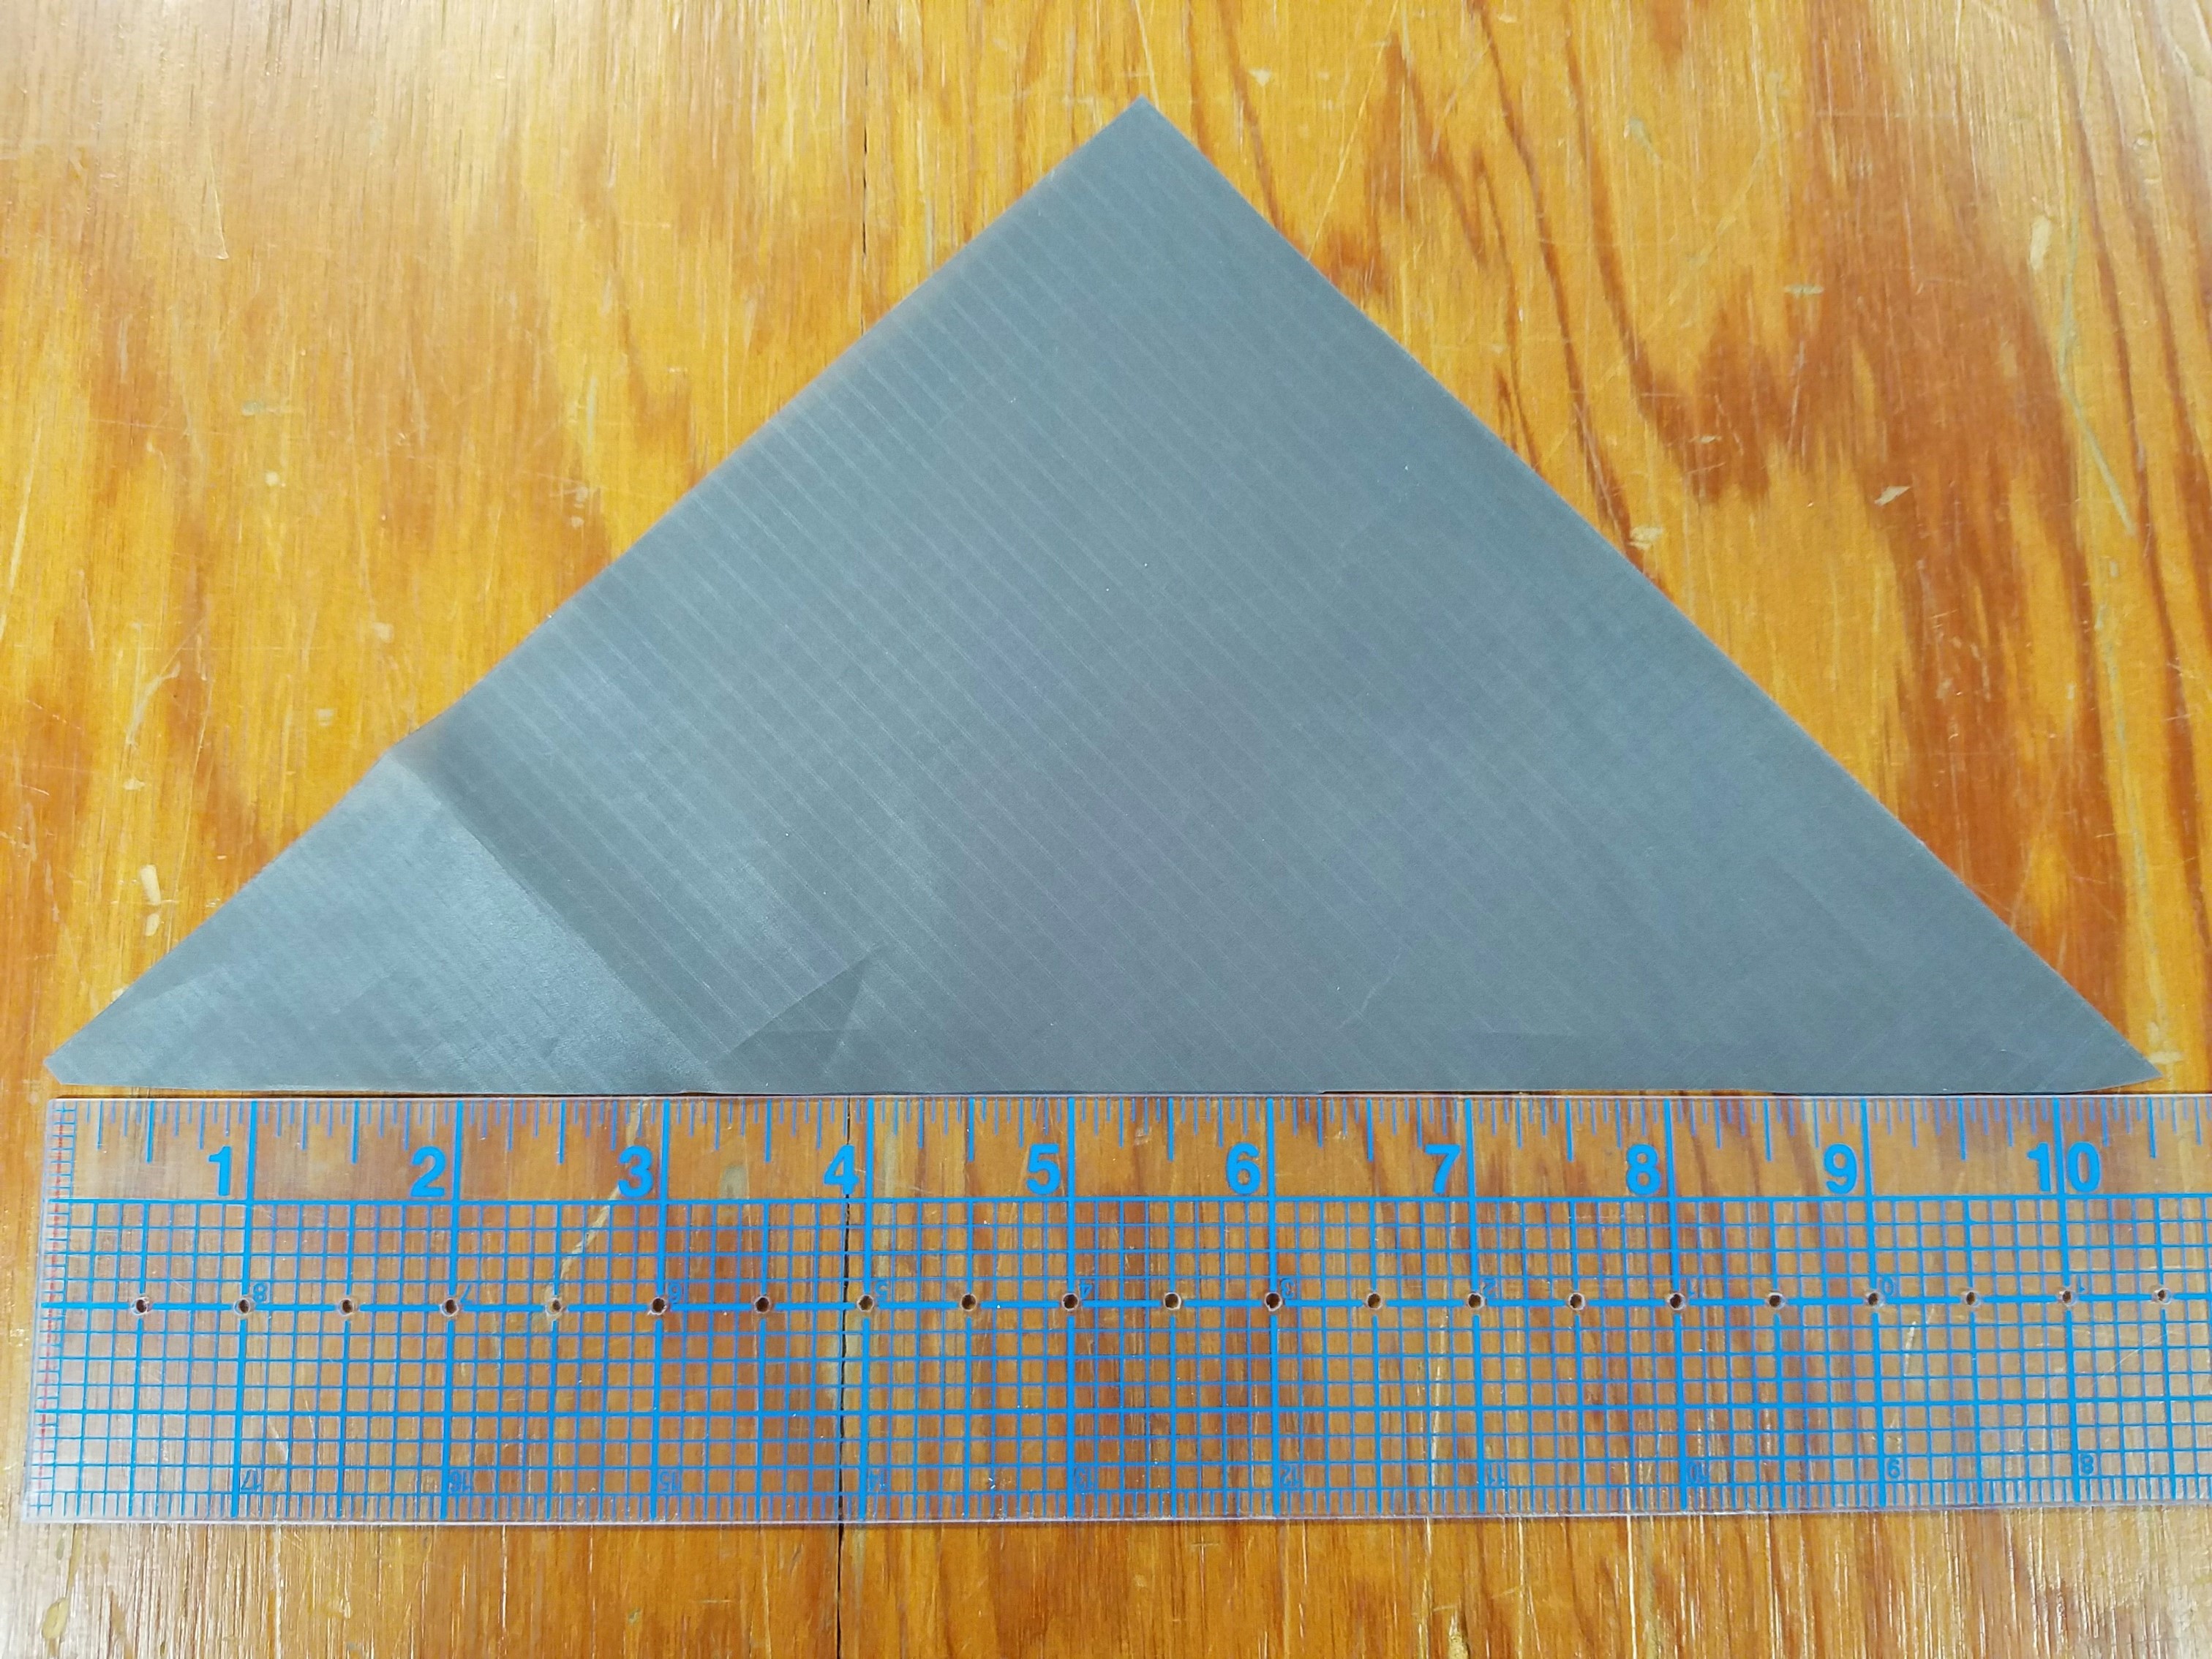
STEP 3
Hem the long edge of 4 of your triangles and then hem the 2 short edges of the other 2 triangles.
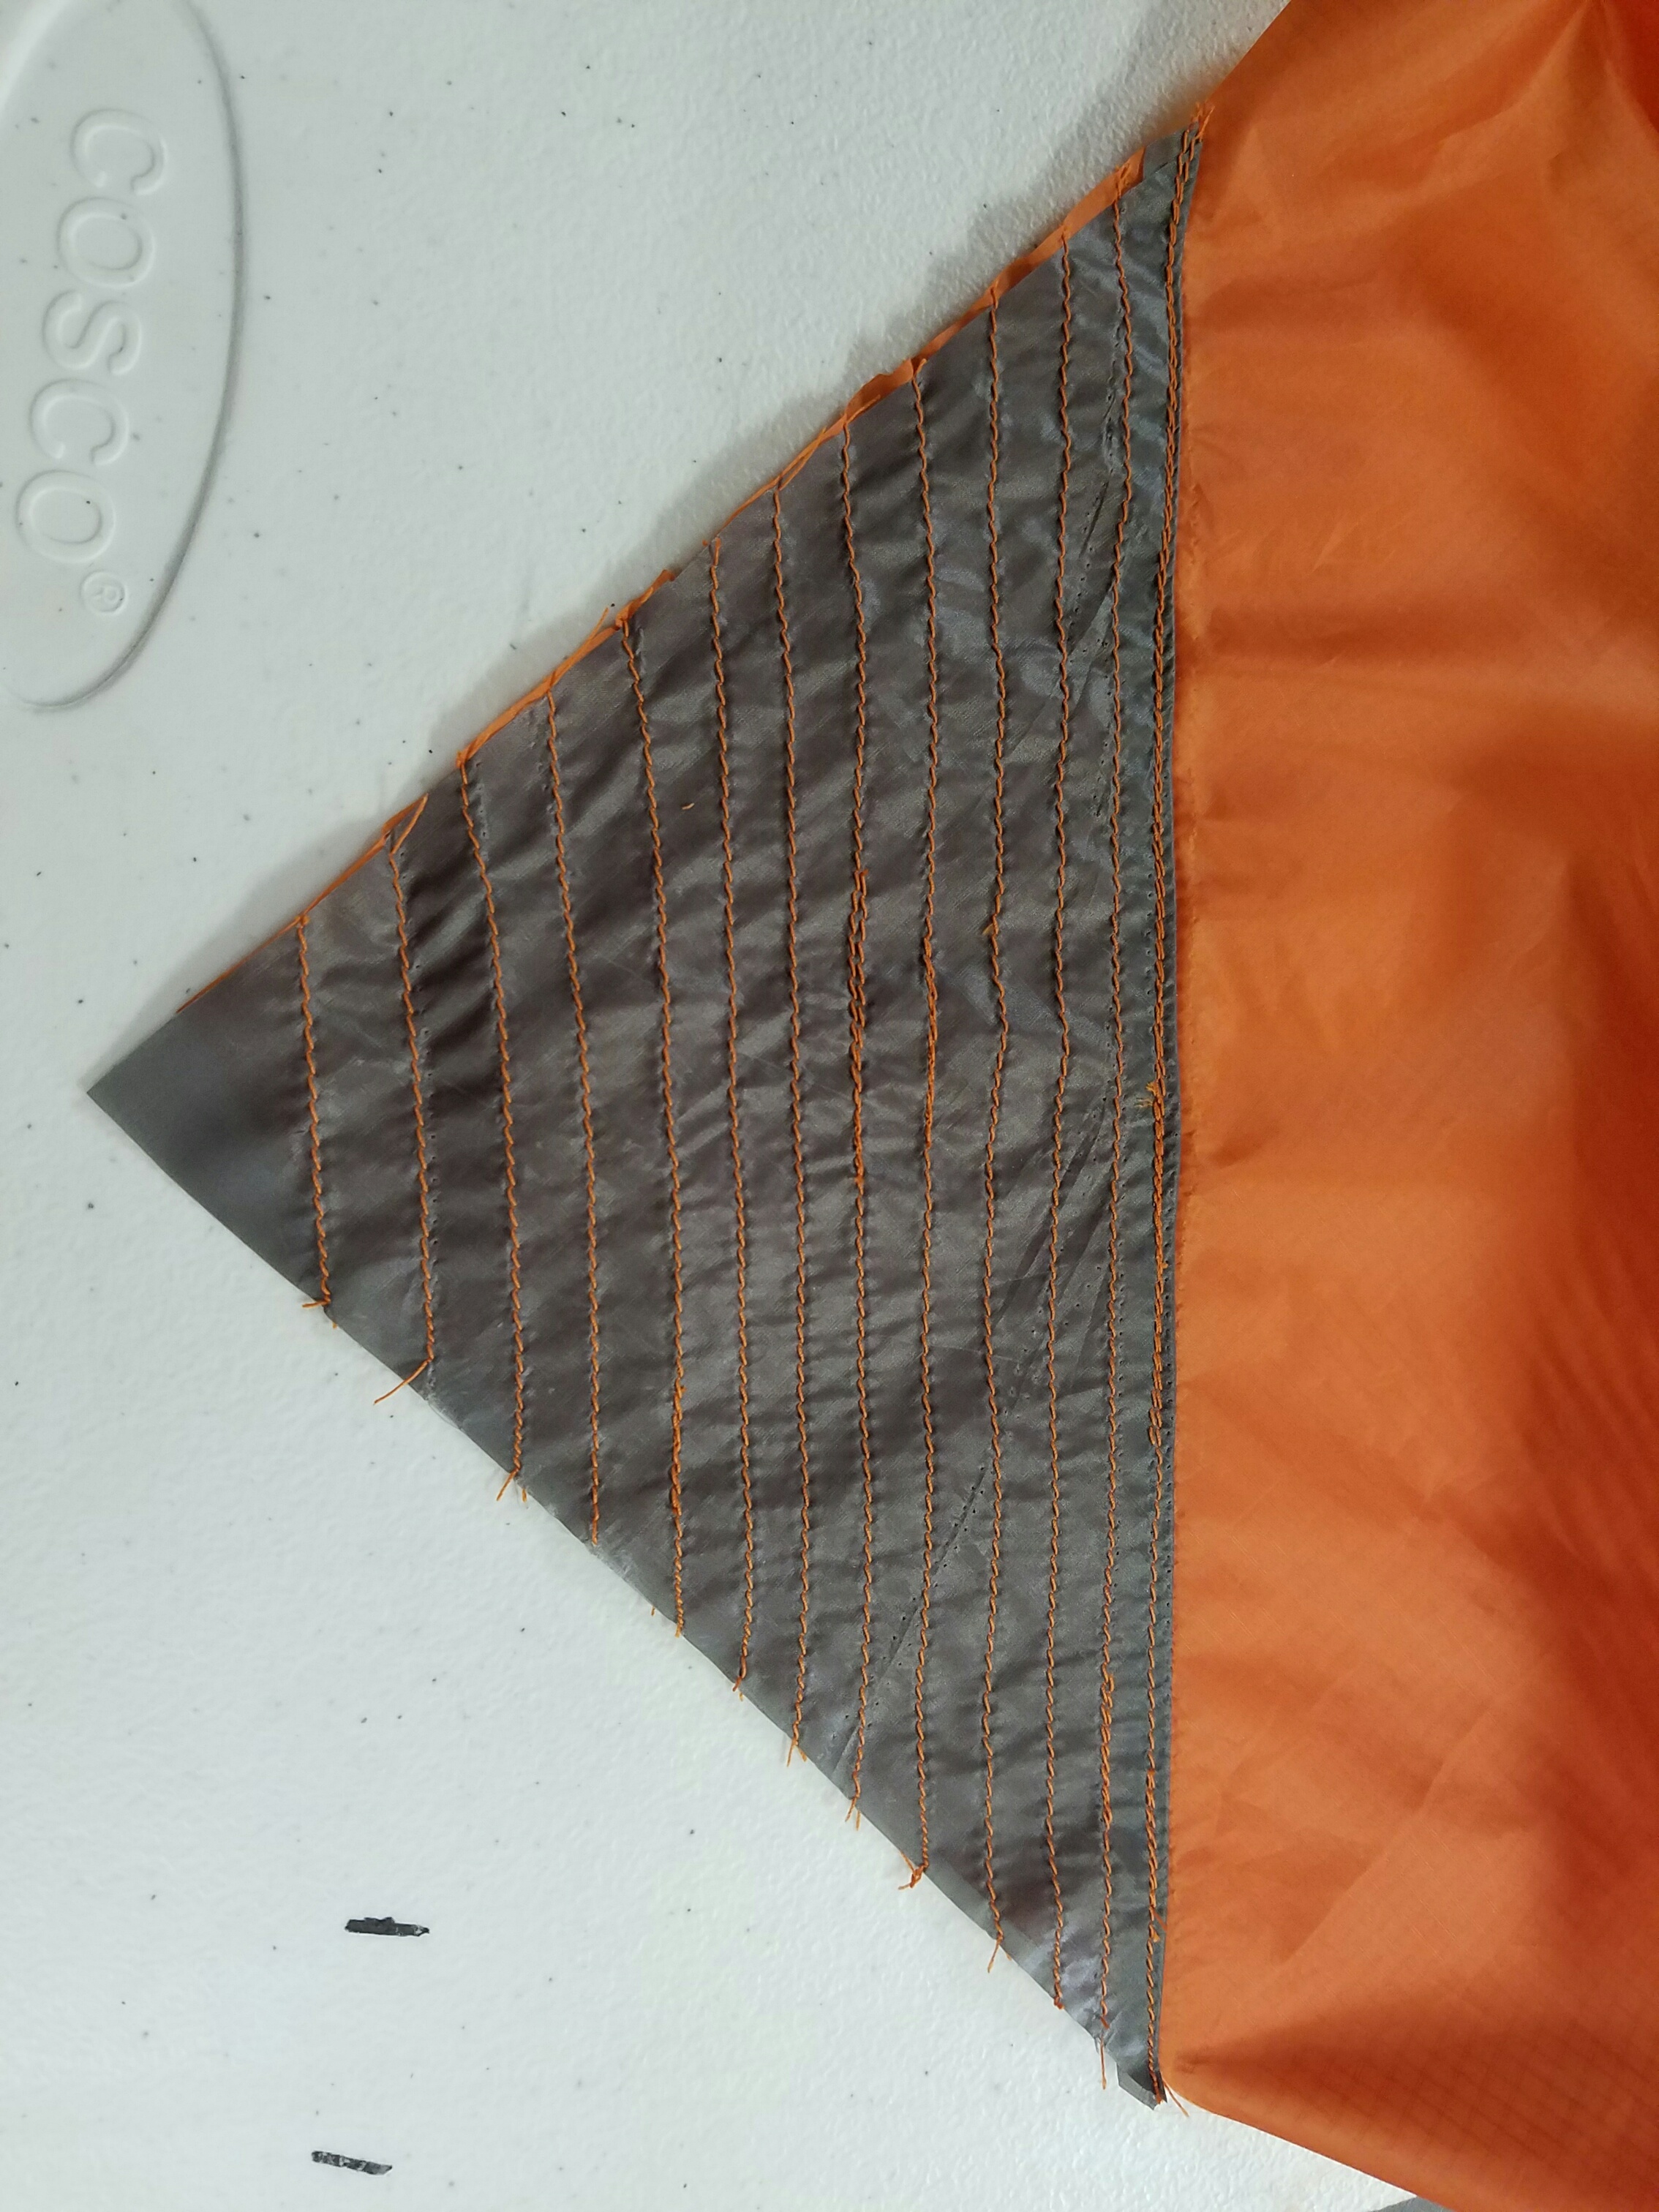
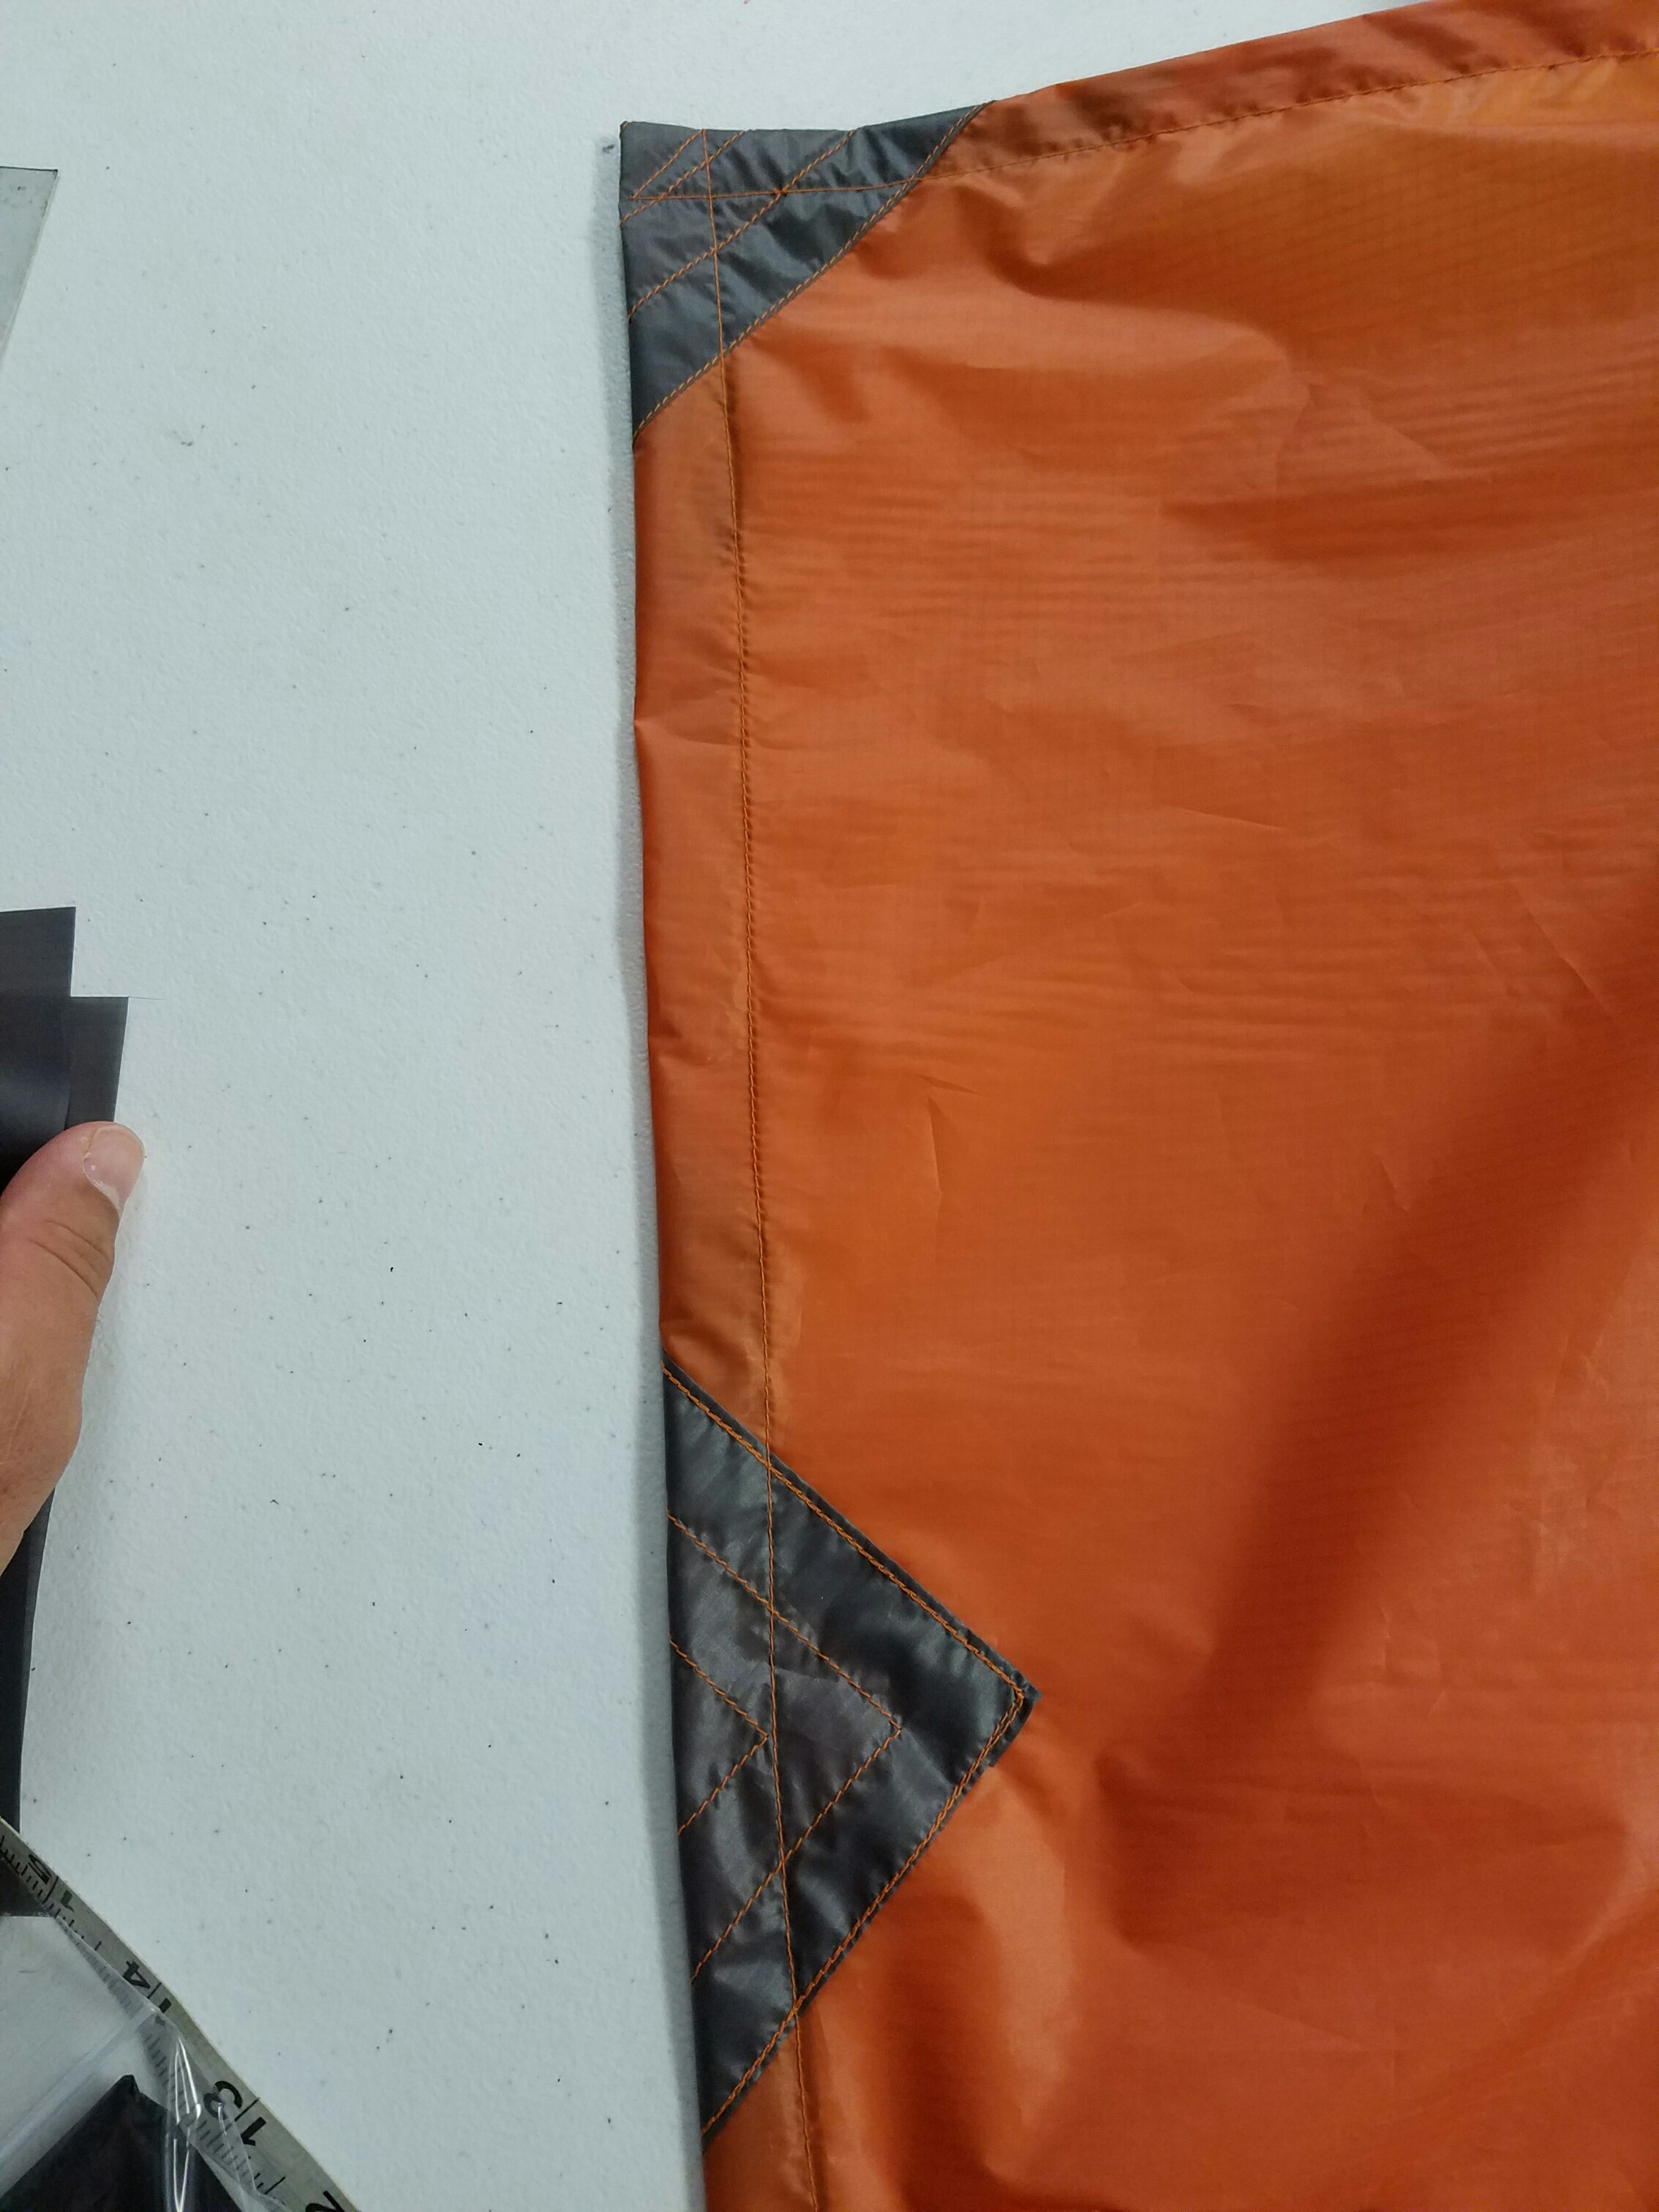
STEP 4
Sew the 4 corner triangles (the ones that you hemmed along the long edge) to the tarp as shown in the pictures below. We found stitching every 1 inch will work just fine for this.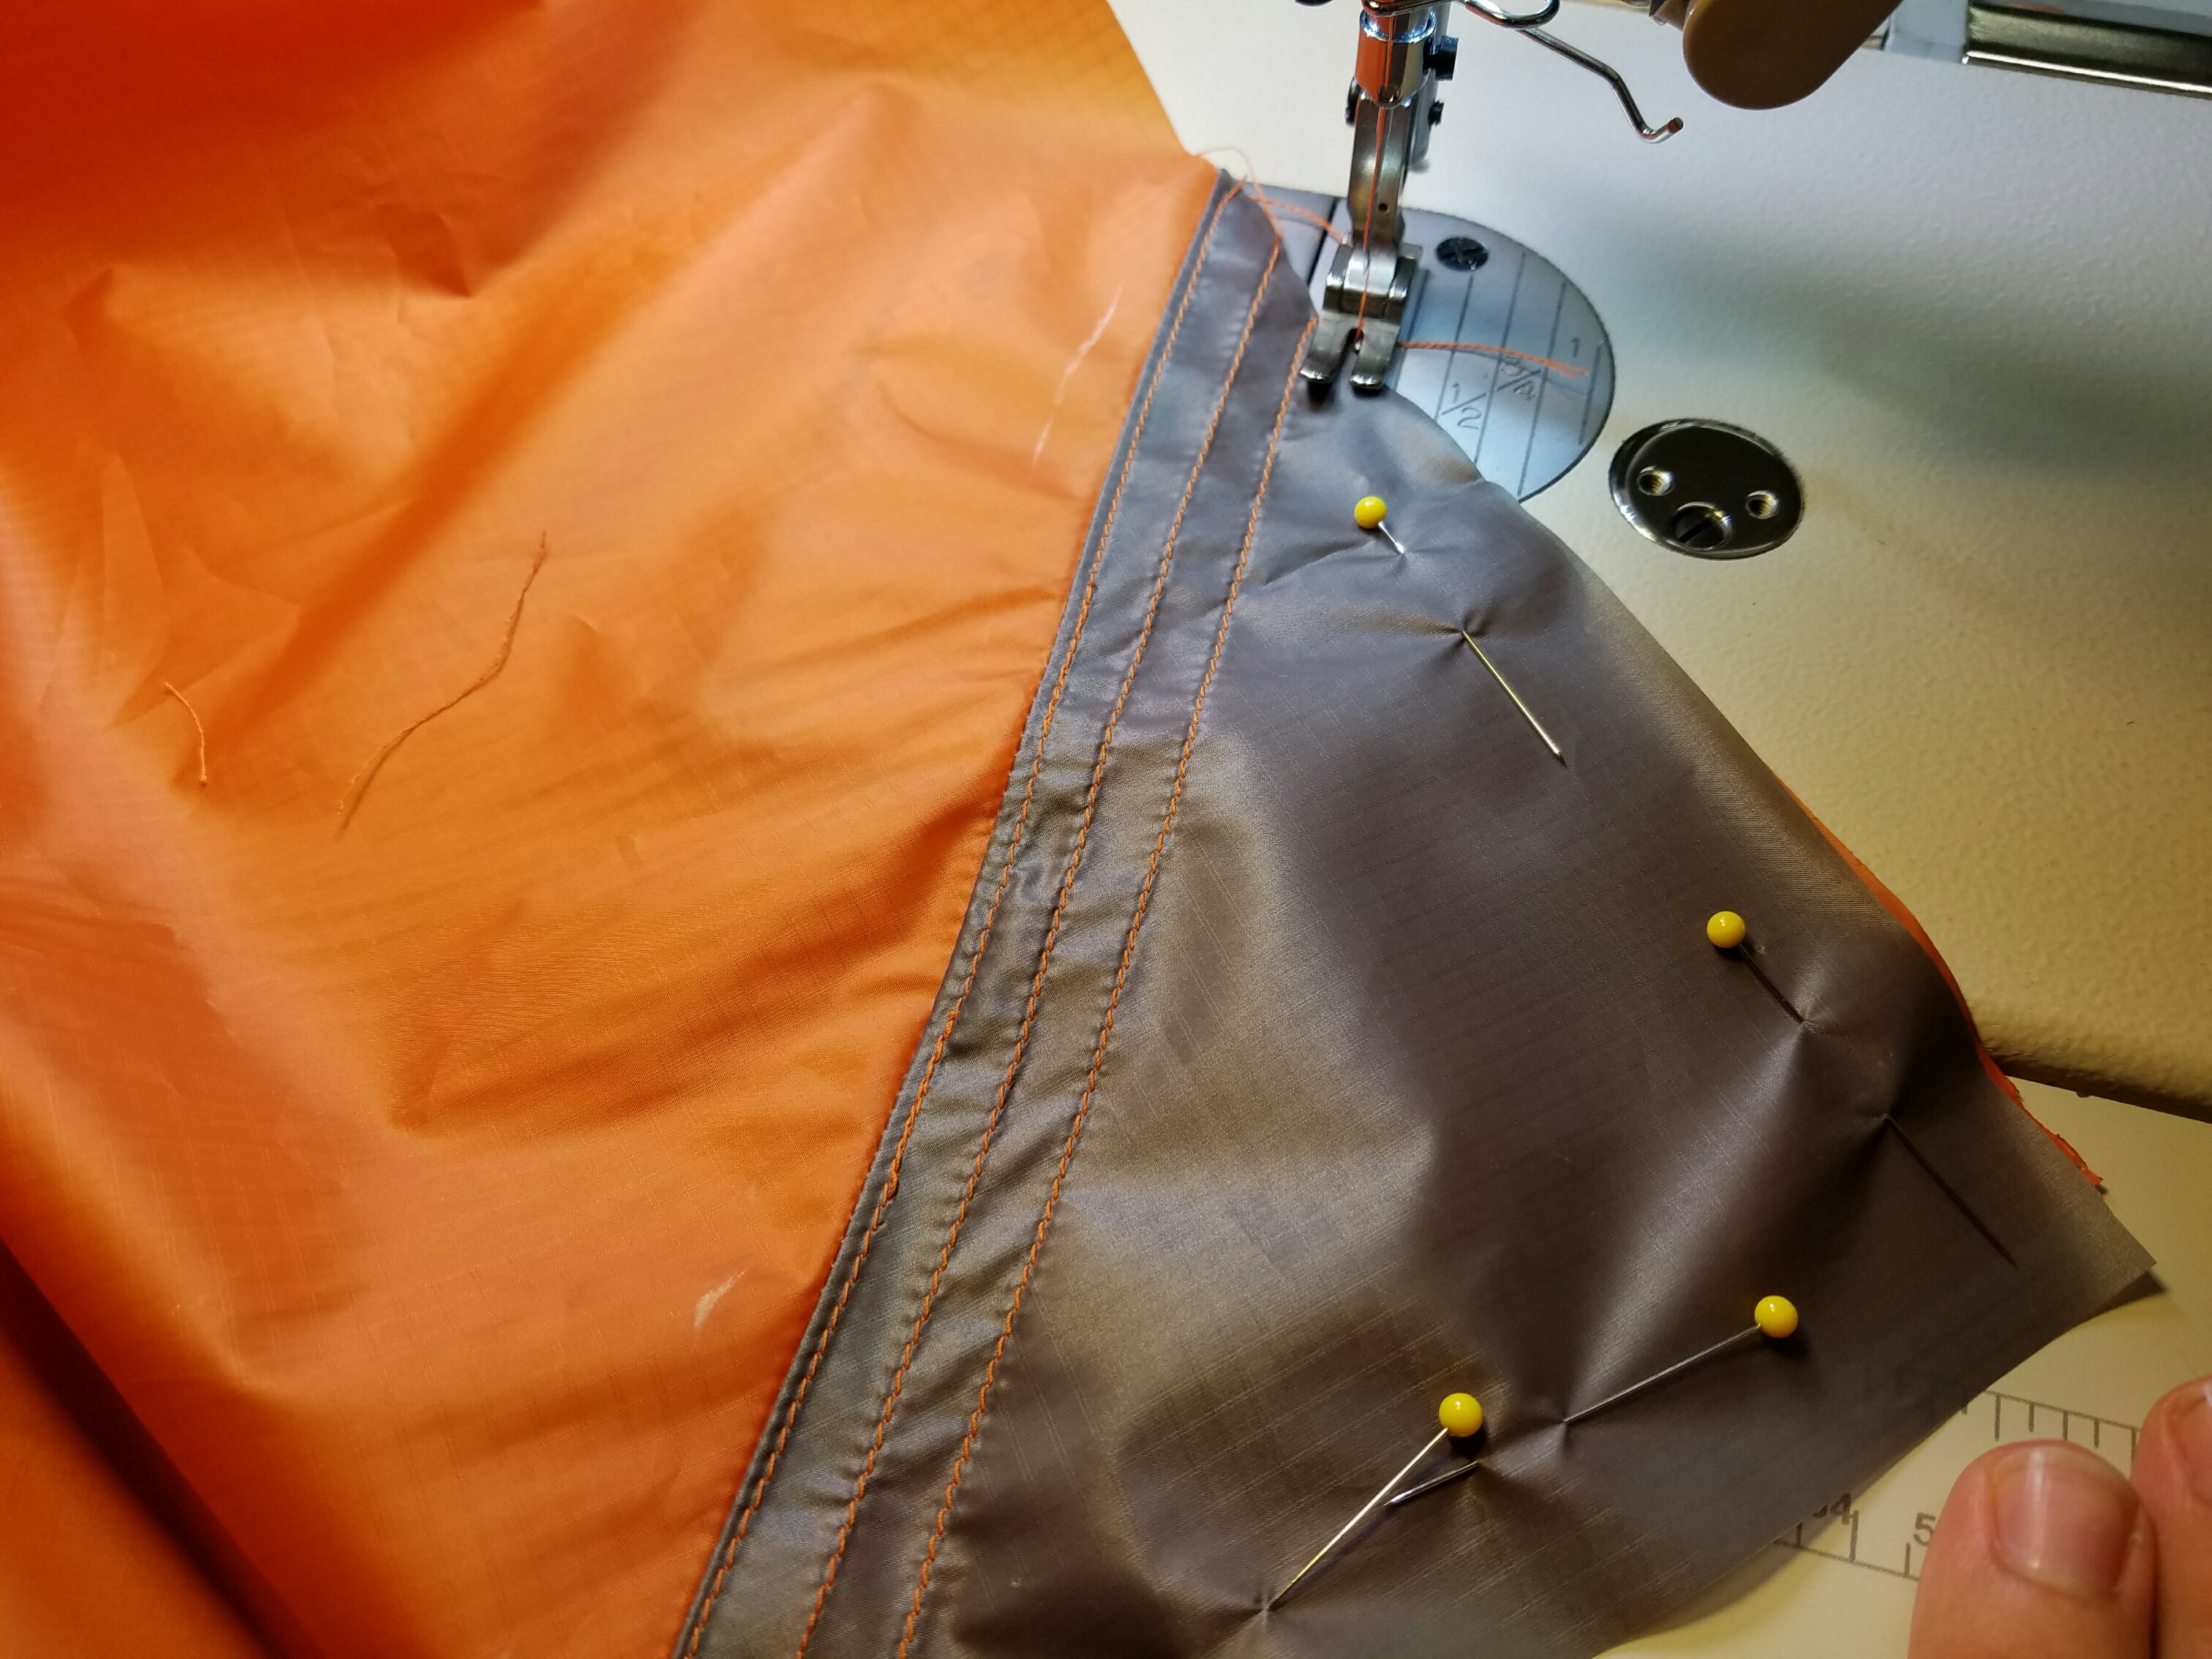
STEP 5
Now that the corners are done we're going to add the secondary ridgeline tieout reinforcement. Take one of the corners and measure 15 inches in on the SHORT side of the tarp. This is the center point of where your reinforcement should be. Sew on 1 of your triangles with the unhemmed long edge matching up with the edge of the tarp. Once this is done you need to do the same thing on the other side. Be sure to measure in from the diagonal tieout and not the tieout on the same side of the tarp. Pictures below for reference.
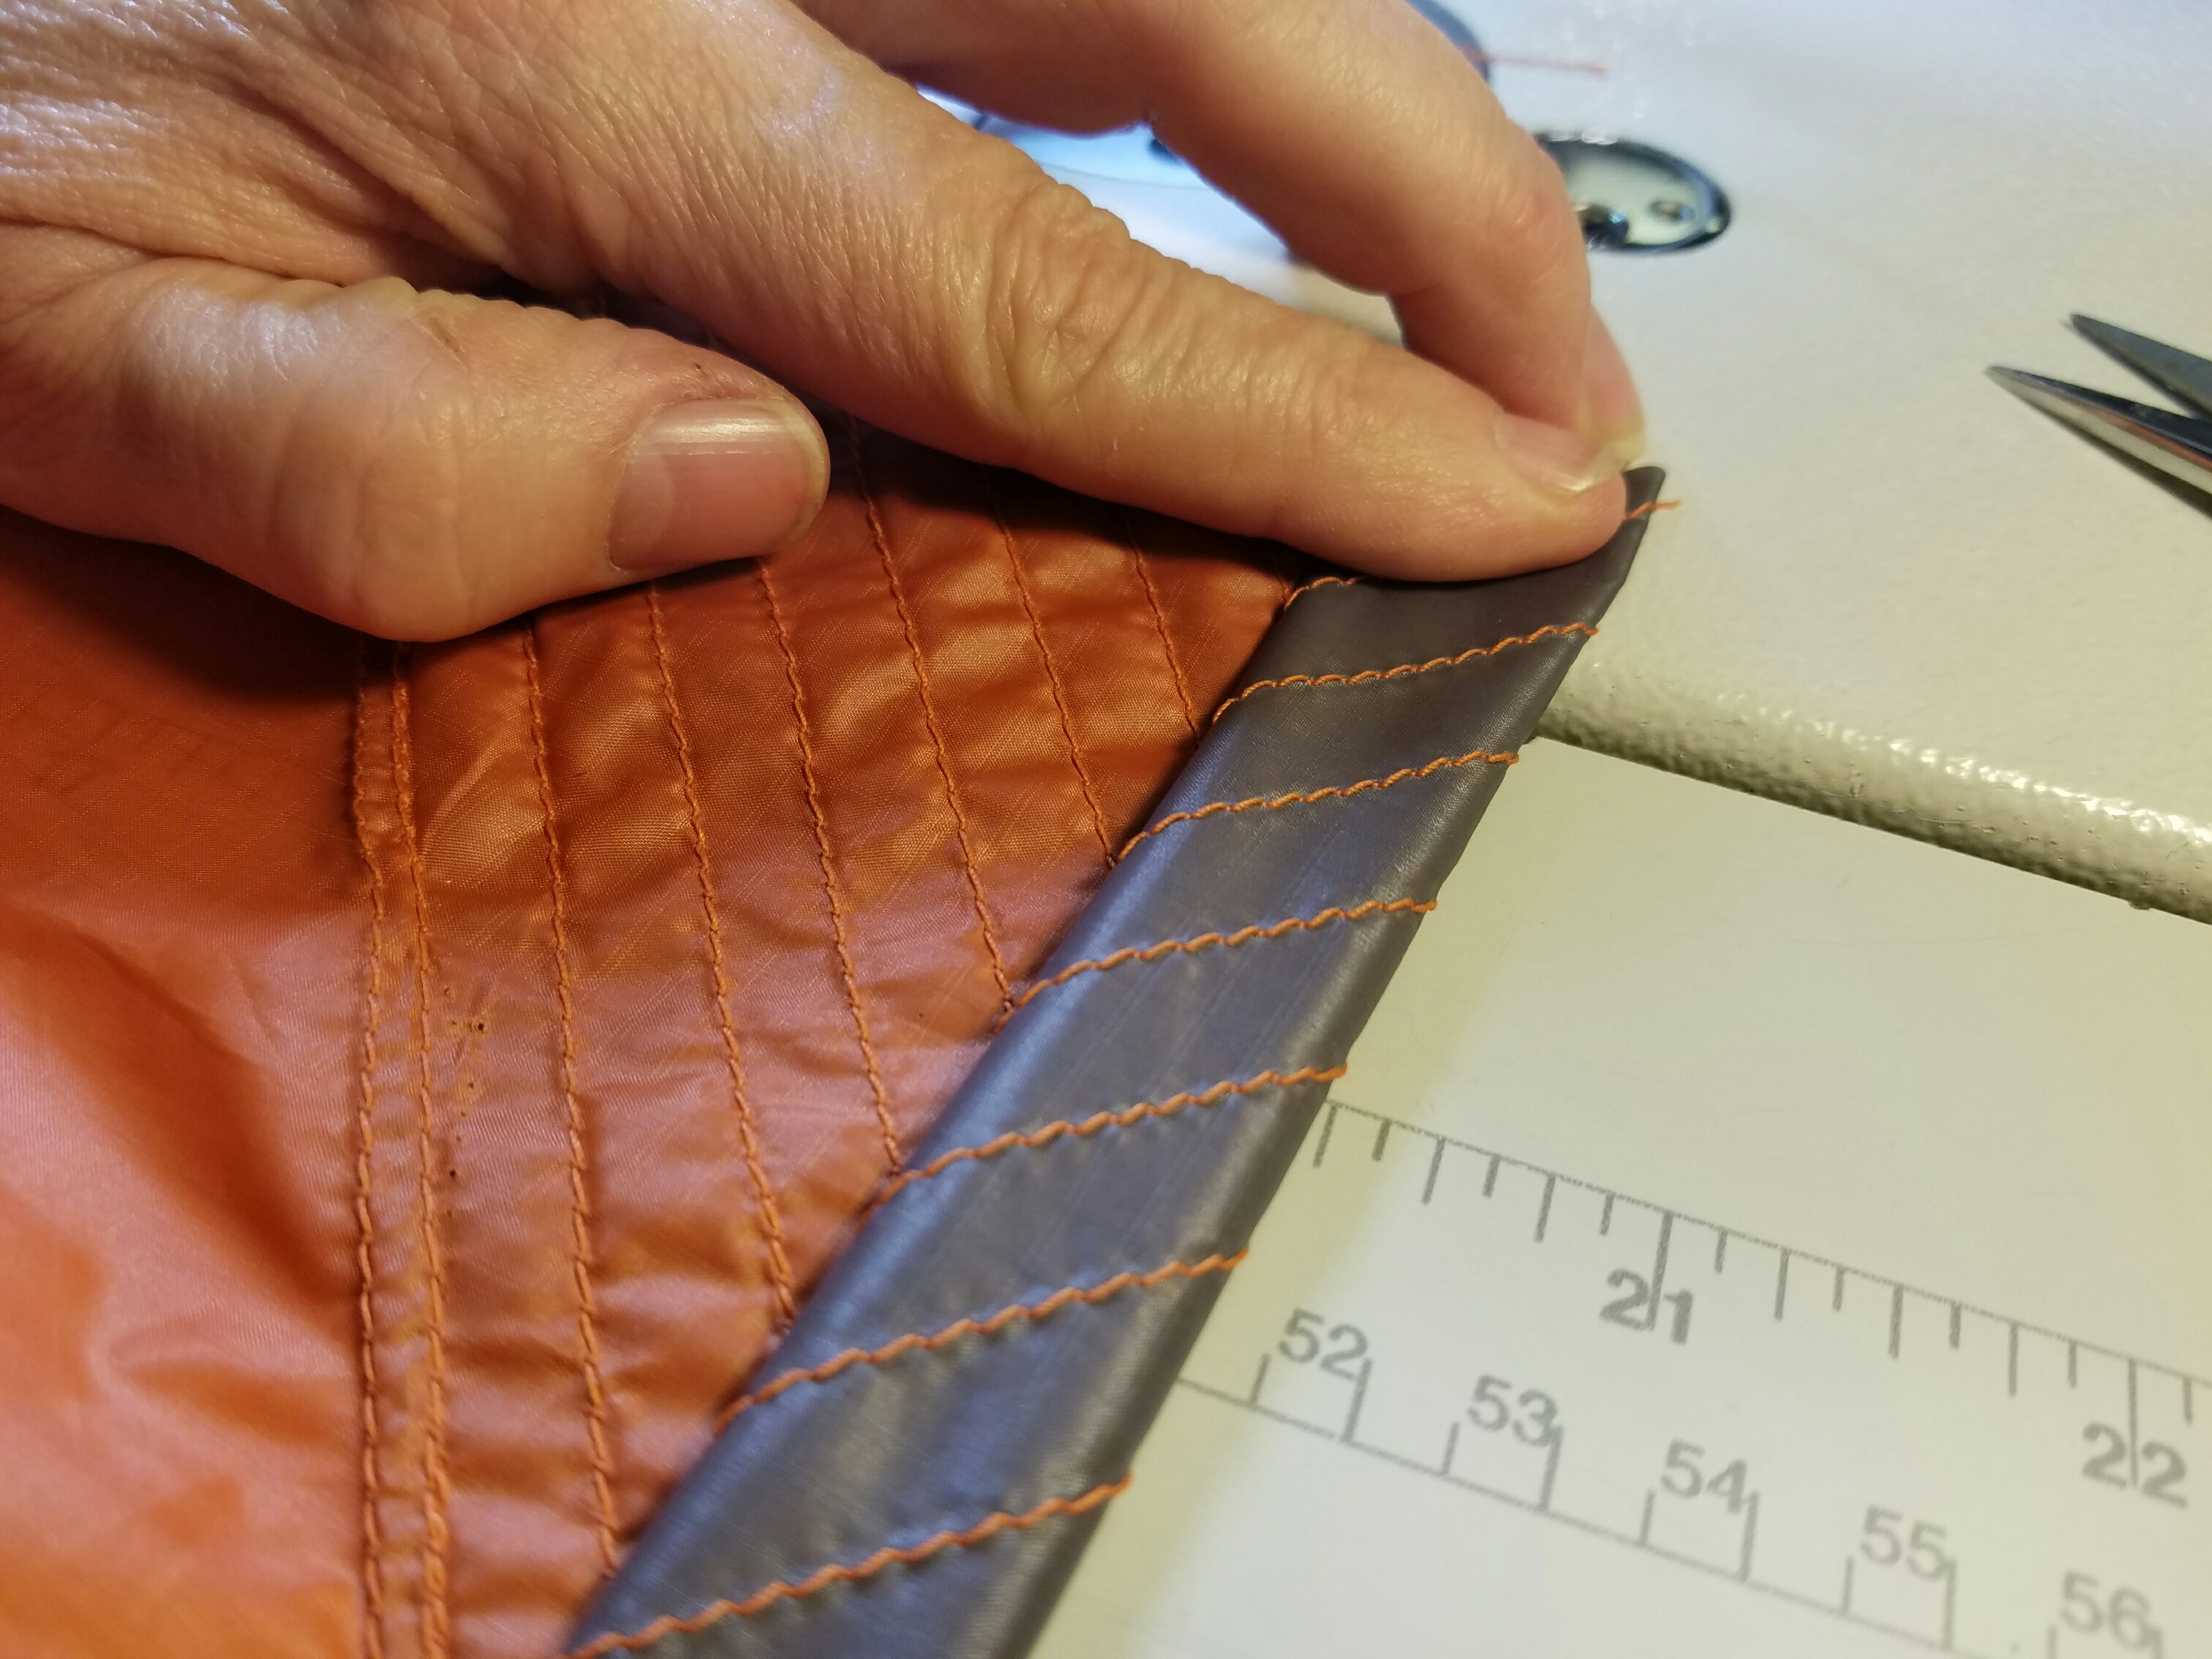
STEP 6
At this point, all of your reinforcement pieces should be sewn in place. Now sew a rolled hem the whole way around the tarp.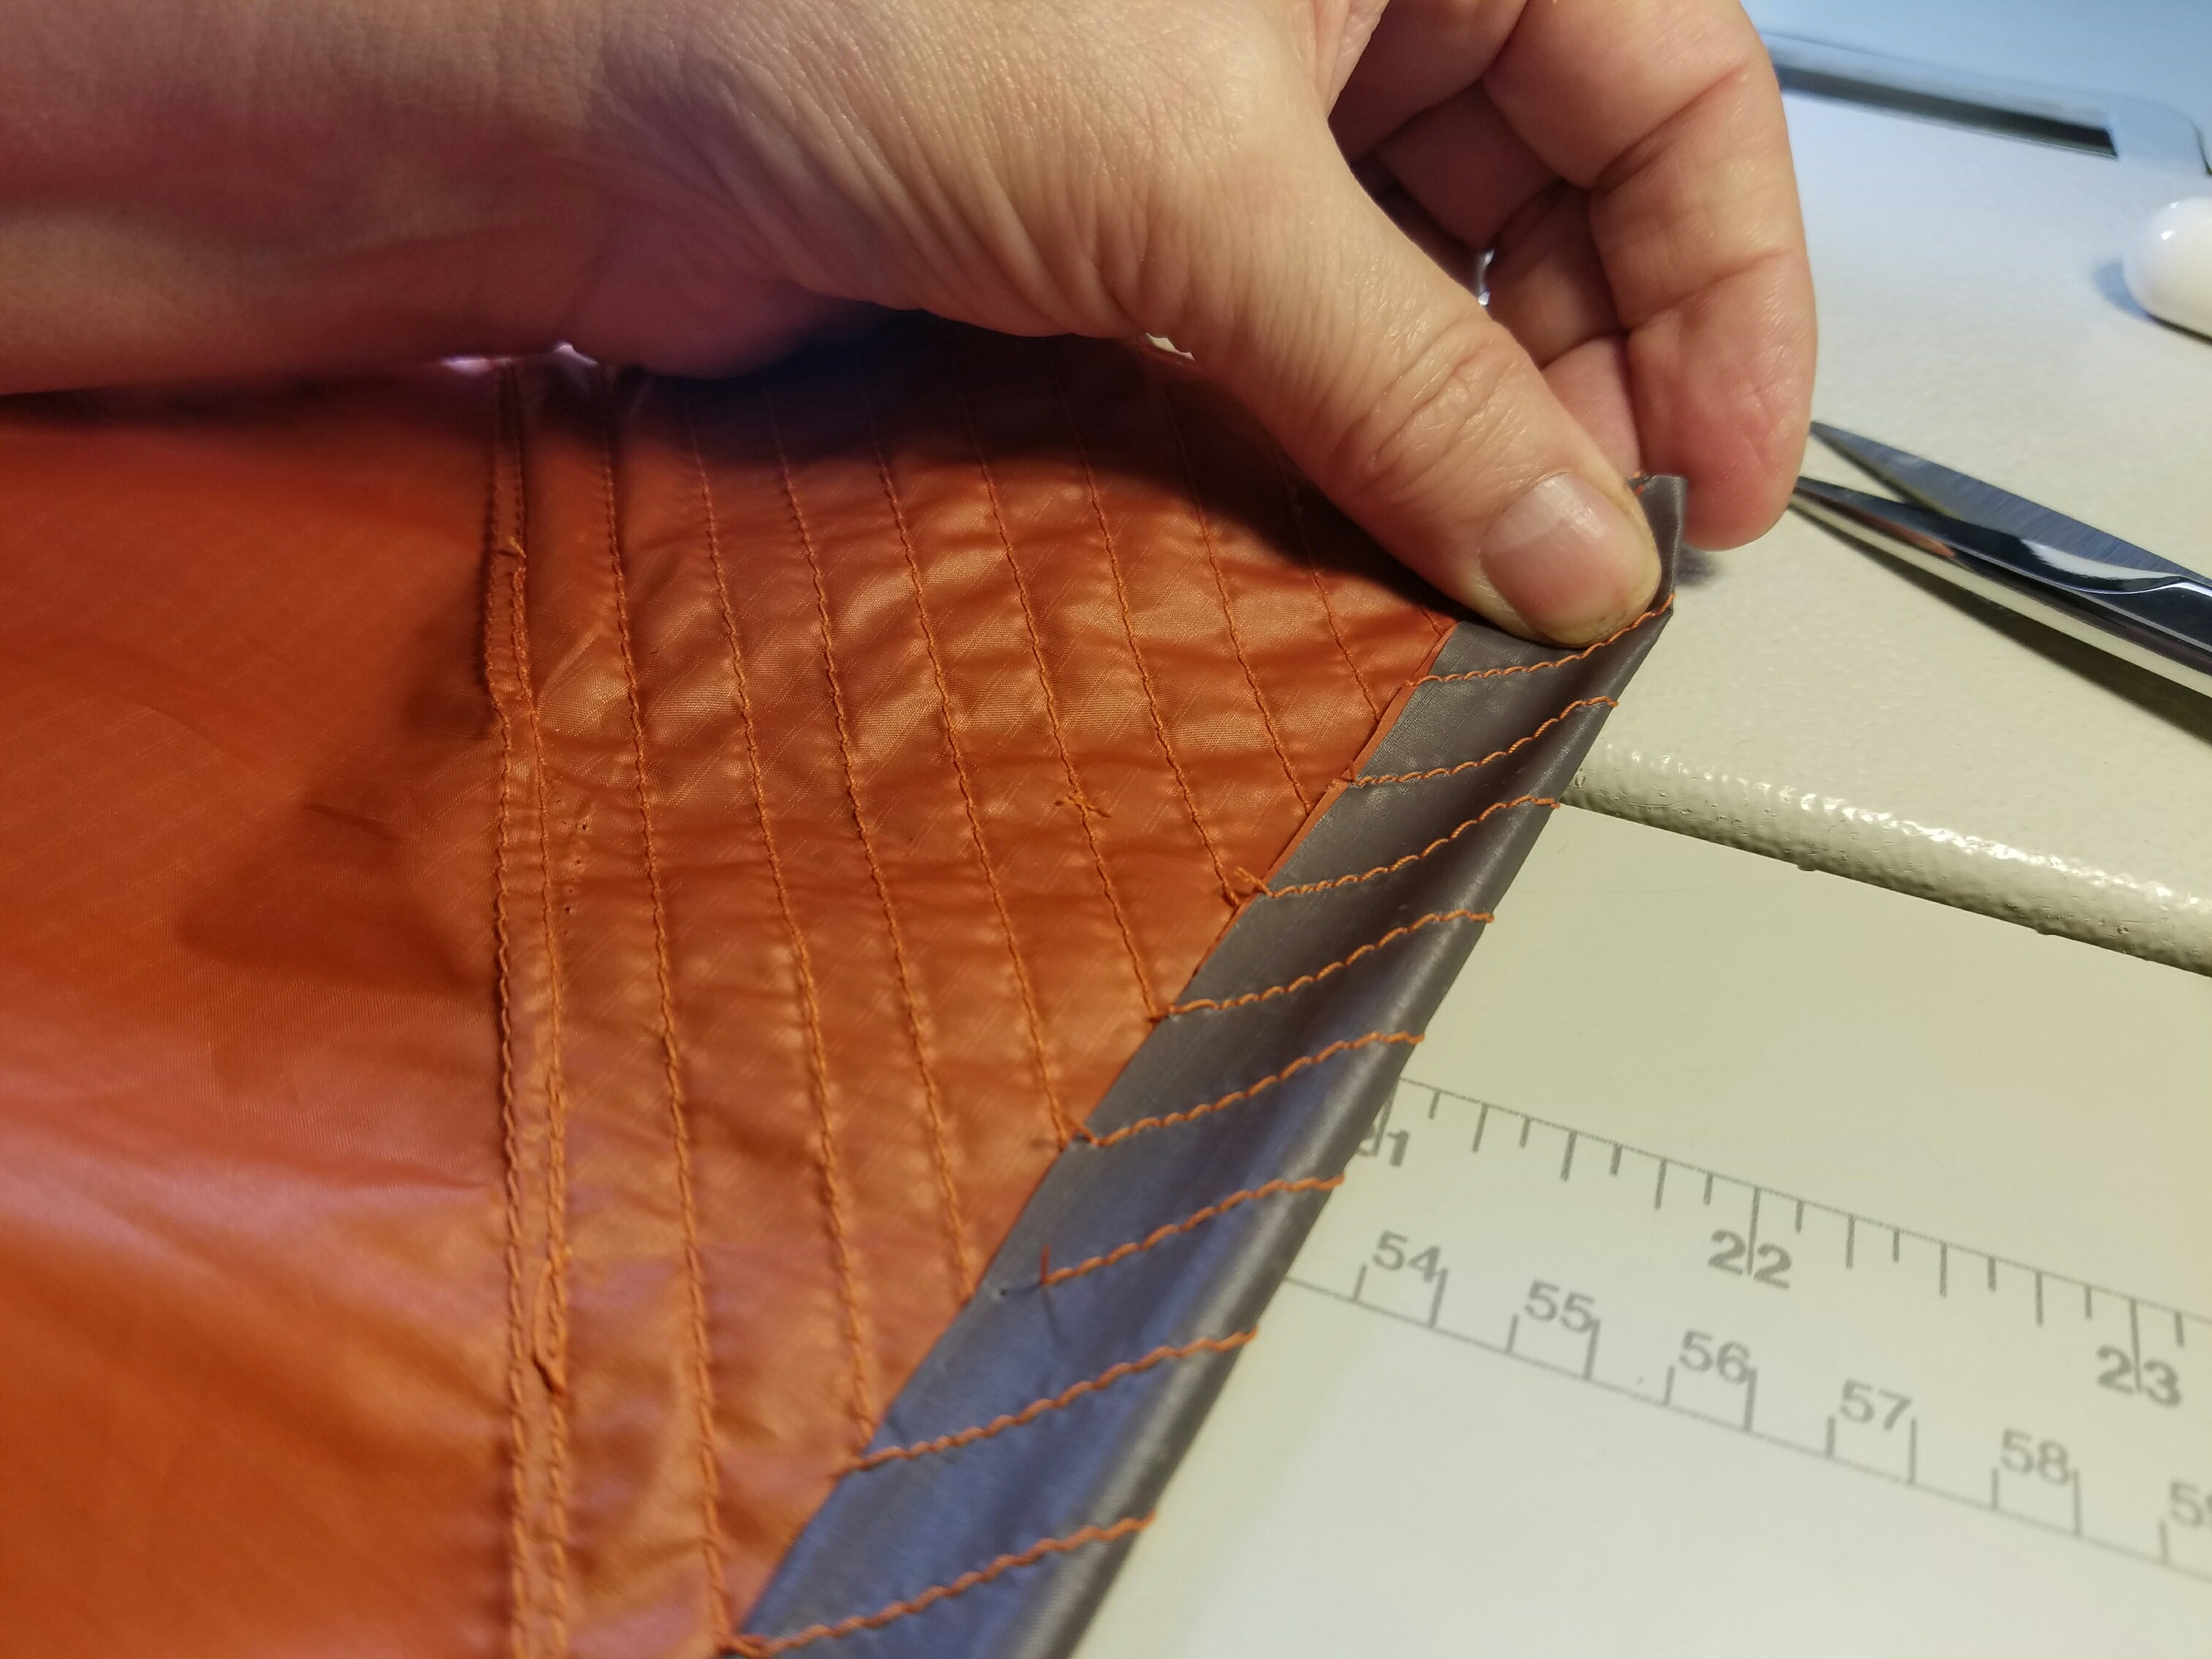

STEP 7
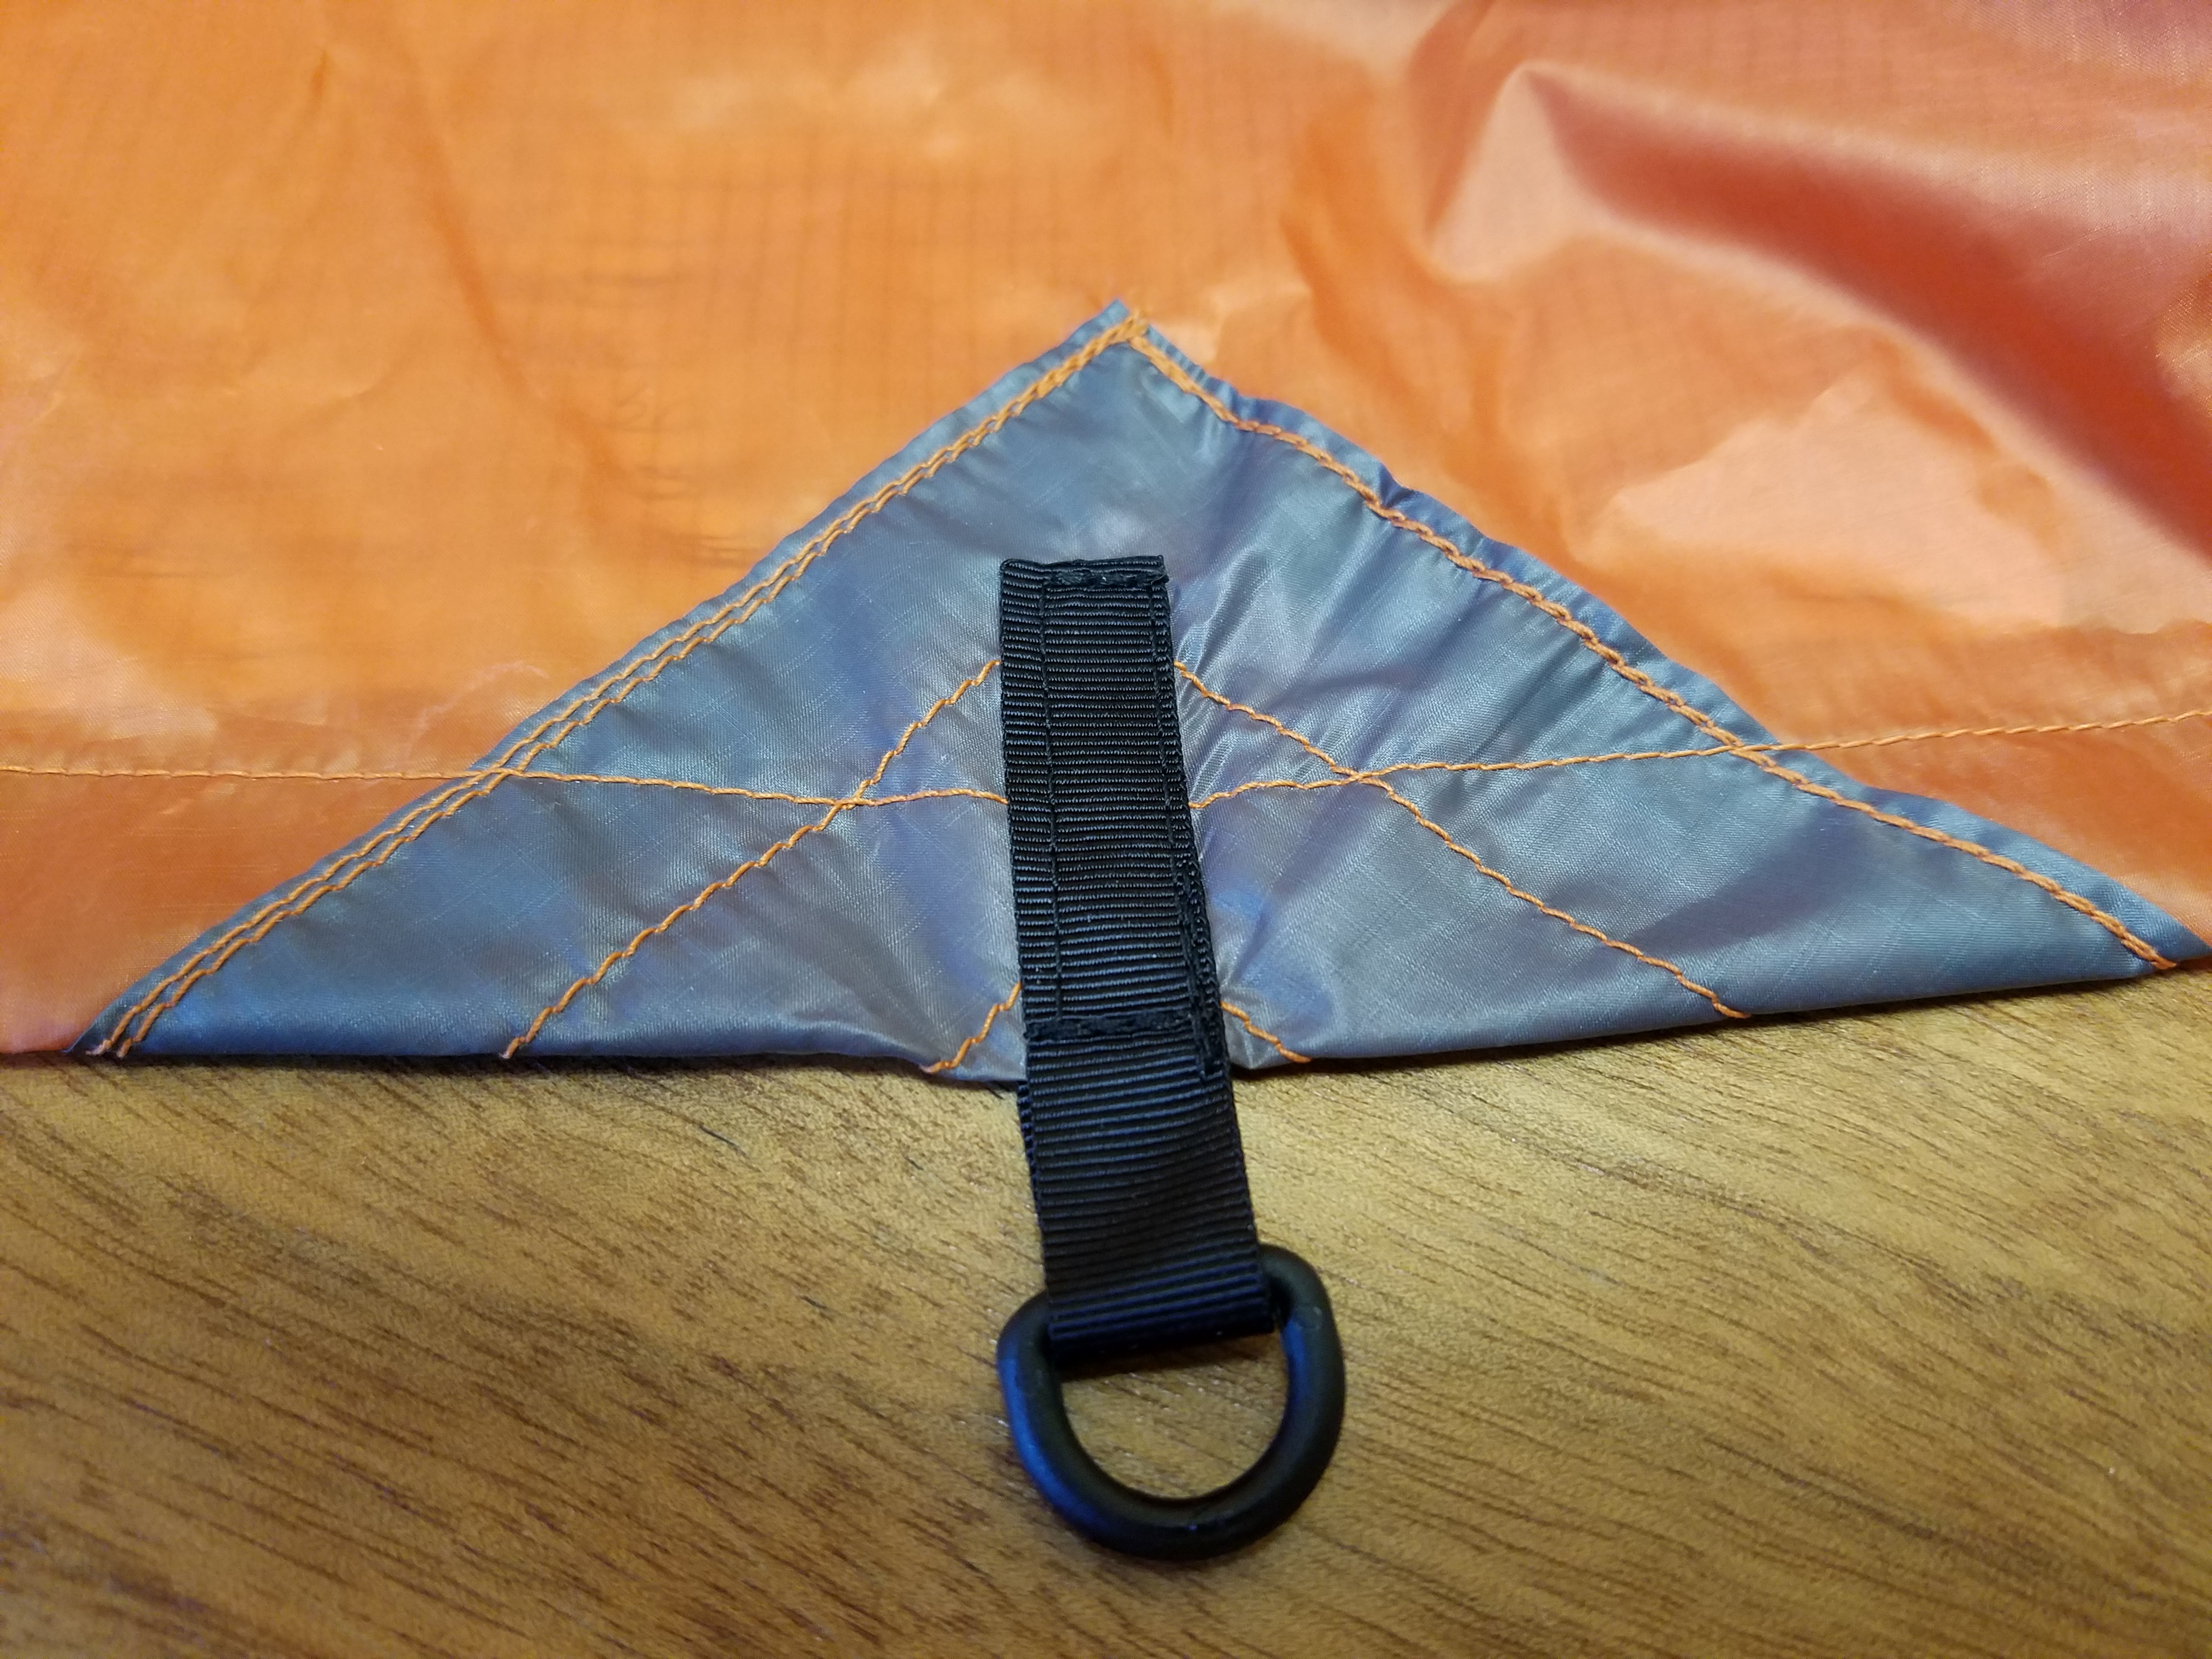
Sew on the 7 inch long pieces of grosgrain with d-rings attached to all the tieout locations.
STEP 8
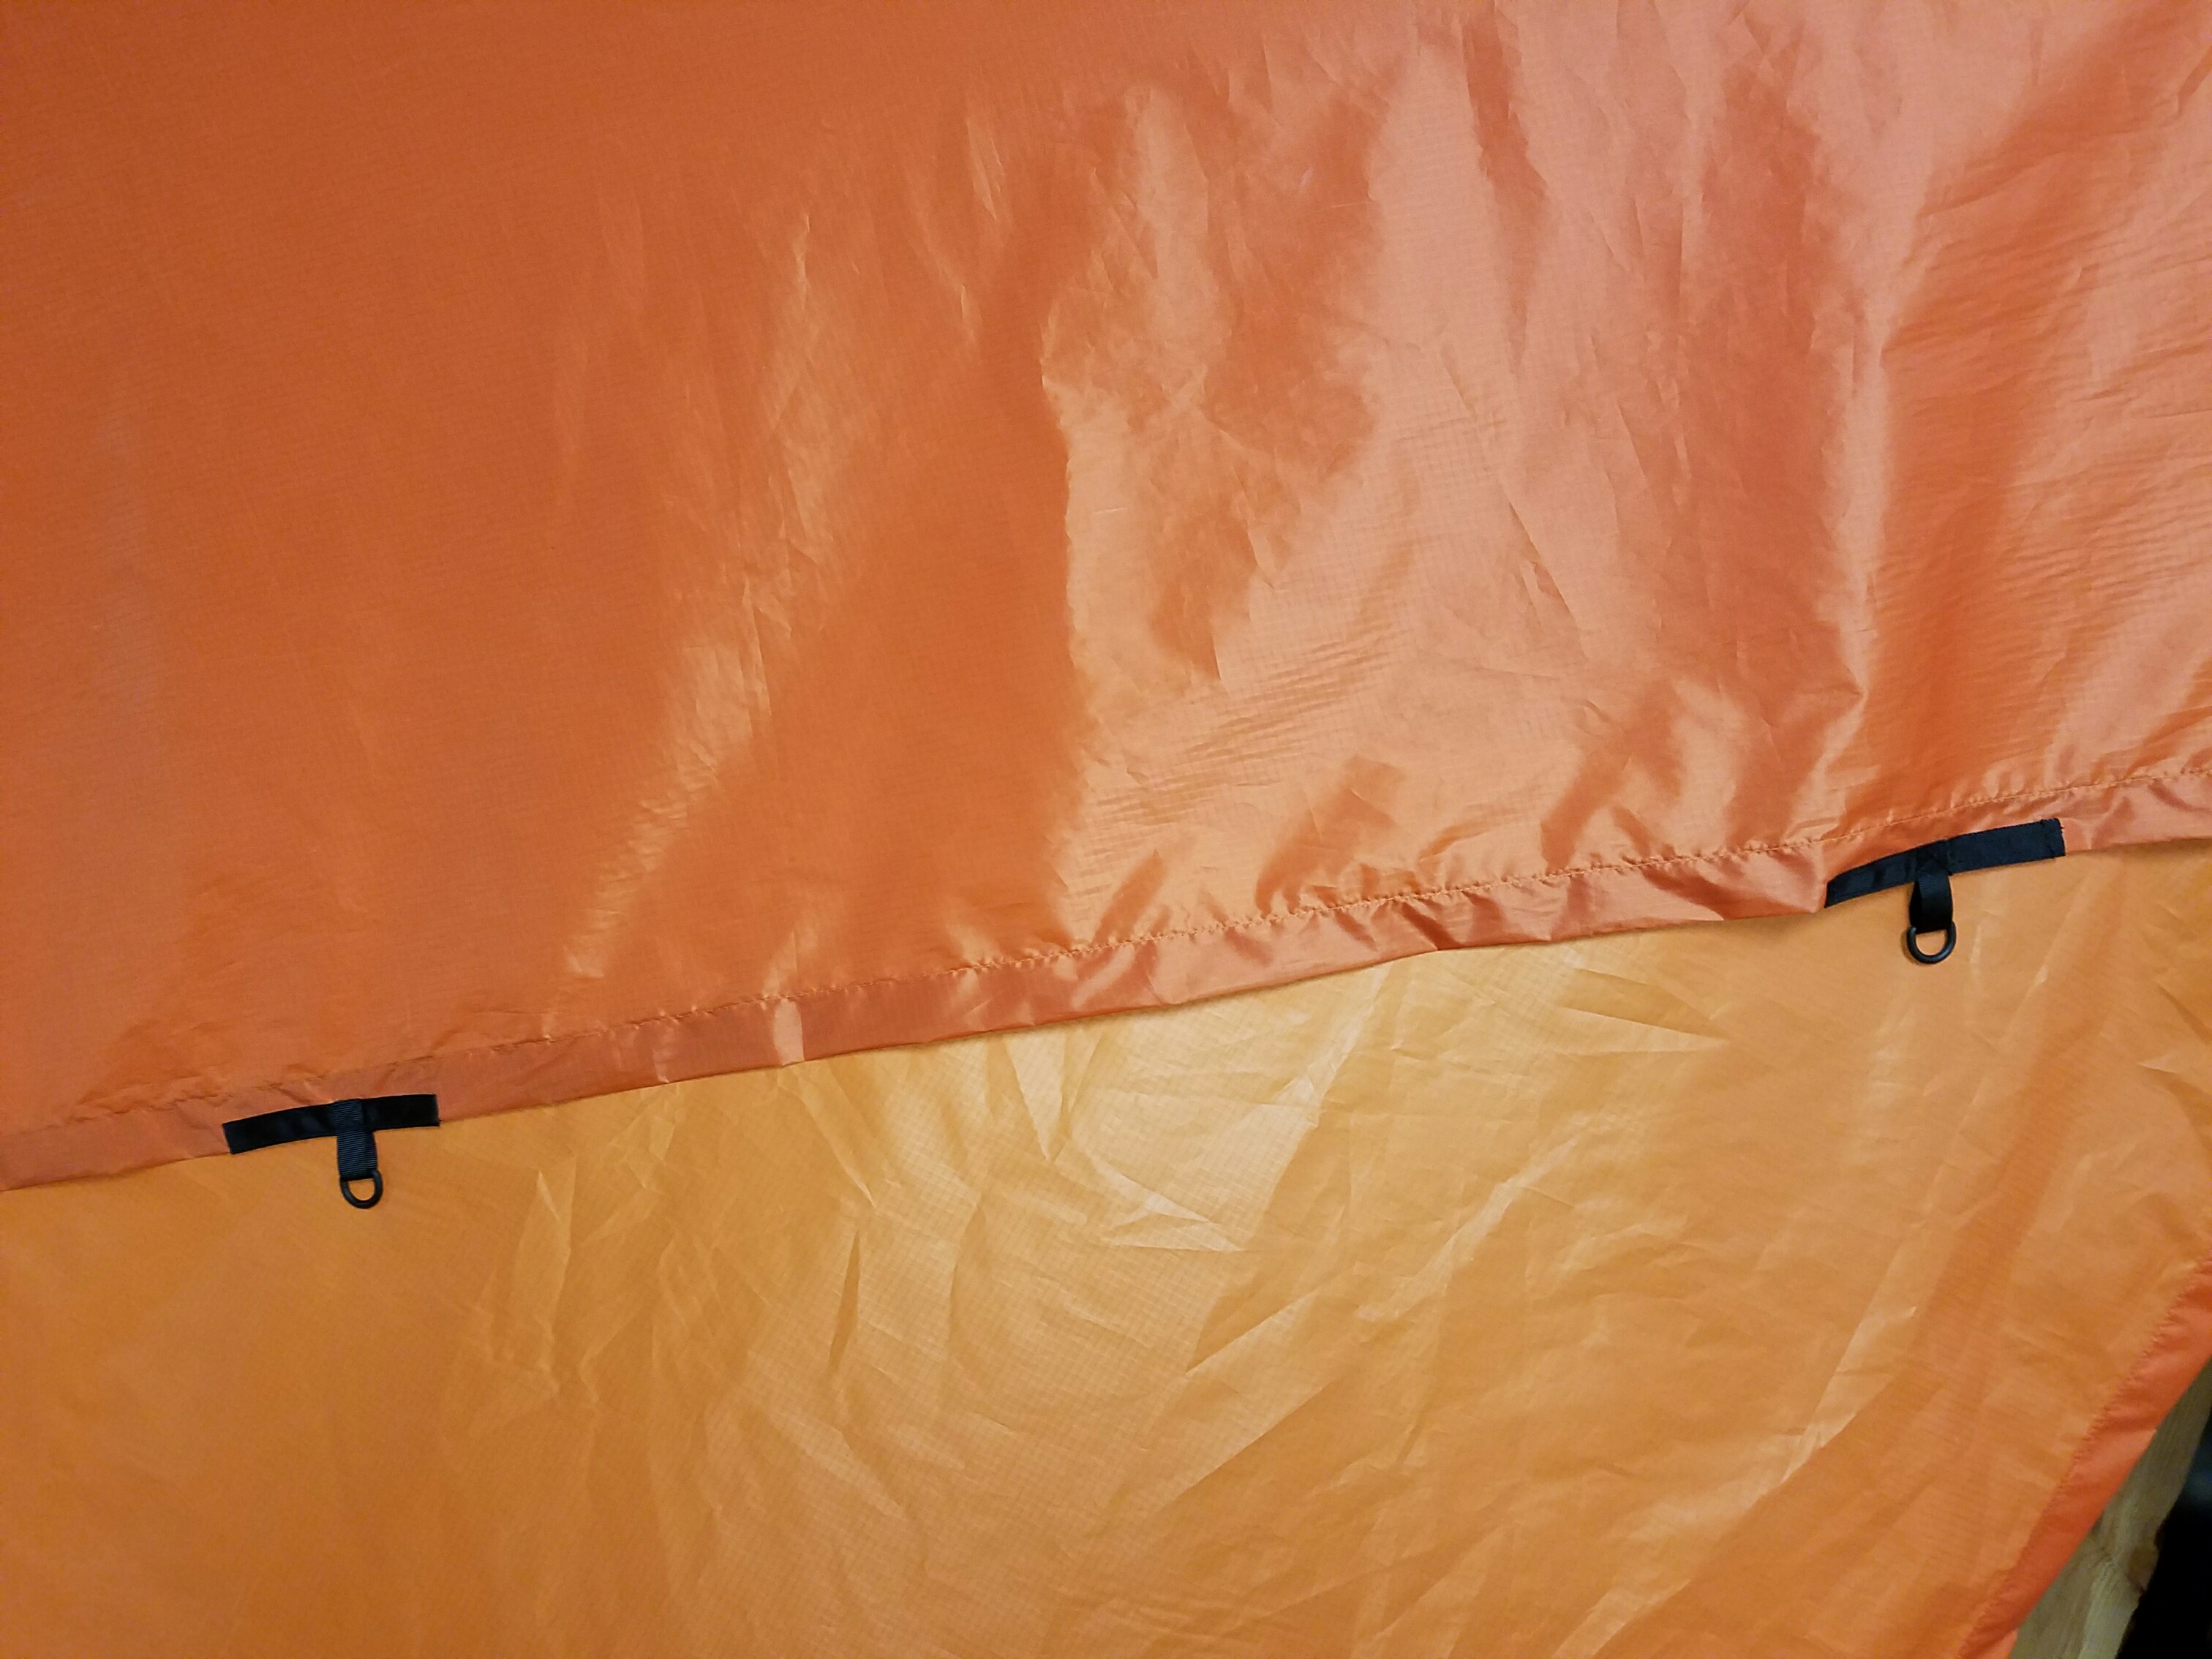
Next, we will add the 4 additional side tieouts. Measure from the corner ridgeline down the long edge of the tarp 20 inches and make a mark. Then measure 25 inches from that mark down the edge of the tarp further and make another mark. Do the same on the opposite side. Pictures below for reference. These will be the center points of your side tieouts. Take a 4" piece of 1" grosgrain and wrap it around the edge of the tarp and sew it. Be sure the center of it is on the mark you just made. Add your 4-inch long piece of 1/2 inch grosgrain and D-ring to the center to finish your tieout. Do the same for the other 3 tieouts.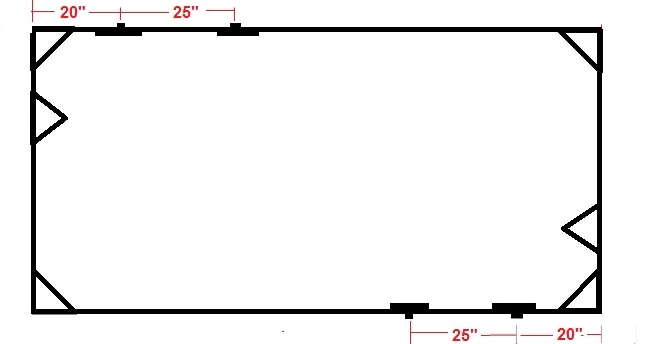

STEP 9
Enjoy your new versatile asymmetric tarp!