How to Make a Backpacking Pillow
Posted by Dutch on Oct 10th 2023
Share:When it comes to backpacking or hiking, many people would consider a pillow a necessity. Whether you're looking for a more economical option or you want to get started on a new project, making a backpacking pillow yourself can be a quick and simple process, even for beginners. Follow our DIY instructions to make your own lightweight backpacking pillow.
Project Overview
| Skill Level | Estimated Time | Estimated Cost |
| Beginner | 30 to 60 minutes | $ |
Materials and Tools
| Materials Needed: | Tools Needed: |
| 14"x18" ARGON 67 or ARGON 90 | Sewing Machine |
| ~55 Grams of Climashield or other fill | Scissors |
| 4" of 1/2" Grosgrain | Ruler/Tape Measure |
| Thread of your choice | Marker or Chalk |
Purchase full kit here: https://dutchwaregear.com/product/climashield-pillow-kit/
Notes: Seam allowance is 5/8". Backtack beginning and end of all seams. Shiny side of fabric is the "wrong" side.
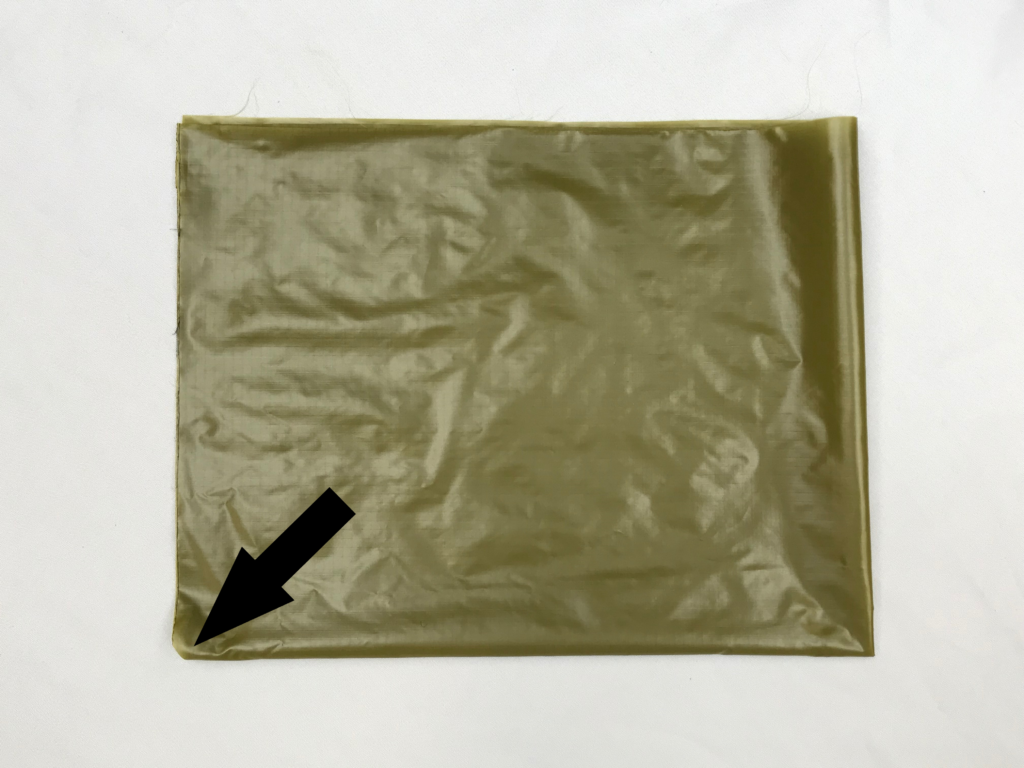
1. Cut Material to 14”x18”.

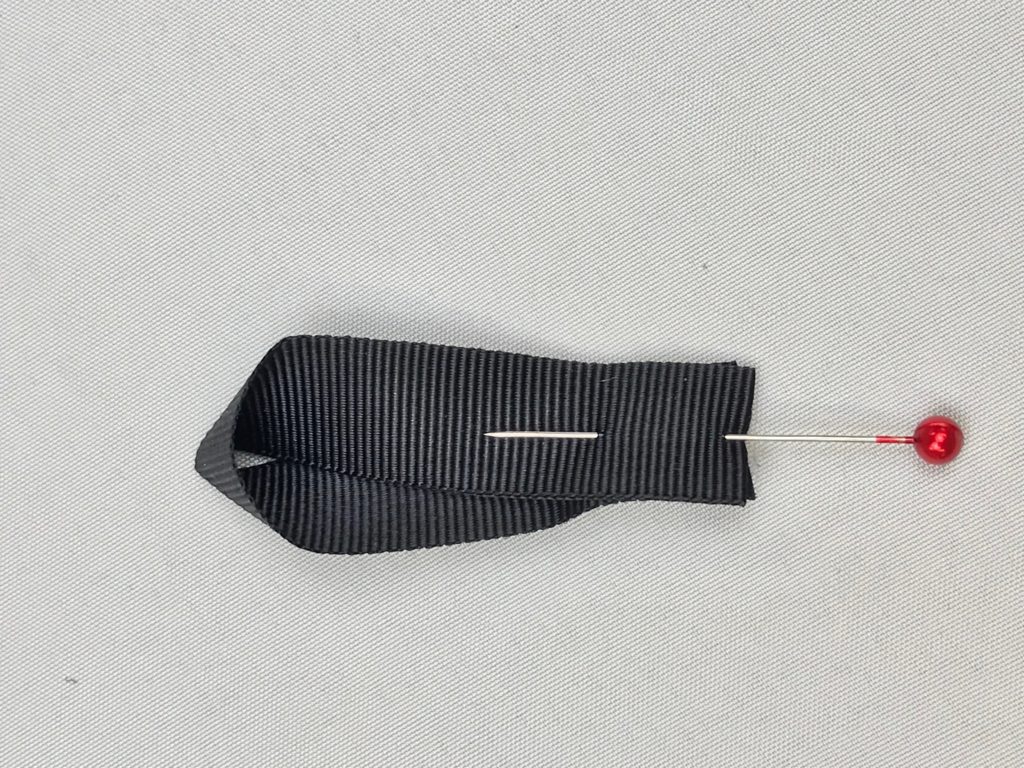
5. Fold tab in half, turning one end over to make tab stand open. It may be helpful to secure with a pin.
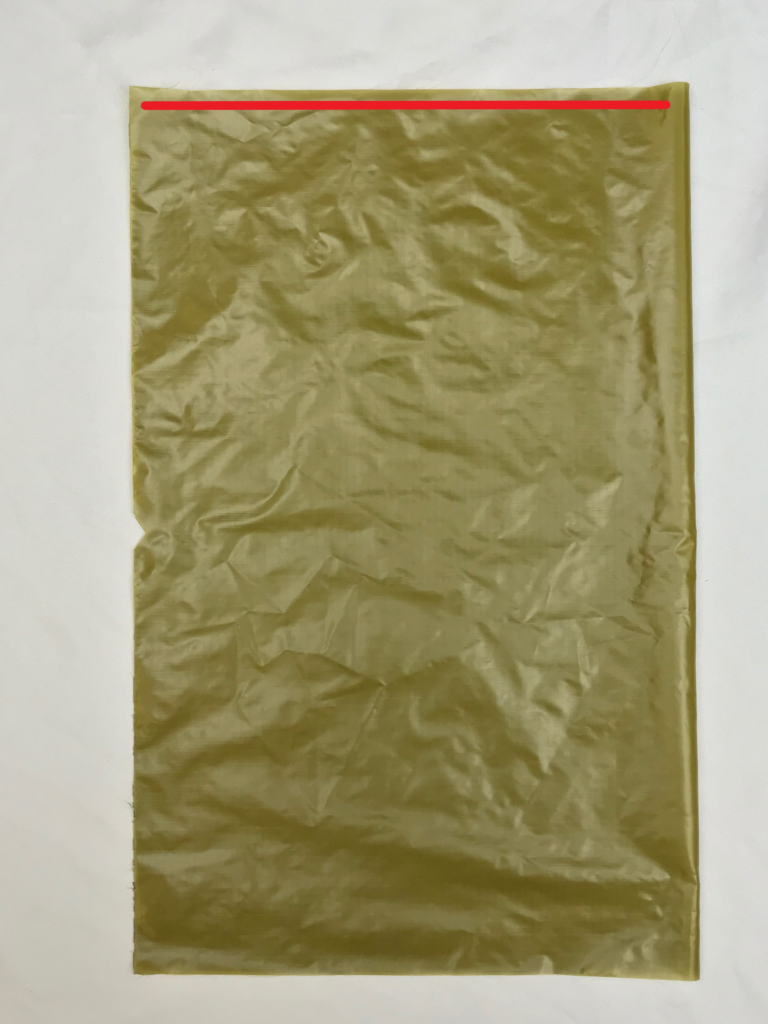
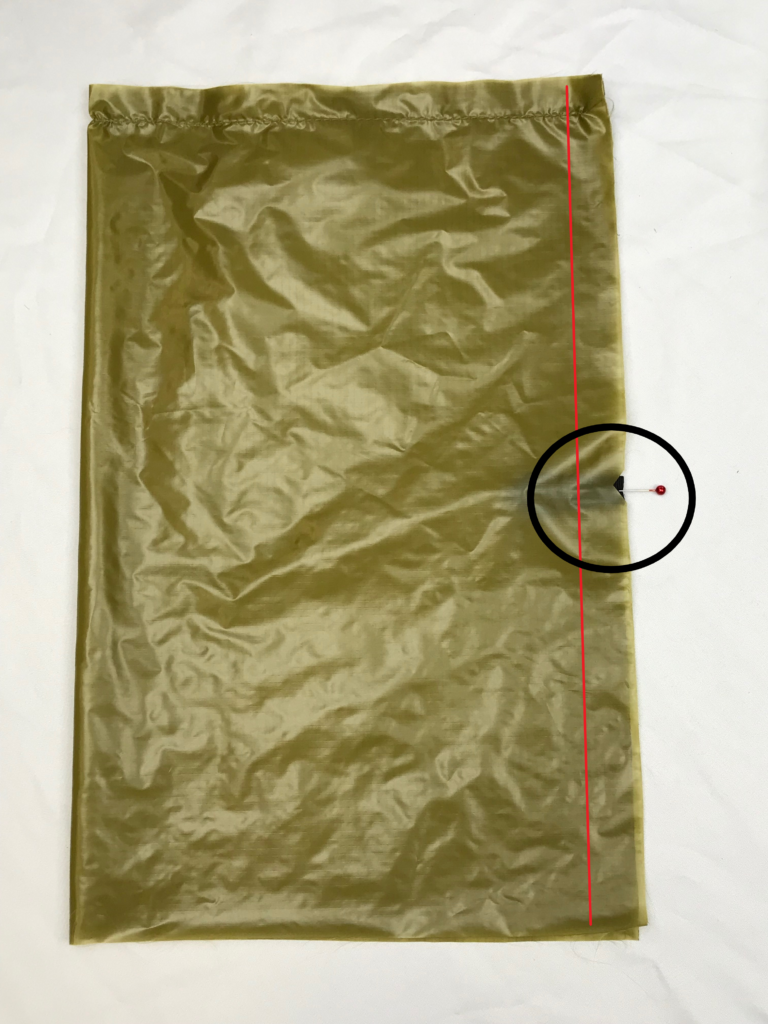
6. Sew long seam, placing the tab between the two layers of fabric , pointing inwards. Backtack over tab for reinforcement.
7. Turn pillow right side out.
8. Weigh and measure out 55 grams of climashield.
9. Pull apart climashield , “shredding” it to create loft.
10. Stuff pillow.
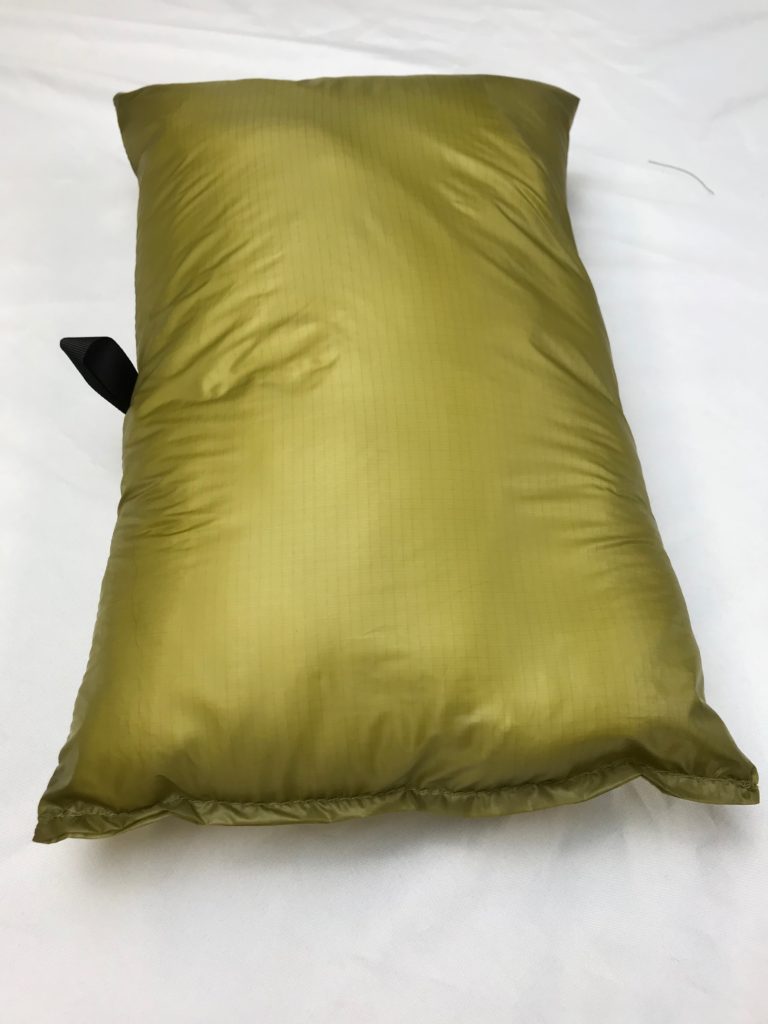
11. Turn end seam inwards, and finish with a topstitch.
Check Out Our Other DIY Guides